|
Customer Issue: When trying to purchase an upgrade on my IM508, I was prompted to upgrade the Personal Center first. However, the upgrade process failed and resulted in the following interface. How can I resolve this? 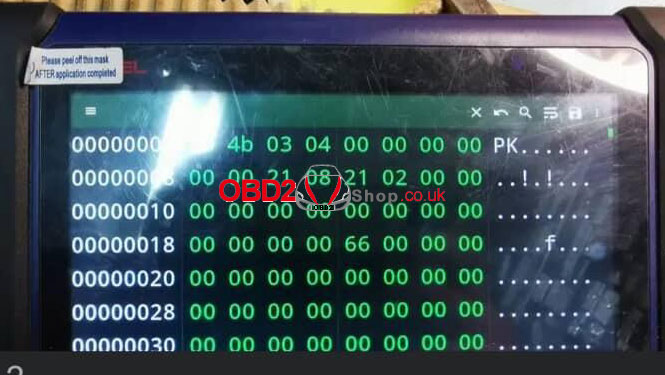 Solutions: Solution 1: 1. Long press the Hex Editor. 2. Click Hex Editor, Force stop, clear default, clear cache, clear data, and then act again. Solution 2: 1. Long press the Hex Editor. Disable 2. Perform the function again 3. Setting>app>disable APK>enable the Hex Editor 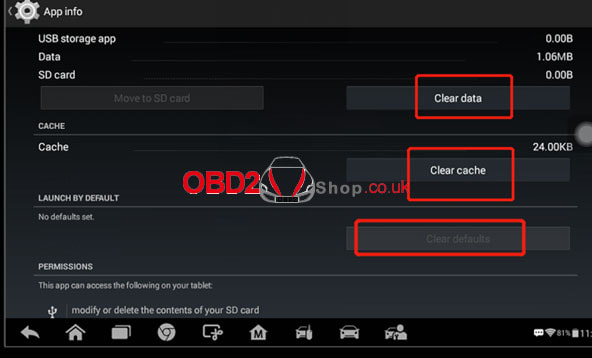 We hope this is helpful. If you encounter any further issues or require additional assistance, please don't hesitate to reach out to our customer support team for further assistance.
www.obd2shop.co.uk
0 Comments
The 2011 BMW F10 520i has just retrofitted its headlight so that it comes with an "Adaptive Headlights failure" on the dashboard. Following we're gonna show how to use Launch X-431 diagnostic scanner to fix the error. Apply to Launch X-431 Pad 7, X431 PRO5, X431 V+, etc.  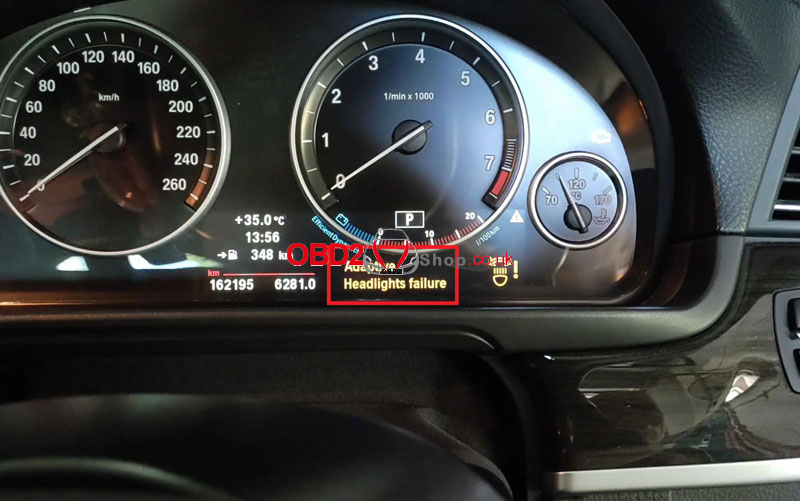 Local diagnose >> BMW >> OK >> Automatically Search >> Next >> High-speed Scan There are 2 fault codes in FRM(Footwell Module)/ TSGFA(Driver Door Control Unit): 800FC3 initialization fault in the Headlight driver module left. 800FC2 initialization fault in the headlight driver module, right. The headlight has been replaced with aftermarket, so FA(vehicle order) needs to be edited. 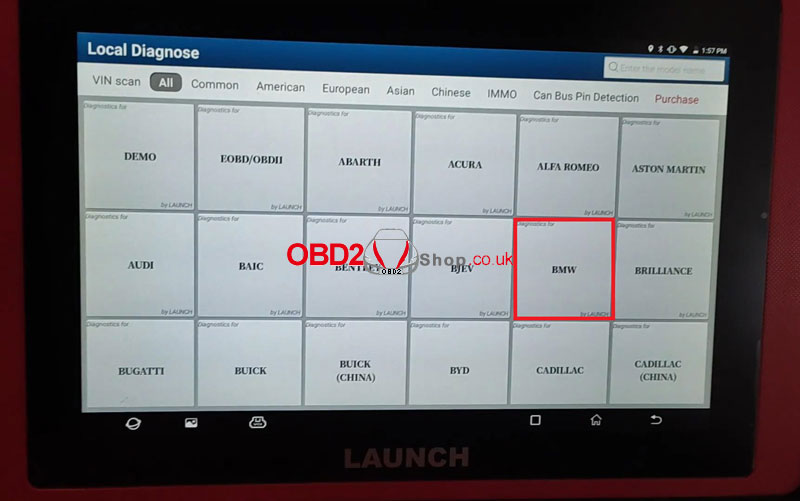 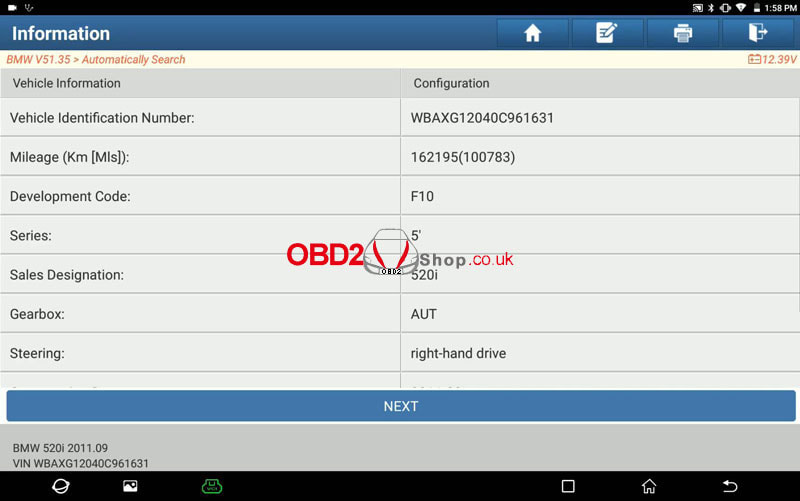 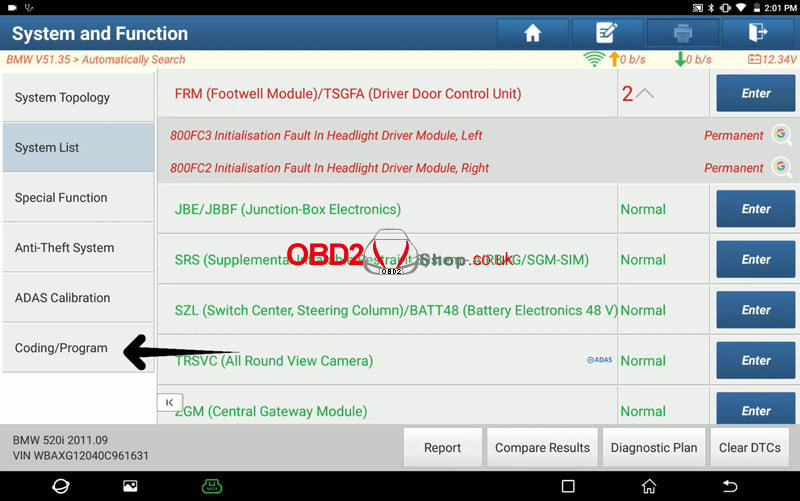 Coding/Program >> Retrofit >> Next >> Vehicle Order Change Switch off the ignition. Wait approx 10s... Switch on the ignition again. Continue in the next test step. Please confirm the vehicle is ready for programming. Programming/coding will start when OK is pressed. Notice This function has to modify vehicle data. Please record below initial data below as a backup in case of an error. Selected "524 Adaptive Headlights". Do you want to delete it? Yes Next >> Yes Notice The below data is what you want to write to ECU. Please check it, then press OK. Ultimatum: This function will change vehicle order. If you do not really know it. Please STOP it. If you lose the vehicle order, you must get them by yourself. Press OK. Please confirm the vehicle is ready for programming. Programming/coding will start when OK is pressed. Press OK. The data has been written to the ECU. Please diagnose the vehicle to ensure it is OK. You may also need to recode what you change. 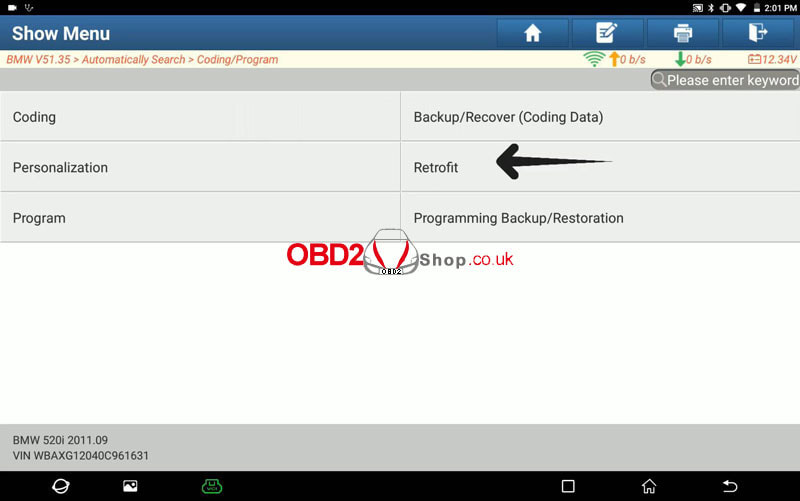 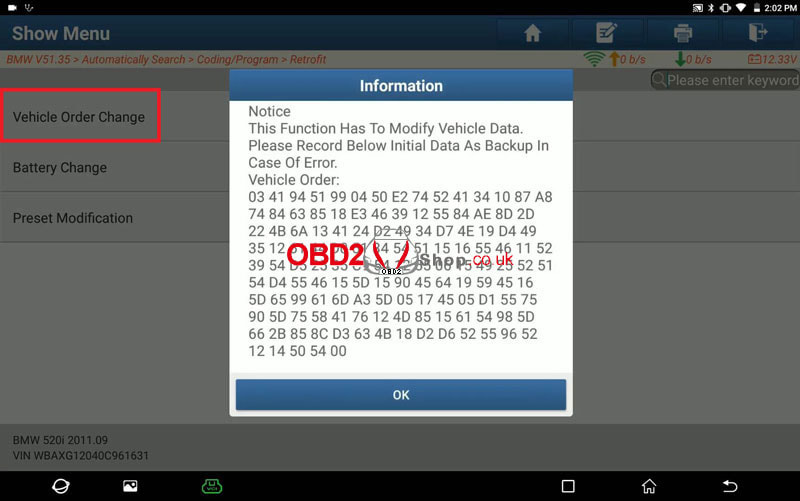 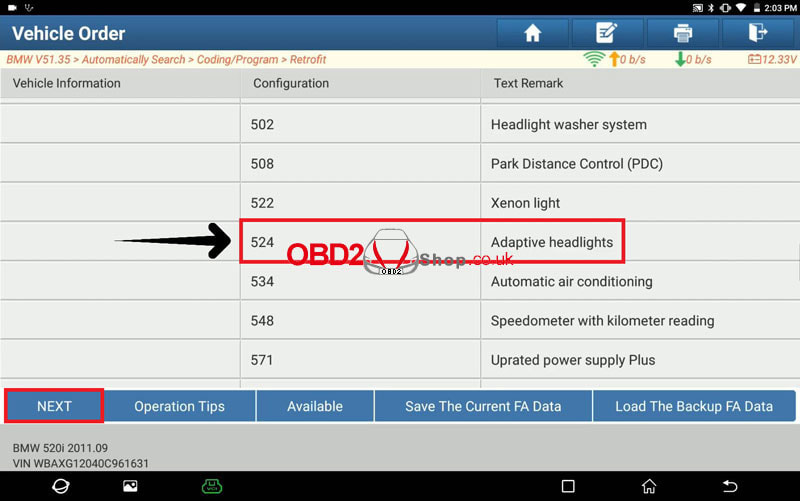  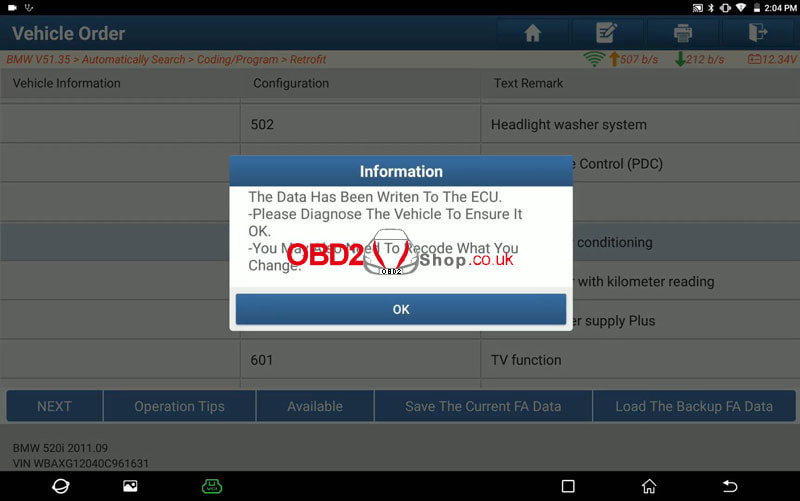 Coding/Program >> Coding >> Next >> FRM(Footwell Module)/ TSGFA(Driver door control unit) >> Yes Whether manually select the integration level of required encoded data? No Recoding has been completed. Note: After the procedure finishes, there may still be a warning light or fault code displayed until the vehicle has completed a road test. And the ignition switched off for 10s and on. The warning message has gone. The problem was solved. 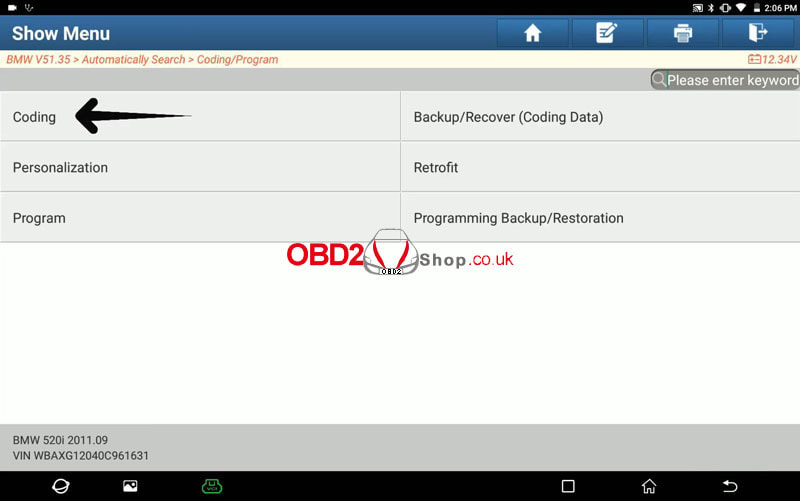 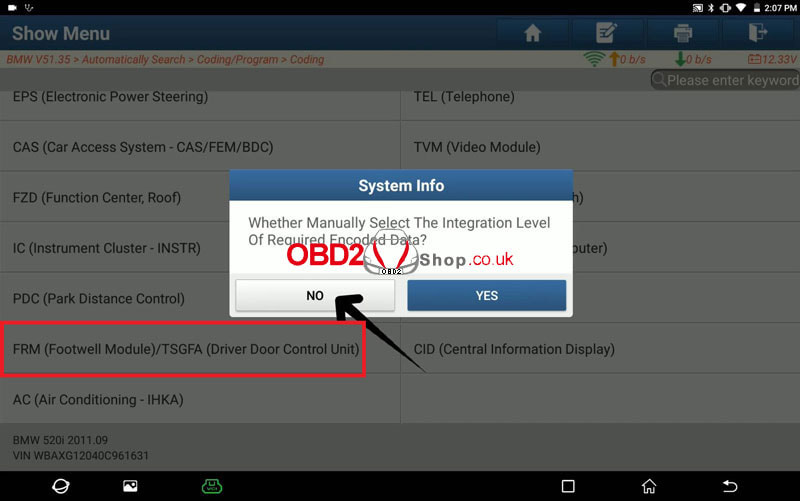 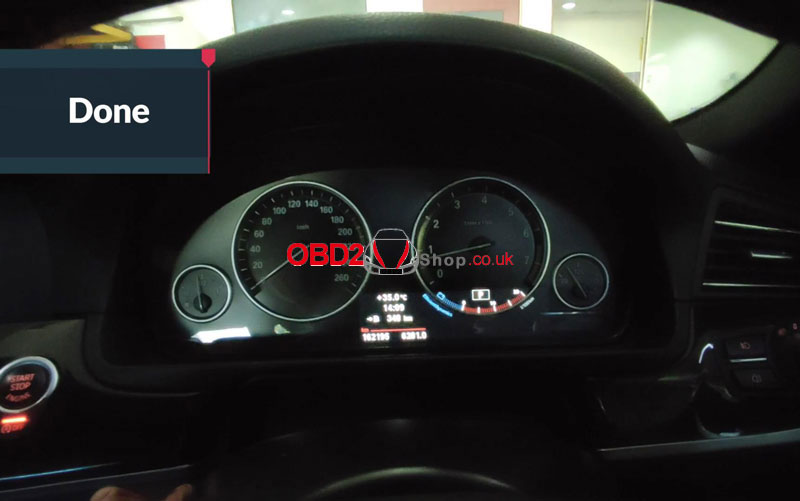 In this article, we'll show how to modify the Volvo D12 inboard motor total hours with the OBDSTAR D800 Diagnostic Tool. Required Tools OBDSTAR D800 Main Cable 4 Meter Extension Cable M086-VOLVO Dedicated Cable Connect all cables together. 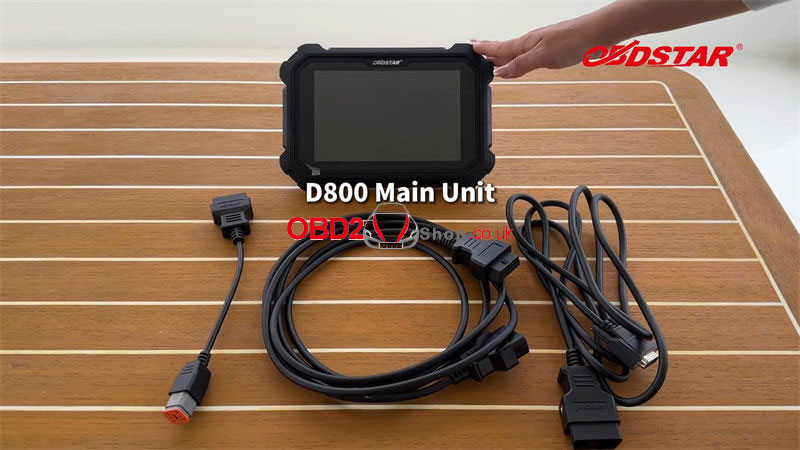 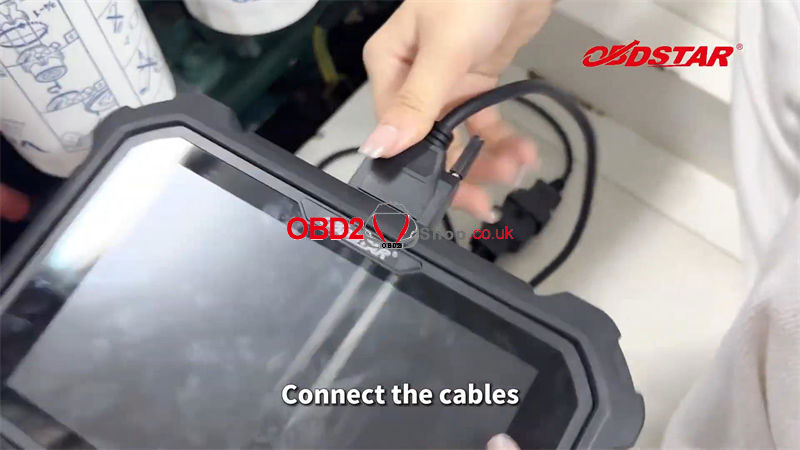 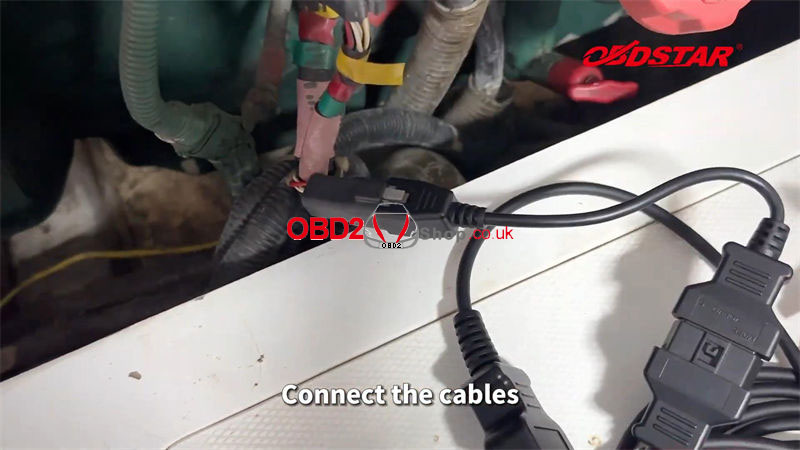 Procedure Marine Diag >> Inboard >> Europe >> VOLVO >> Latest Version >> Diagnose >> D9-D16 >> OK Before entering the system scanning, please turn off the power key, wait for 10s, and then turn on the power key. Warning! Set the lever to the neutral position. Before proceeding, make sure that the lever(s) are in a neutral position. Performing operations while driving can cause personal injury. Information! Set the helm station in service mode. For diagnostics of the helm station, it must be set in service mode. Information! The Automatic Switch Box(ASB) is not supported for ECU programming. If an ASB is used during identification, the ECU programming will be disabled. One Drivelines >> Engine Control Unit >> ECU information Confirm the total engine time(H) is 12.8 hours. 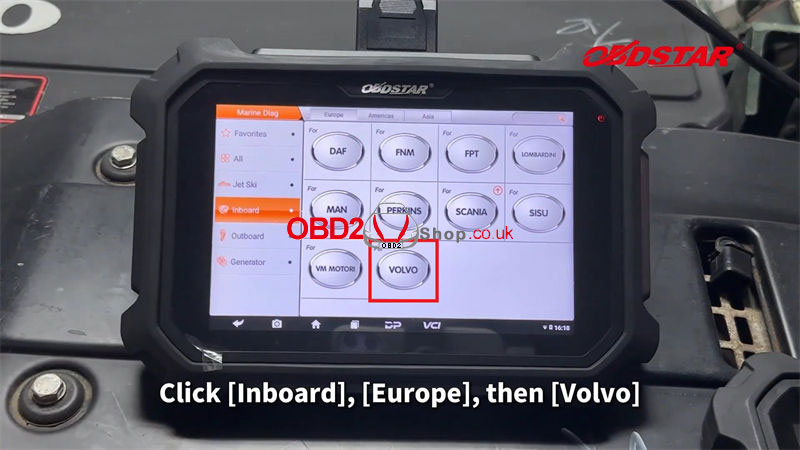 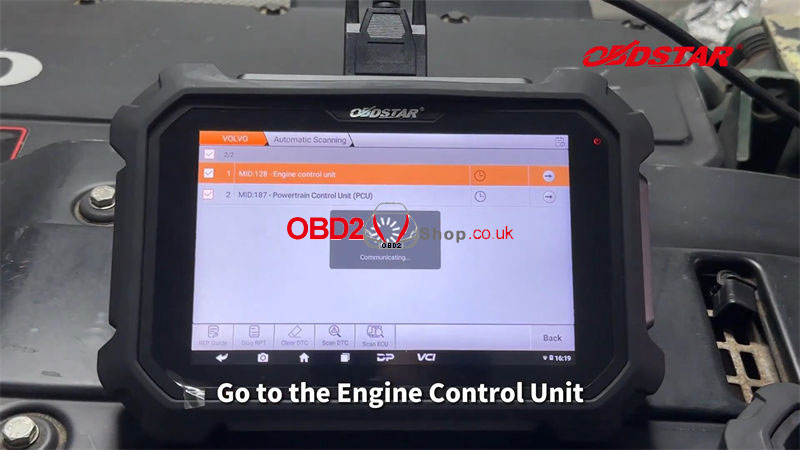  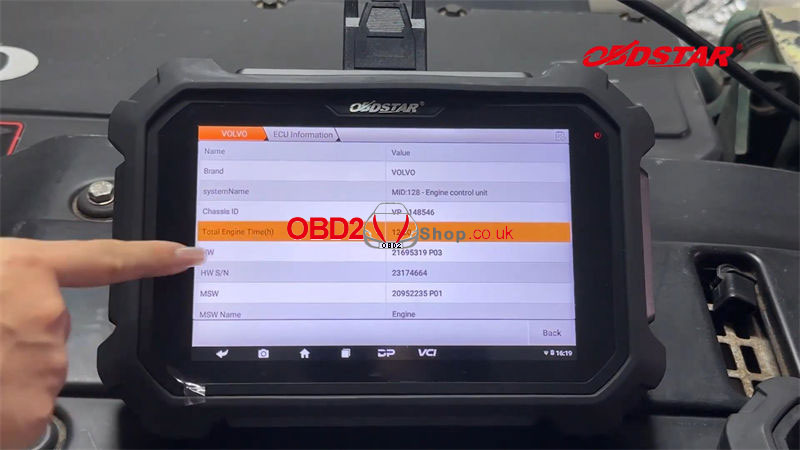 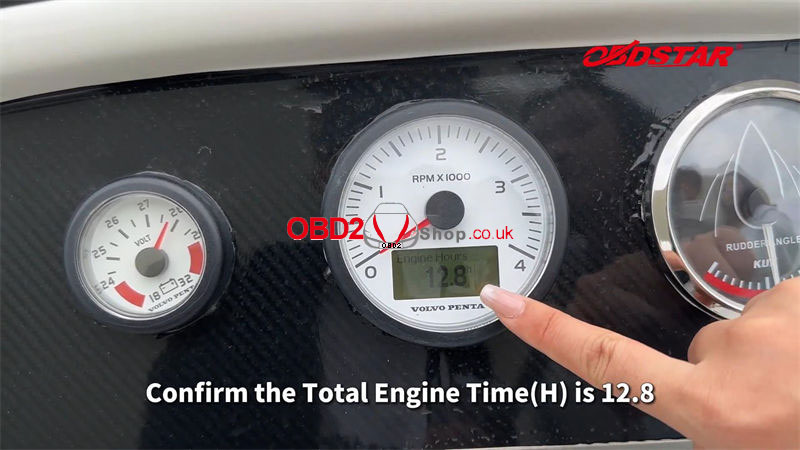 Special function >> Agree Note: 1. Some adjustments or settings may cause vehicle failure, therefore our company does not assume any responsibility. 2. It is recommended to refer to the original maintenance data for operation. Please input password 123. Engine hours, programming >> OK Warning! The vehicle/boat must be in a standstill position. As we can see, the main log total time is 12.8 hours. Press "Start". Engine running hours: 12.80h Please enter a value for the new engine hours: 10 hours. Follow these steps. 1. Perform engine stop. 2. Click OK. To perform engine stop: Using an ignition key - turn the key to its leftmost position. Using a panel - press the stop button. Note! Do not use the emergency stop. Please read the manual for further information about engine stops. Please power OFF the current driveline. It might be necessary to power off all drivelines in some cases. 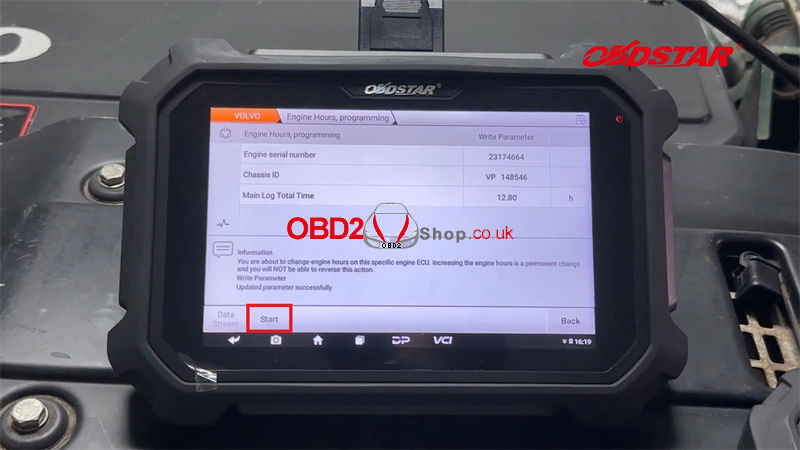 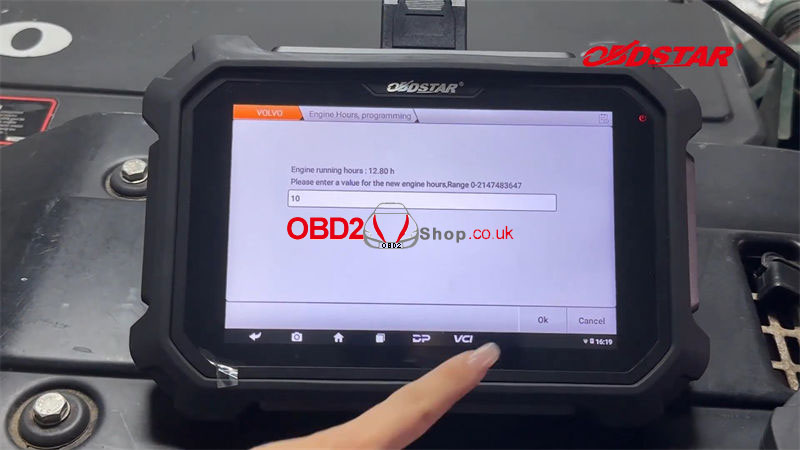 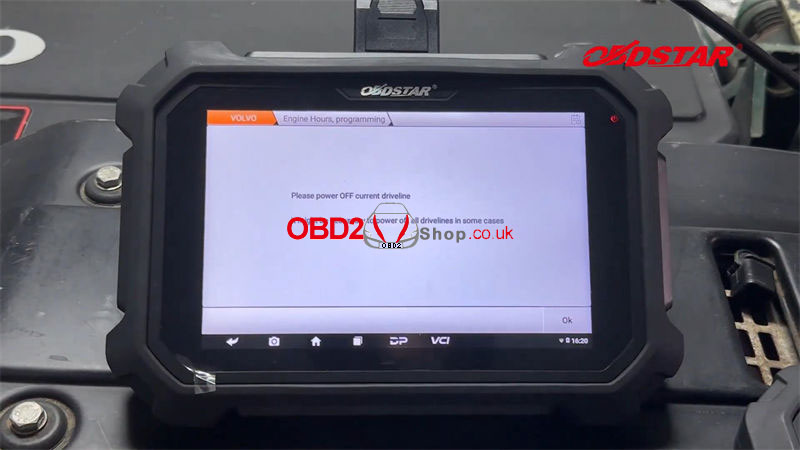 Follow these steps. 1. Ensure that the ignition is ON. 2. Click OK. Now the Total Engine Hours has been changed to 10 hours. Successfully modified. Remember to check if the dash has been successfully modified synchronously. Done. 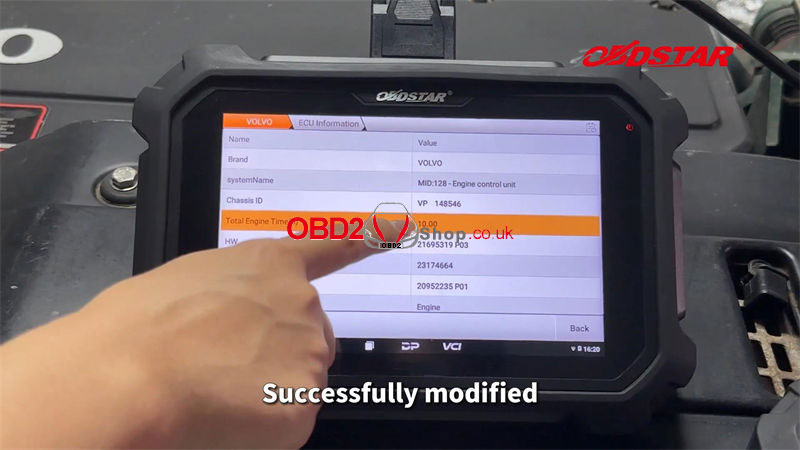  In the previous article, we briefly introduced the Xhorse Multi-prog Programmer. Today, we will guide you on how to install the driver for your Multi-prog device upon receiving it, so you can successfully utilize it. If you have received the Multi-prog but find that there is no response when connecting to the computer, and the software shows that the device is not connected, don't worry. This is not a problem with the device. Likely, you haven't installed the driver yet. If your computer is a WIN10 system, the driver will be installed automatically, so you don't have to worry about it. However, if your computer is a WIN7 system, we need to install the driver manually. So today I will show you how to install the driver for Multi-prog manually. First, connect the device to the computer, then click [Help] on the top of the software interface. 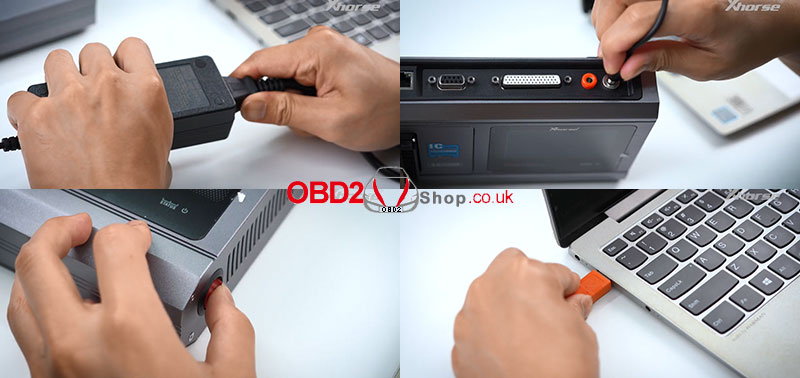 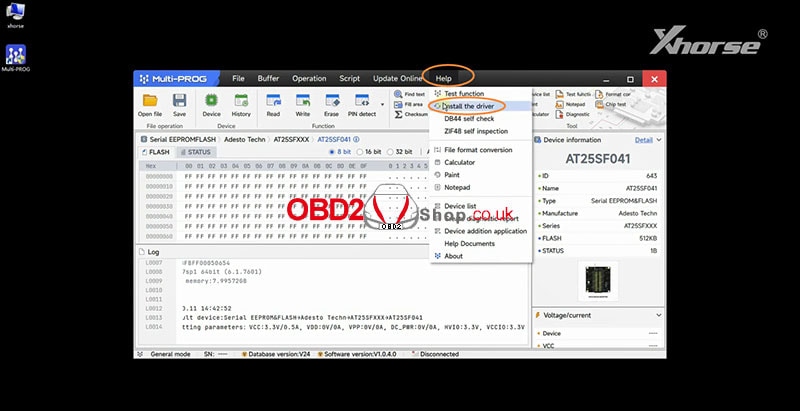 Choose [Install the driver] and there will be a popup. The device name will be automatically identified here. If it is blank, it means that the device is not recognized and we need to re-plug the device or change the port until a multi-prog device appears here. 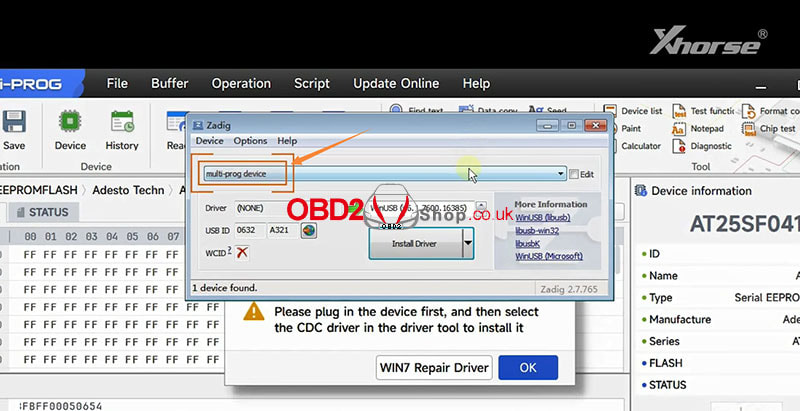  Then click the small arrow to find the CDC driver. Start the installation. Okay, we can see that the device status becomes "connected". 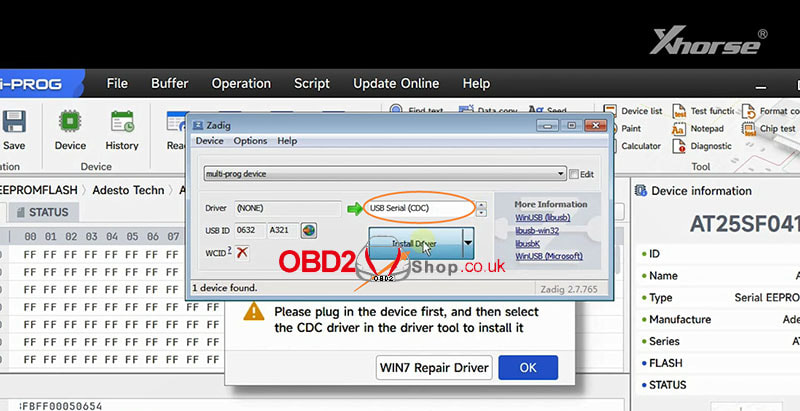 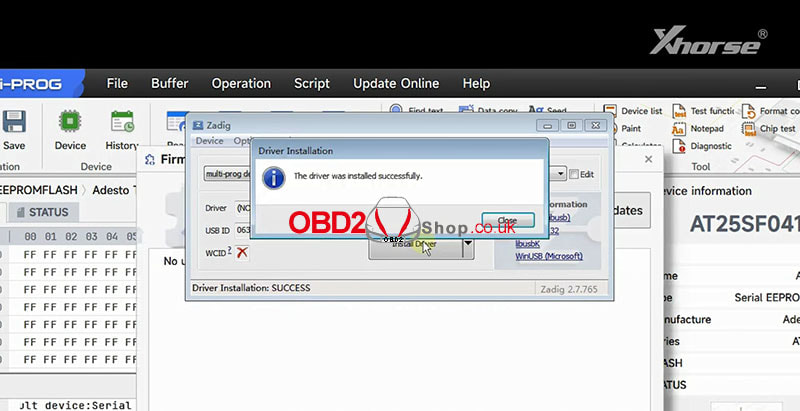 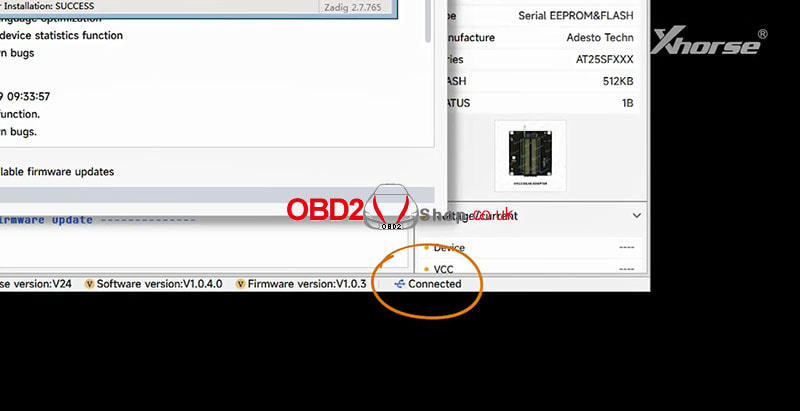 Please note that if the installation fails, we need to click [WIN7 Repair Driver] first, and then install the driver again. 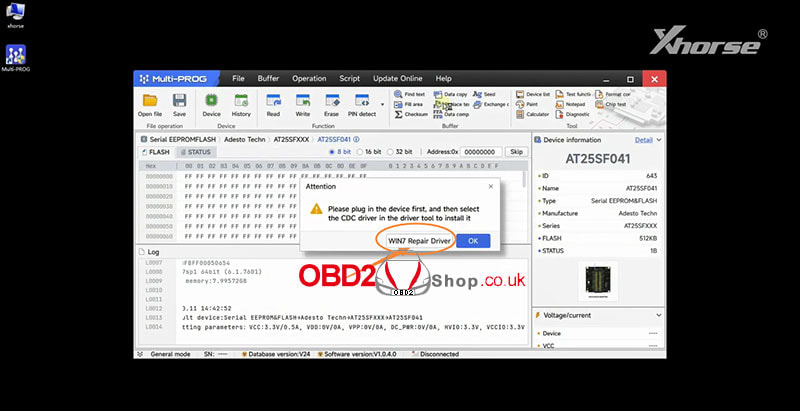 If you encounter any problems during the installation process, please contact technical support on Xhose APP or you can contact us.
For more technical services, please pay attention to http://blog.obd2shop.co.uk/ An Autel IM608 customer encountered an issue where the BMW diagnostic software disappeared after purchasing a new authorization. This guide provides a step-by-step solution to resolve the problem. Problem Description: This customer reported that after acquiring a new authorization, the BMW diagnostic software vanished. Attempts to uninstall the software and restore factory settings did not rectify the issue. Solution: Follow these steps to resolve the problem: 1. Select the icon at the bottom of the screen as the picture shows, and then choose "ES File Explorer." 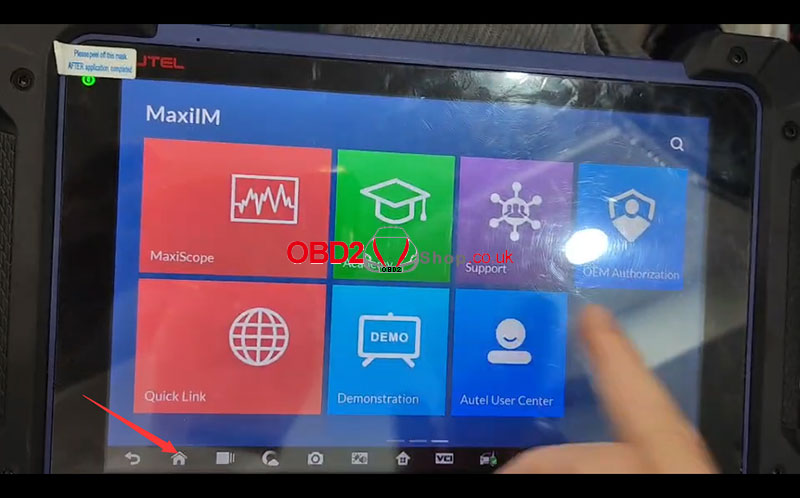 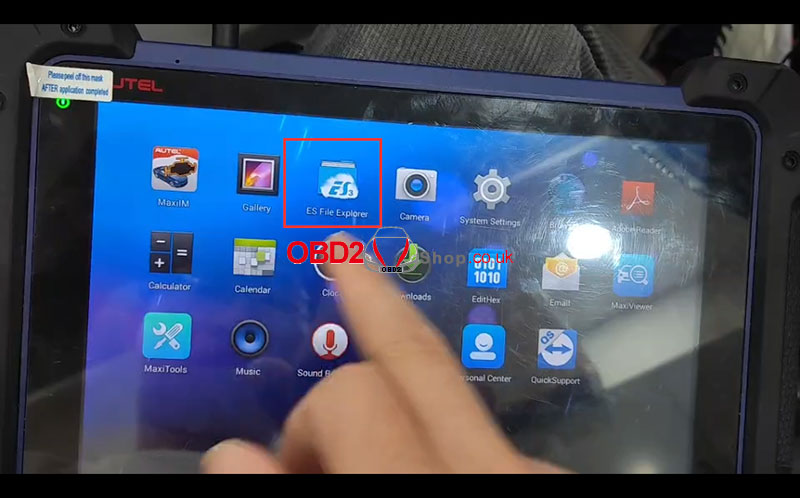 2. Navigate to the path /scan/Vehicle/Europe/BMW. 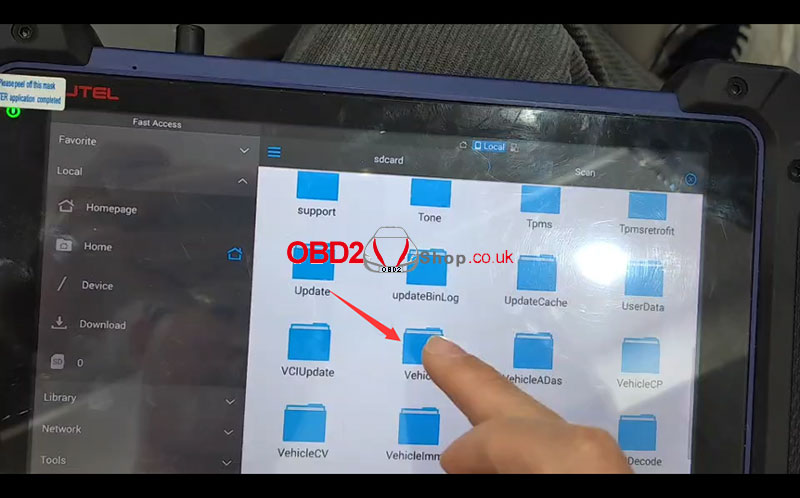 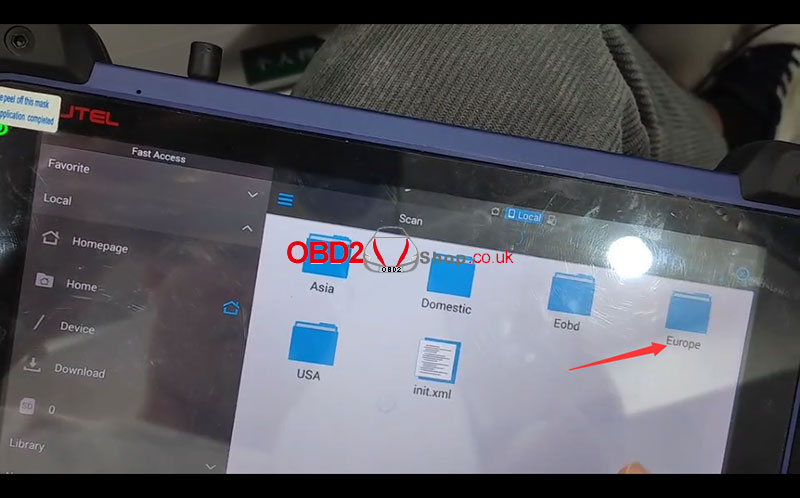 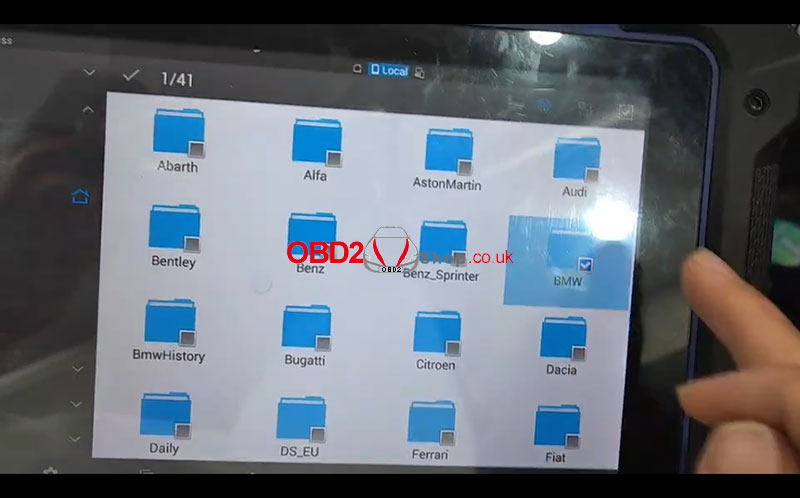 3. Long-press the "BMW" folder to delete it, then click "OK" to confirm. 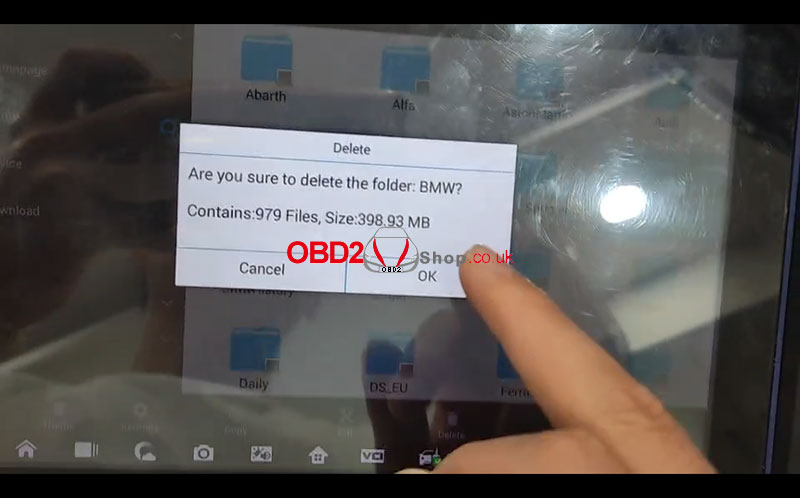 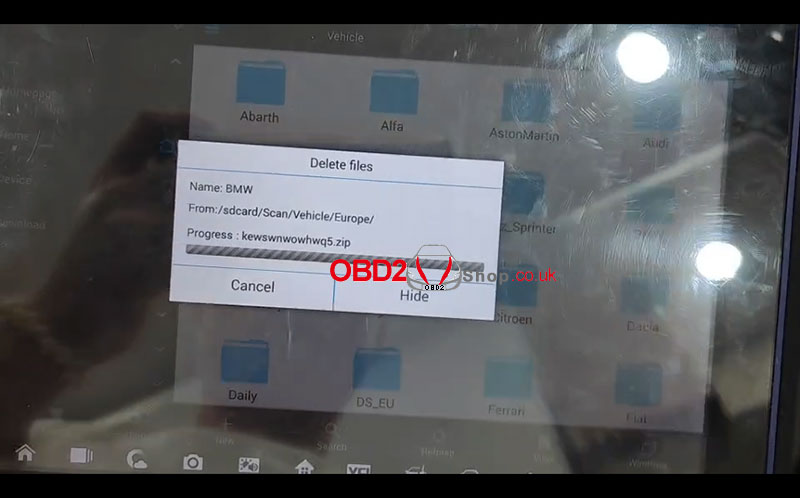  4. After successful deletion, close the background processes by swiping up, similar to operating on a mobile phone. Next, access "Update" to update the BMW software. 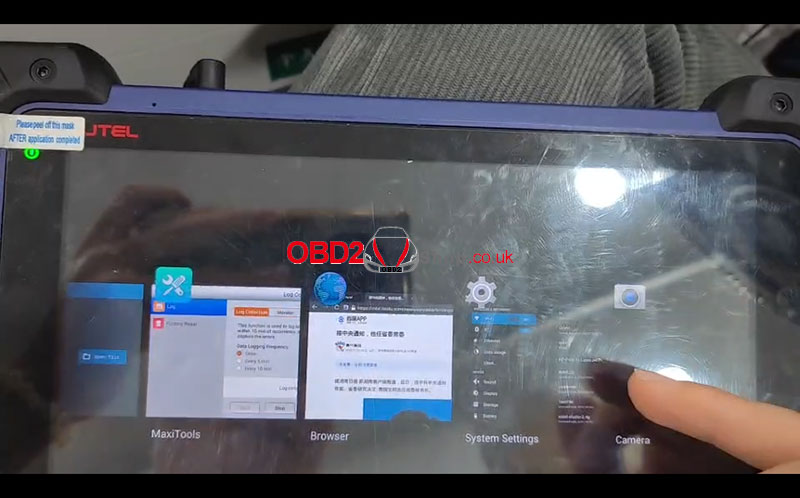 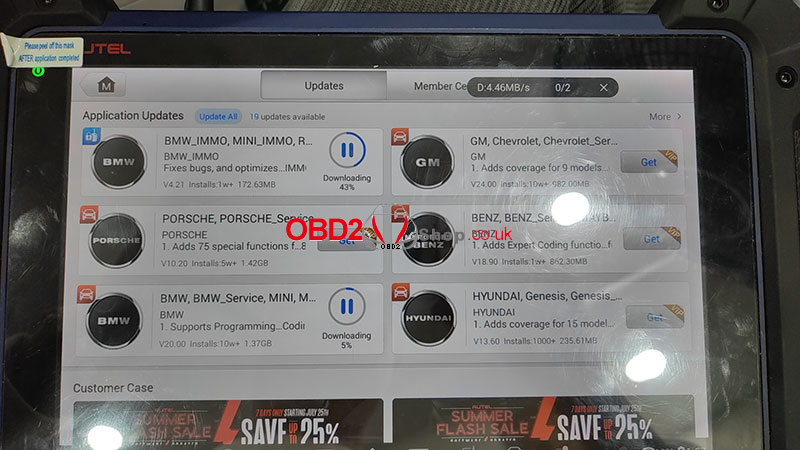 This troubleshooting guide aims to assist Autel IM608 users in resolving the specific issue of missing BMW diagnostic software after a new authorization purchase.
For more technical support please visit http://blog.obd2shop.co.uk/ Launch i-TPMS Service Tool provides professional and comprehensive services for repair shops to develop their TPMS business. It can program Launch TR-RF Sensors for unlimited times to replace OE sensors. The sensor data can be read accurately and instantly. Including sensor ID, tire temperature, tire pressure, battery status, etc. Launch i-TPMS Features 98% vehicle coverage with a TPMS-equipped system. 314/433 MHz sensors 100% activated. Unlimited programming for Launch sensors. 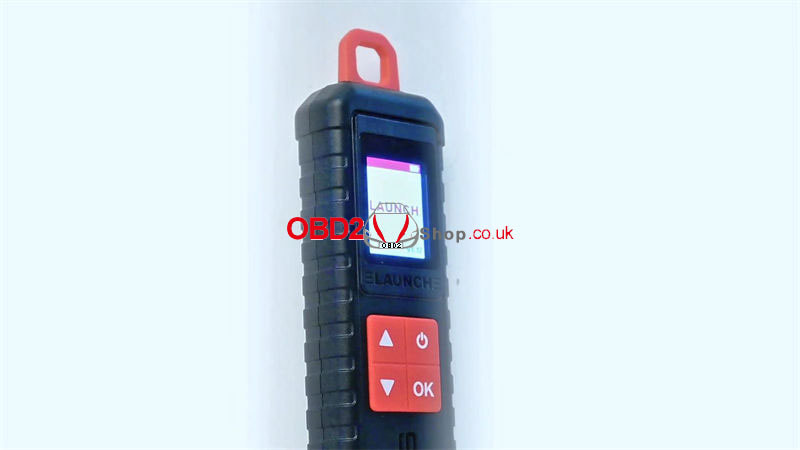 How to Activate Sensors for Troubleshooting? Start the engine, we can find an orange exclamation mark on the dashboard which means there's a fault code. By activating tire pressure sensors in turn, we can find out the faulted one.  1. Connect the i-TPMS Handheld Tool to the diagnostic tool, and turn both devices on. 2. X-431 PAD VII APP >> TPMS >> OK >> Overseas China >> Car Model: TOYOTA >> 2017/10-2021/12(433MHz) 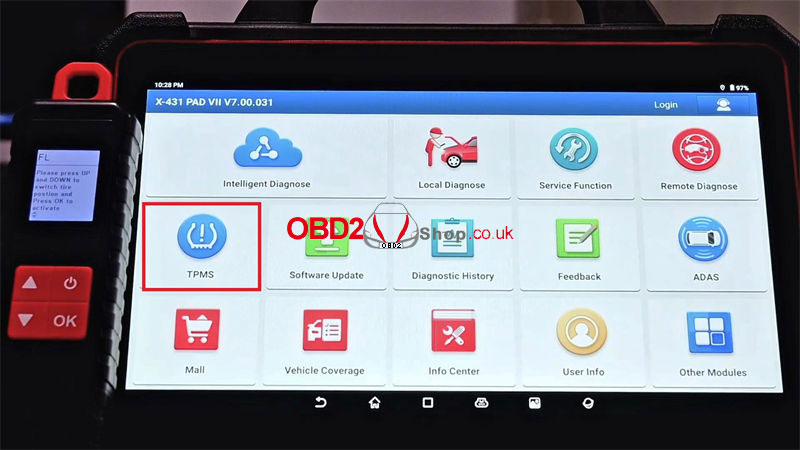 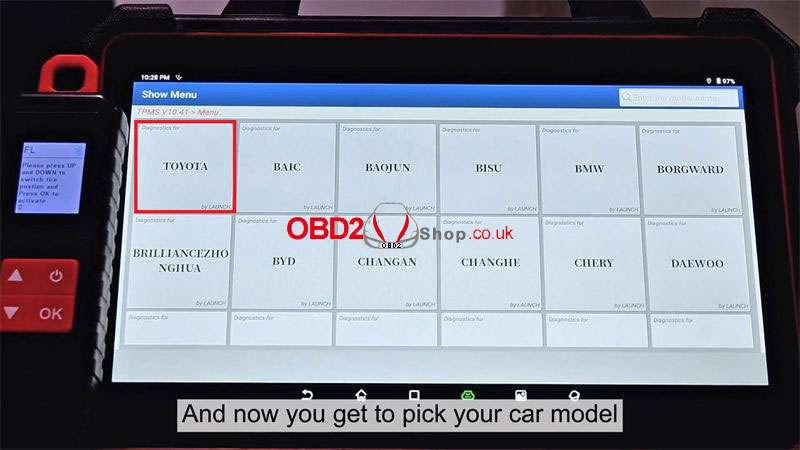 3. The data sheet is empty, so we'll have to activate the tires one by one. 1) Activate the sensor of the front left tire. 2) Activate the sensor of the front right tire. 3) Activate the sensor of the rear right tire. 4) Activate the rear left sensor. We notice that the sensor of the rear left tire has a problem. Thus, we just need to re-program the rear left sensor to fix it. 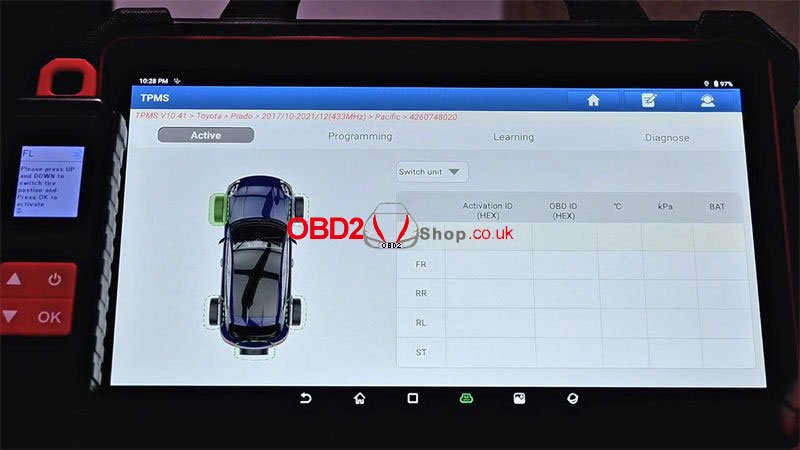 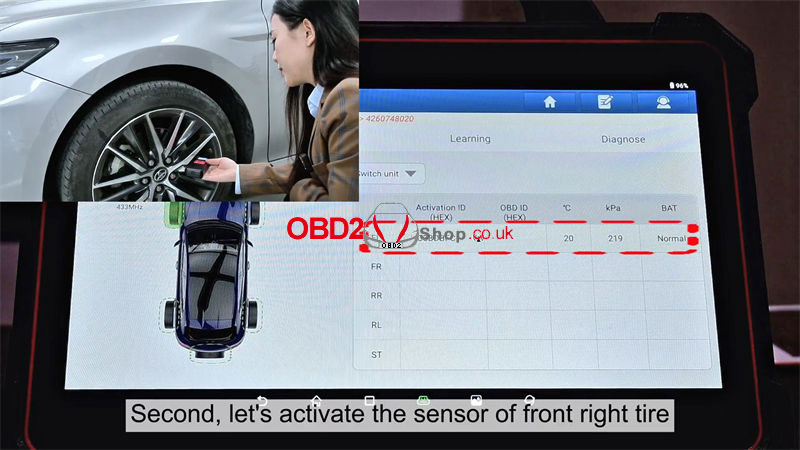 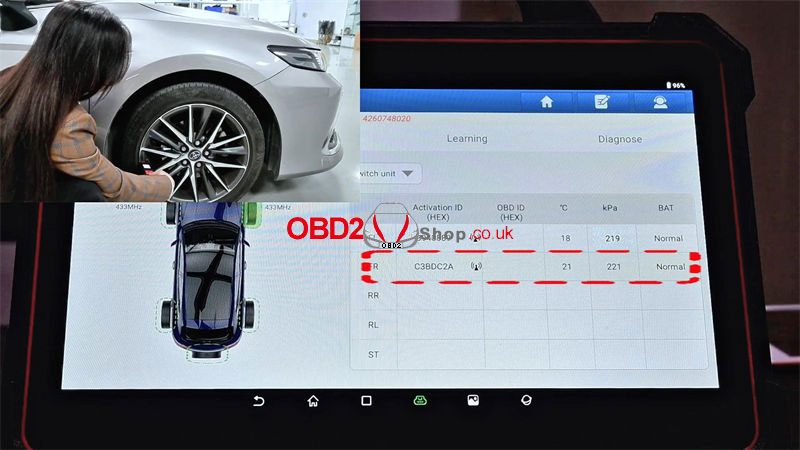 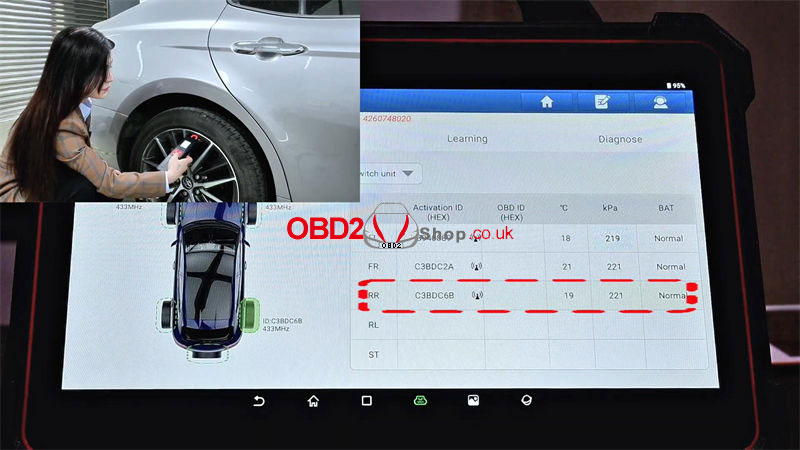 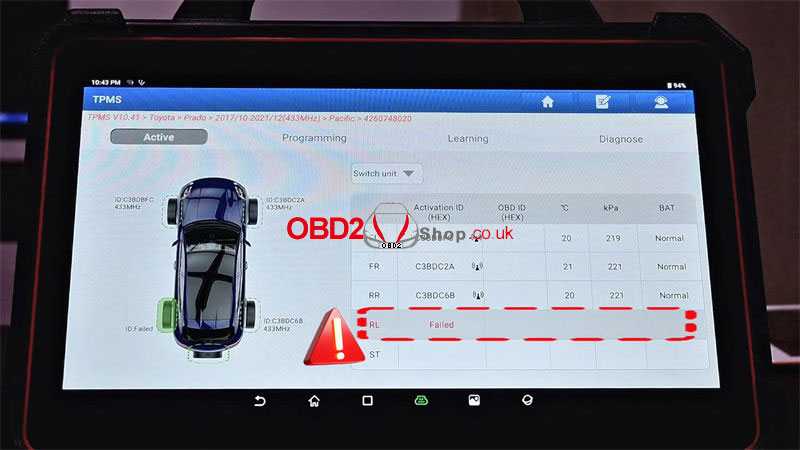 This is a guide on how to clone Mercedes-Benz CONTINENTAL SIM271DE ECM with OBDSTAR DC706 ECU Tool by bench. Besides, DC706 also supports to read and write SIEMENS/CONTINENTAL SIM271KE, SIEMENS/VDO MSM, BOSCH EDC15C6 KLINE and EDC17C60 ECM. Tools Required OBDSTAR DC706 Main cable P004 ECU Clone Jumper + Adapter BENZ SIM271DE ECM Make sure DC706 is in charge and communicates during the whole process. 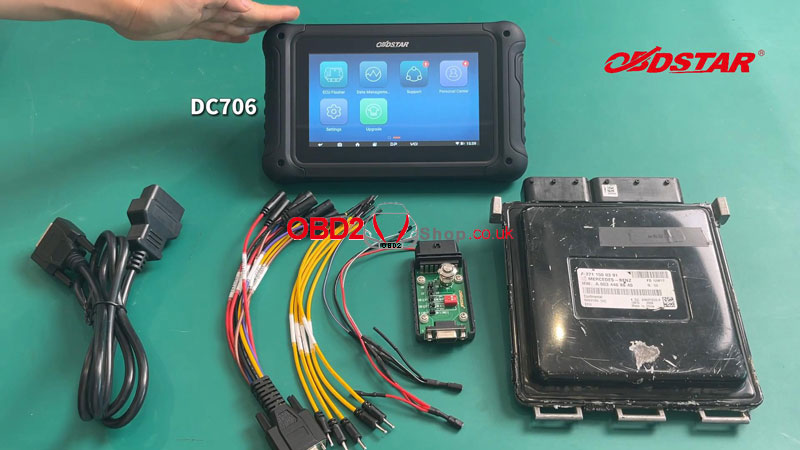 ECU Flasher >> ECM >> Latest version >> Brand >> BENZ >> BENZ CONTINENTAL SIM271DE TC1796+ST95128(BENCH) Follow the "Guide&Pinout" to connect modules. Here you can check the best detection method and wiring diagram. 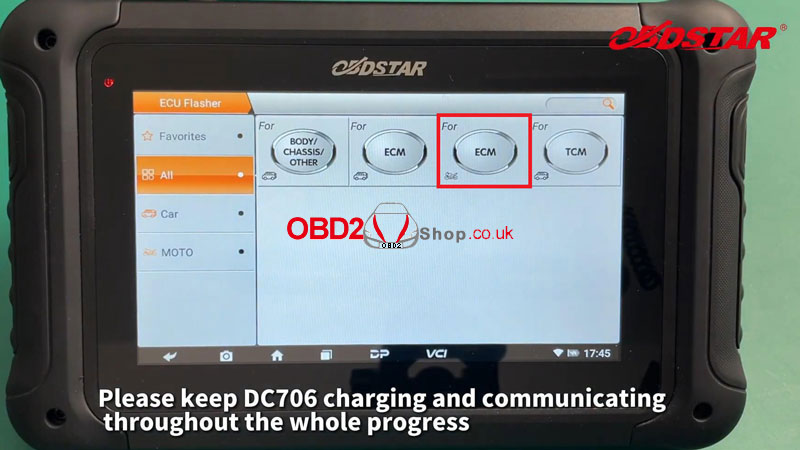 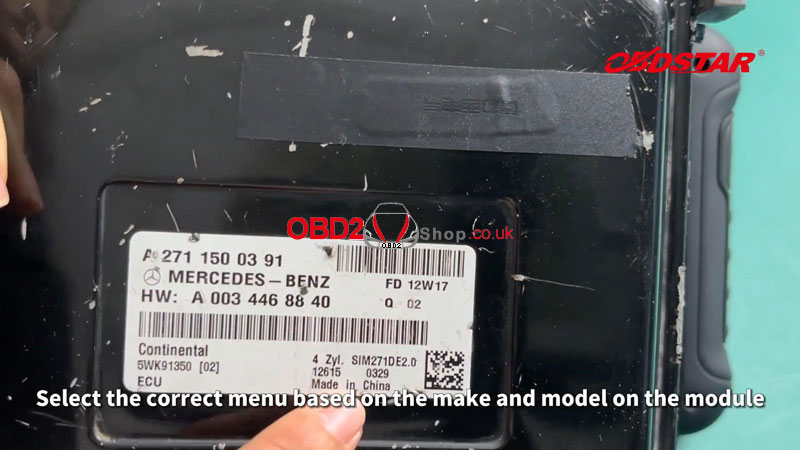 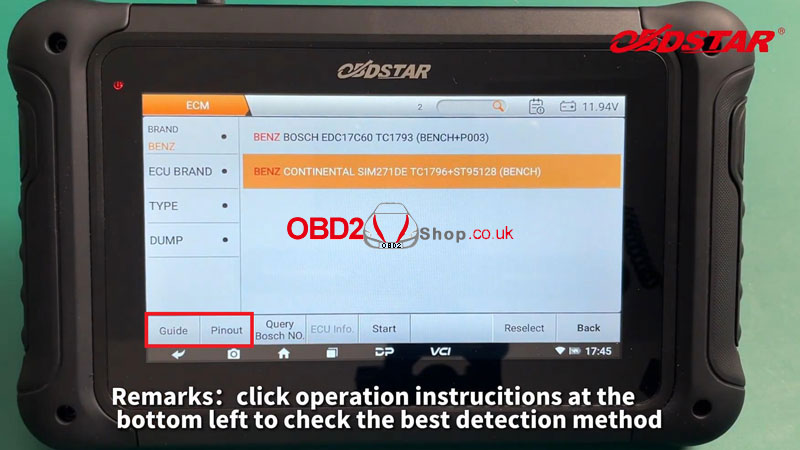 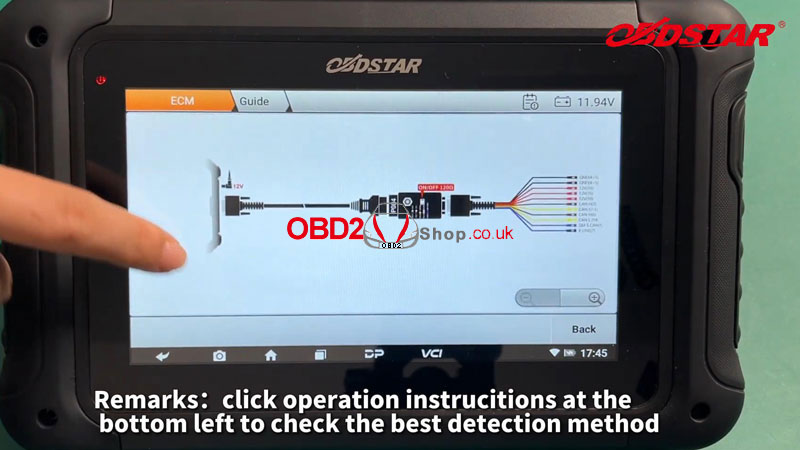 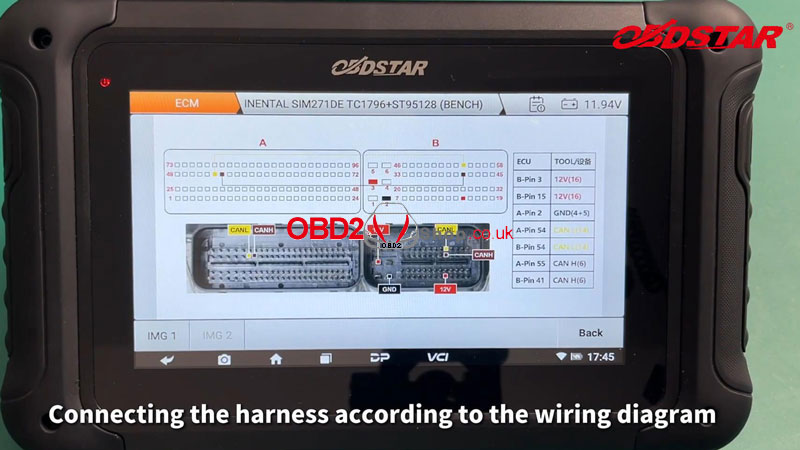 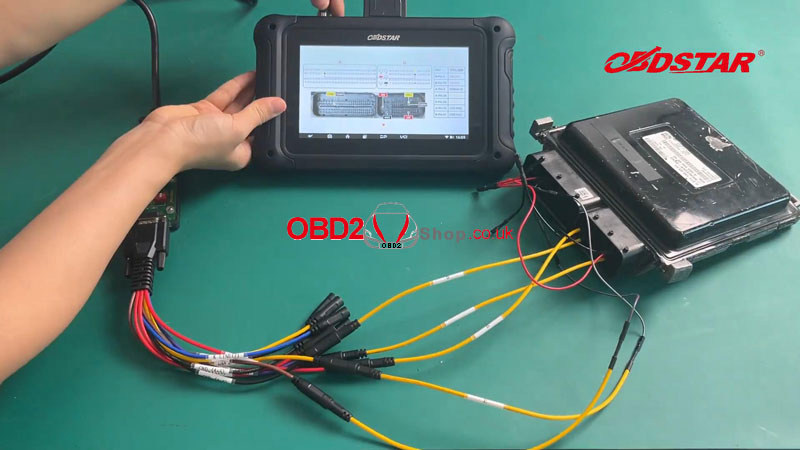 After a successful connection, turn on the P004 ignition. Click "Start >> OK >> Connect". Switch the ignition off. Switch the ignition on. Now we can start to read and write INT EEPROM(ST95128), INT FLASH(TC1796), EXT EEPROM, and Maps. *On the left side of the screen, we can see the saved path of data files. When completing all operations, don't forget to disconnect.  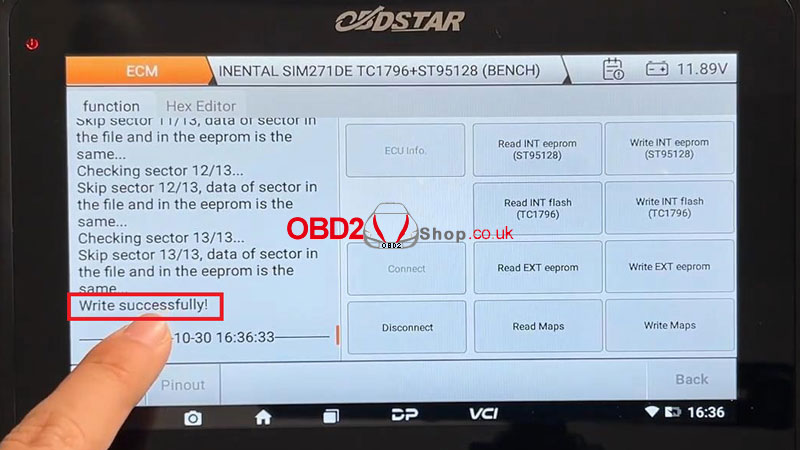 Customer Problem: I wanted to use XP400 Pro to add a key to an EWS3. When it is connected to the IM508 tablet it is not recognized and always 0 volts while the a2 Volt is connected to the XP400. 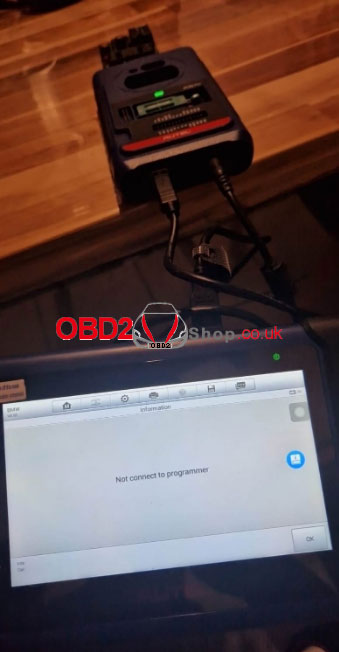 Solution:
Please do the below action. (need xp400pro) 1. Enter the BMW EWS3 path of the programmer to try to read and write; 2. Check whether the adapter board pins correspond to the EWS3 slots accurately; 3. Operate in strict accordance with the operating instructions. Step 1: Connect the matching board and EWS3 module first. Step 2: Connect the board and XP400 PRO. Step 3: USB connect XP400 PRO and tablet. Step 4: Connect the 12V power supply to the XP400 PRO; note that the power of the IM508 must be more than 30%. Step 5: Open the menu and execute the read function. Step 6: If the 12V is not connected, and the function is executed directly, the USB port will hang up and cannot be used. In this case, please restart the tablet, the USB port is enabled, and communication can be performed normally. www.obd2shop.co.uk Today I'm working on a 2020 Nissan Petrol, it's likely that 2012-2023 are the same remotes. So I'm gonna program a new Universal Smart Key for this car with Autel MaxiIM KM100 & OBDSTAR X300 DP PLUS via OBD. 1. Generate Key with Autel KM100 Universal key >> Nissan >> Patrol >> Nissan PATROL 2010-2022 Put the new key into the Autel KM100 key slot. Generate universal key >> Success  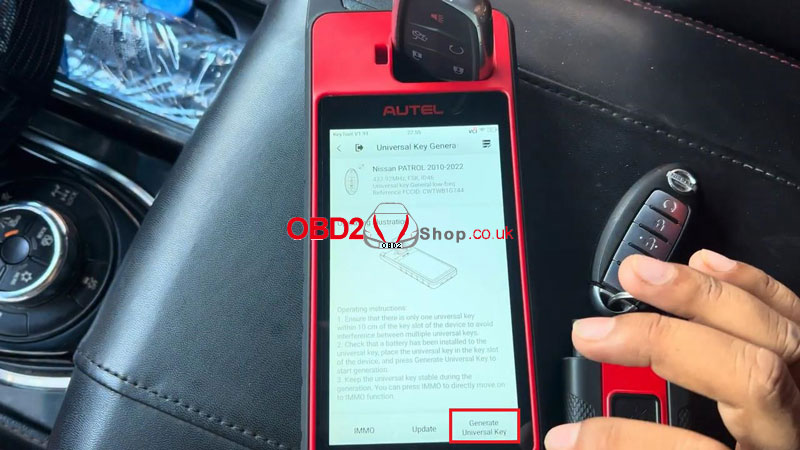 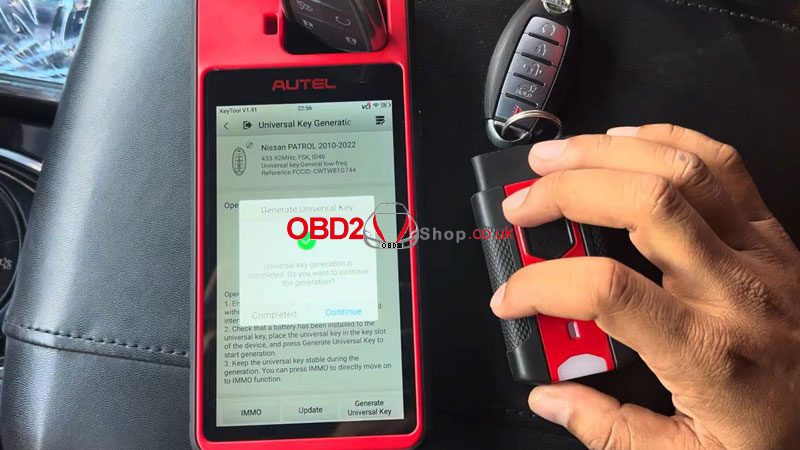 2. Program Key with Key Master DP Plus Car IMMO >> NISSAN INFINITI >> Latest version >> Manual select model >> NISSAN >> PATROL >> AUSTRALIA >> 2013- >> PROXIMITY >> Program smart keys This function will erase all keys, press ENTER to continue. Take all smart keys out of the car and press the start button. Press ENTER to continue. Open the driver's door, then close the door. BCM within the code are: D219A Old pincode: 2315 New pincode: 2690 (a new pin code is usually for the models after 2009, and an old pin code is for the models before 2009. You can try to select.) Press ENTER to use the new PIN code. 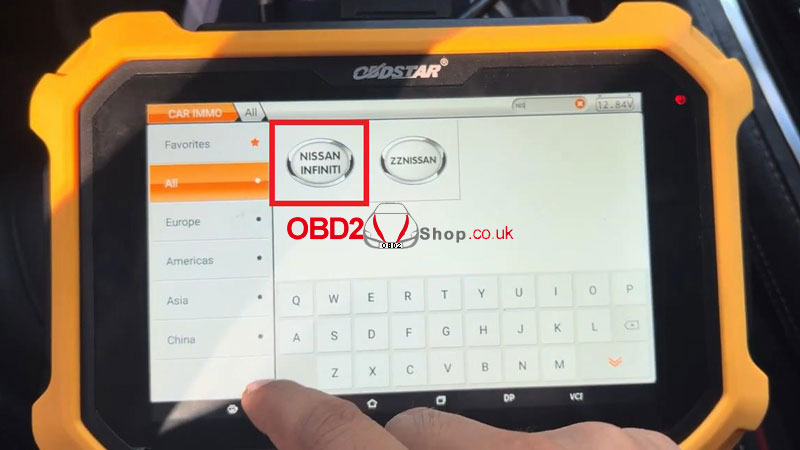 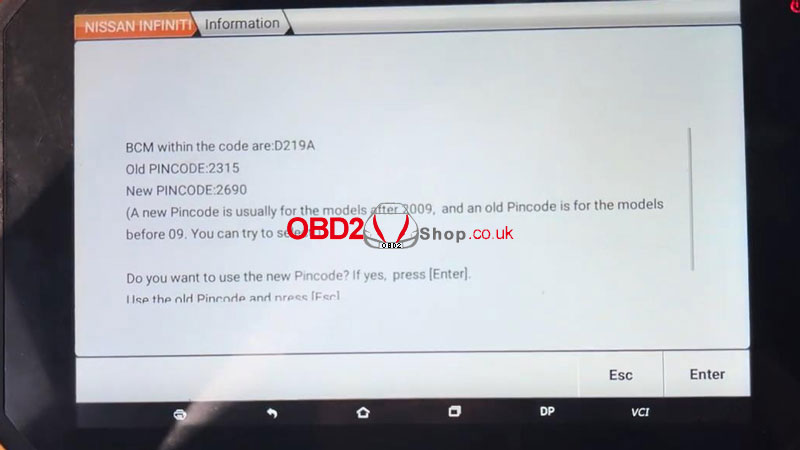 Put the back of the smart key to be programmed on the start button, press the start button, wait for the security light extinguished, and press ENTER to continue. Switch the ignition off. Program success. Press ENTER to program the next key, otherwise press Esc. Attach the back of the programmed proximity key to the start button to start the vehicle. (If the vehicle cannot be started according to operation prompts, please re-execute this function and try another starting method: depress the brake and press the start button twice with the programmed proximity key to start the vehicle.) Switch the ignition off. Open the driver's door, then close the door. Press the Unlock button of the key. Programming complete. Test the new key, all can work normally. Done. 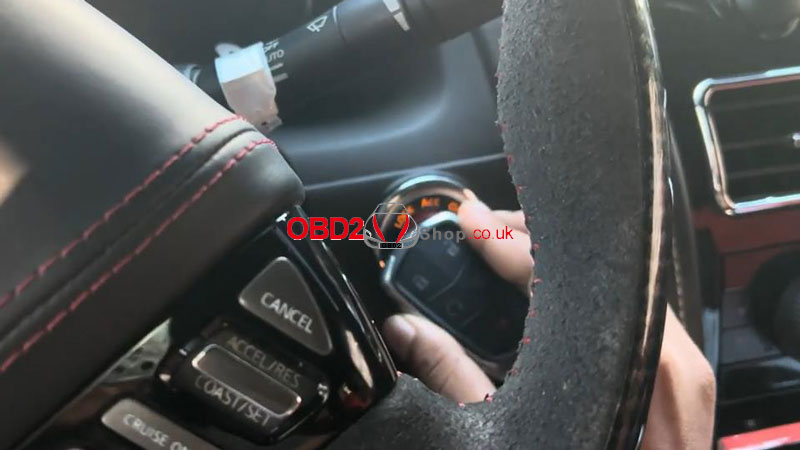 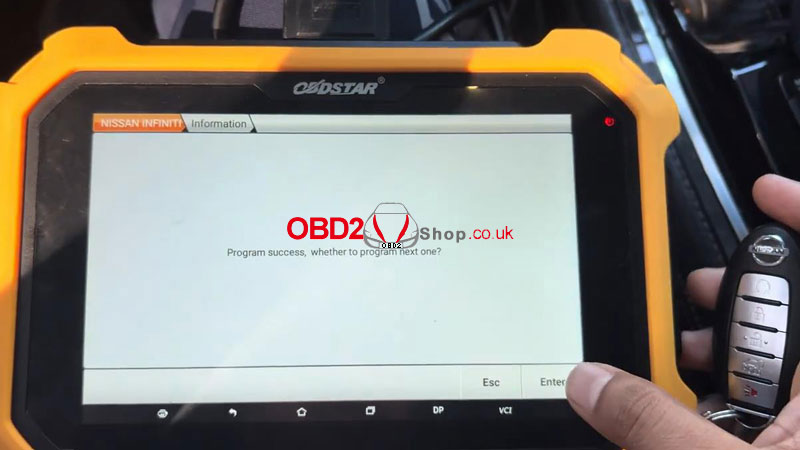 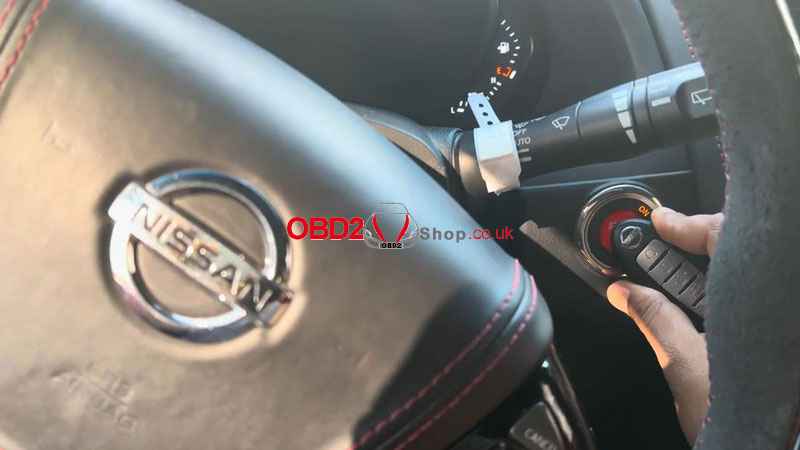 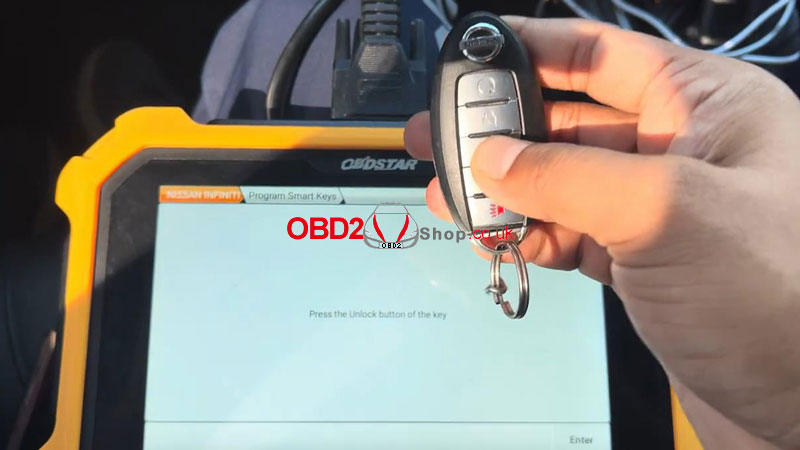 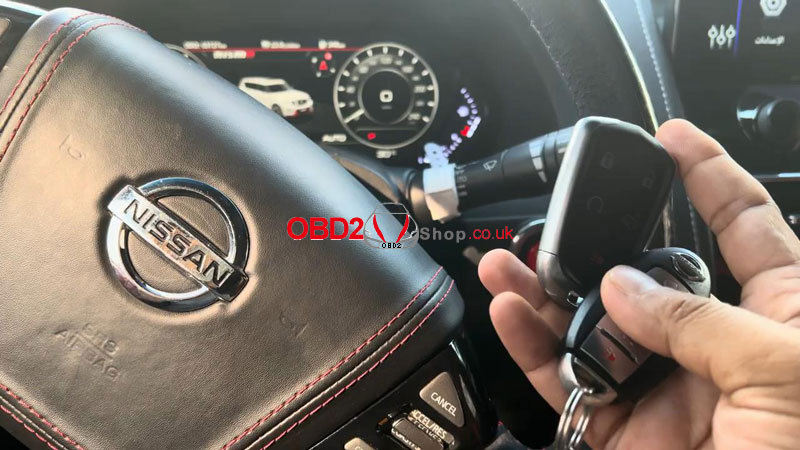 This is a guide on how to do recovery for the 2024 Launch X431 diagnostic tablet, which is an Android 10 system and has no volume button. Such as Launch X431 PRO Elite, X431 CRP919X BT, or X431 CRP919X... can all refer to this article. 1. Long press the power button to power off the Launch-X431 device. Then power on again. When the LAUNCH logo appears, press the power button 5 times quickly. 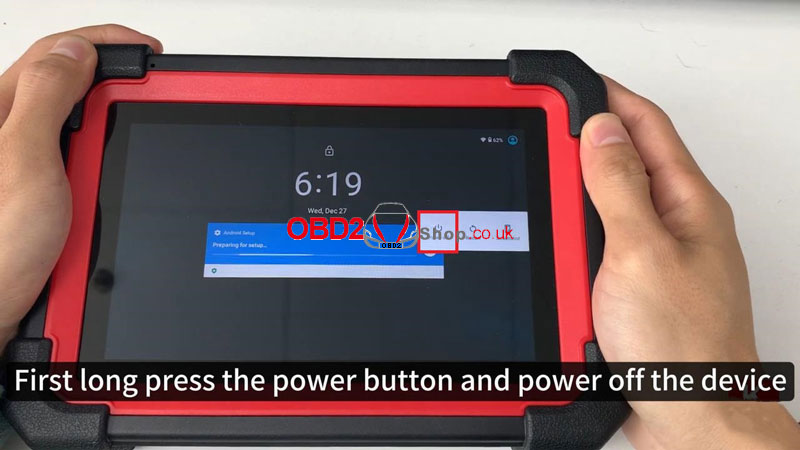  2. X431 device will enter the recovery page: Short press the power button to select "wipe cache partition" >> Long press the power button to confirm >> Yes >> wipe data/ factory reset >> Factory data reset >> Reboot the system now 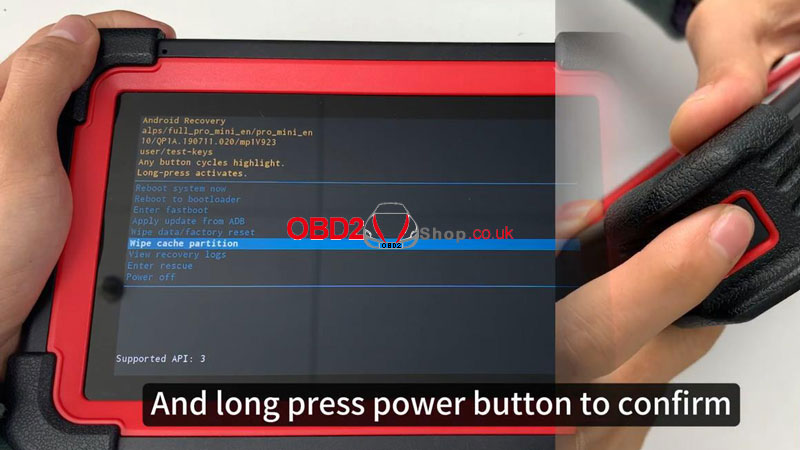 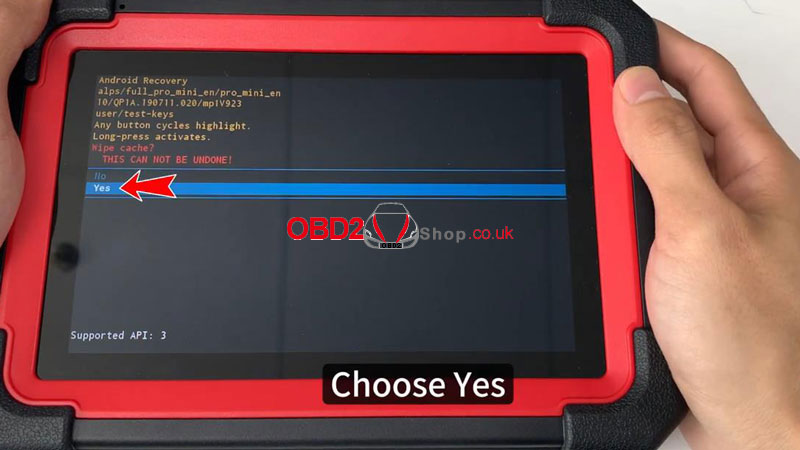 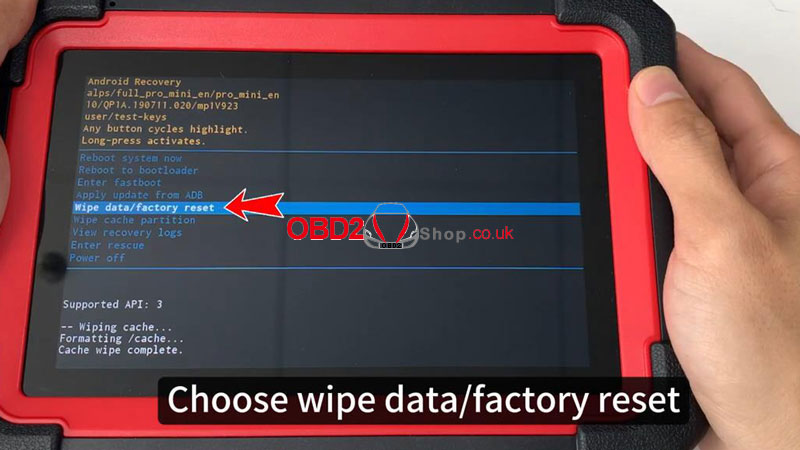 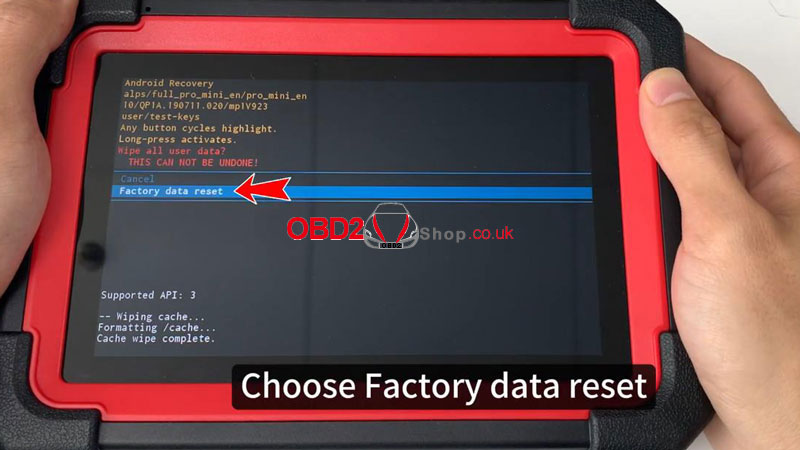 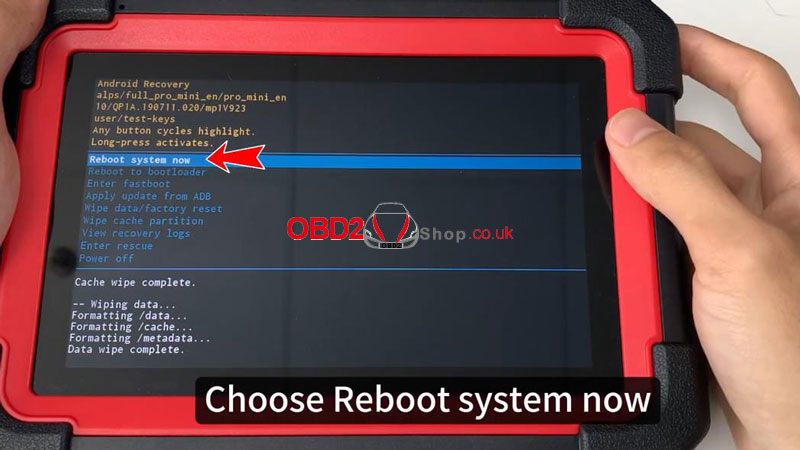 3. X431 device will restart and enter this page: Start >> Skip >> Continue >> Select time zone >> Accept Google Services >> Not now >> Skip anyway >> Setting >> Network & internet >> Connect WiFi 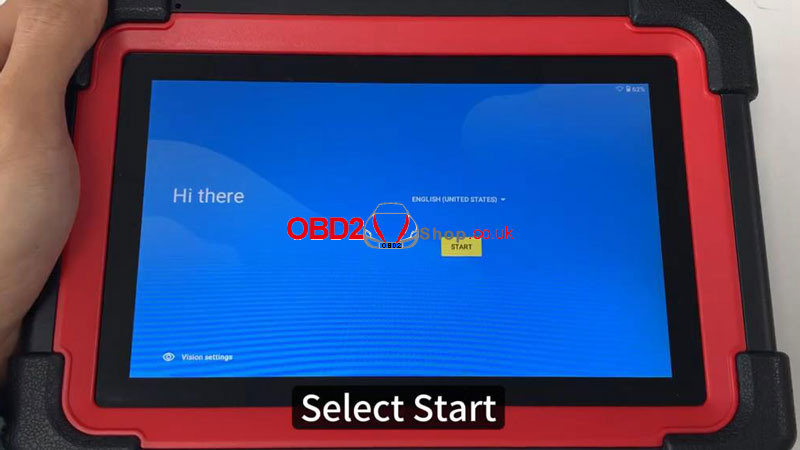 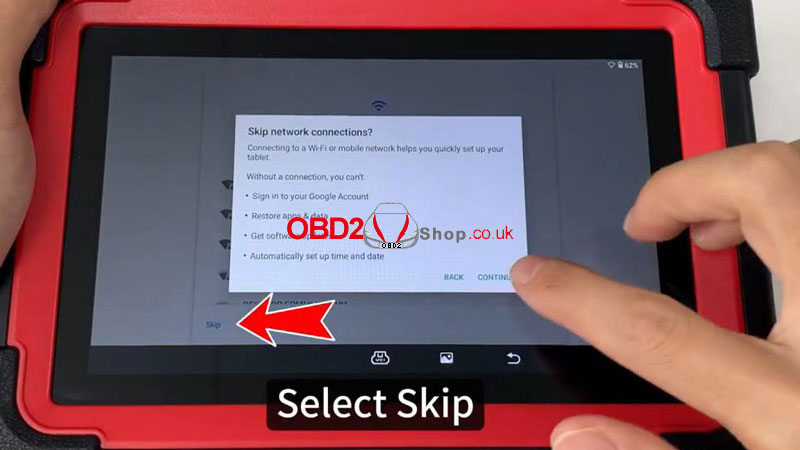 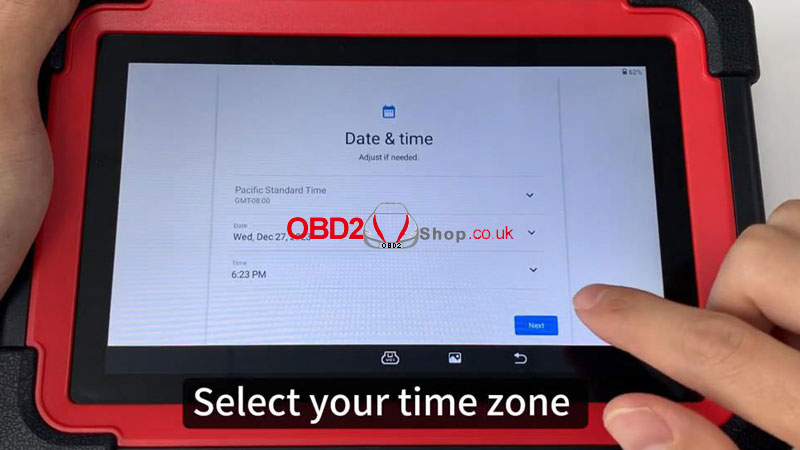 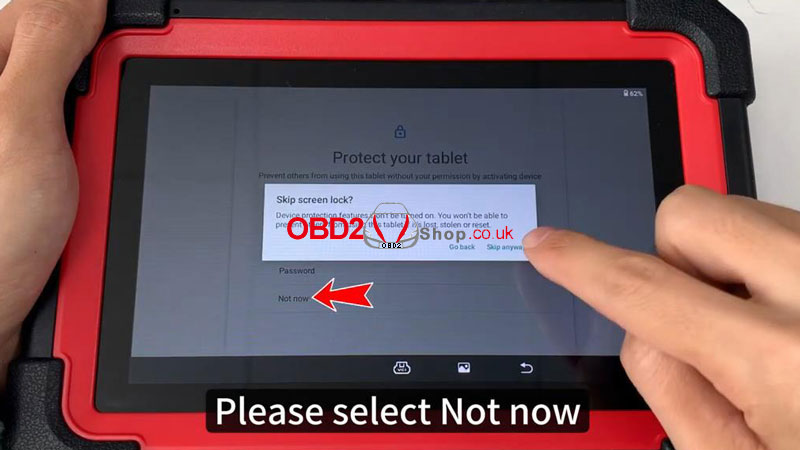 App init >> Input serial number(backside on tablet) >> OK Wait for the application to download and install... After installation successfully, open the application >> Allow all permissions 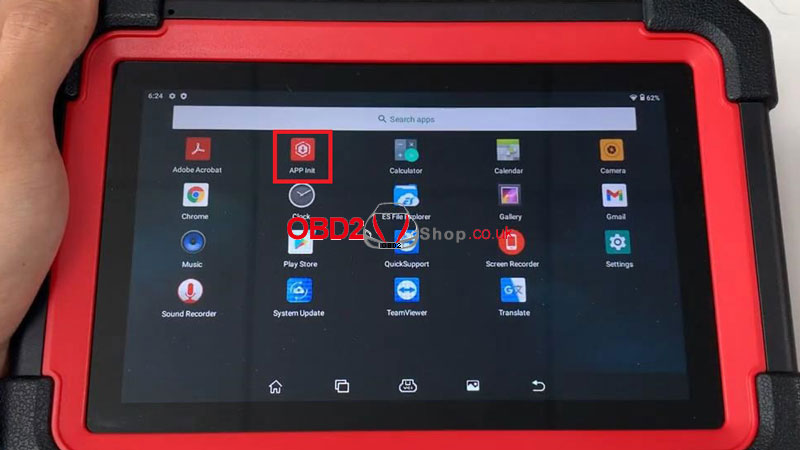 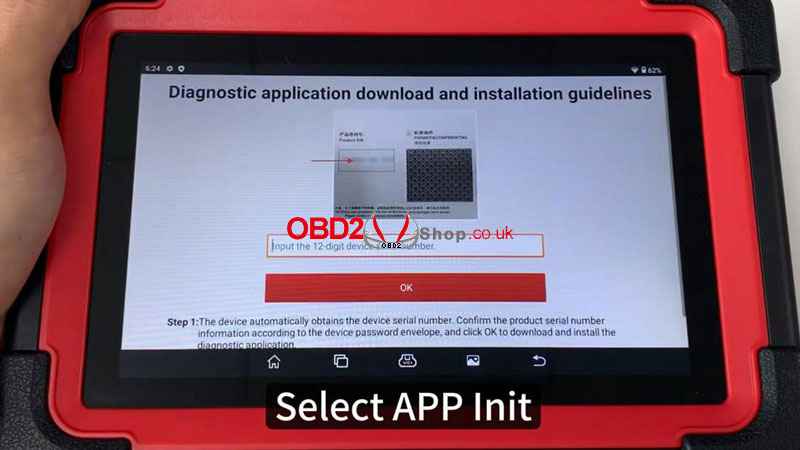 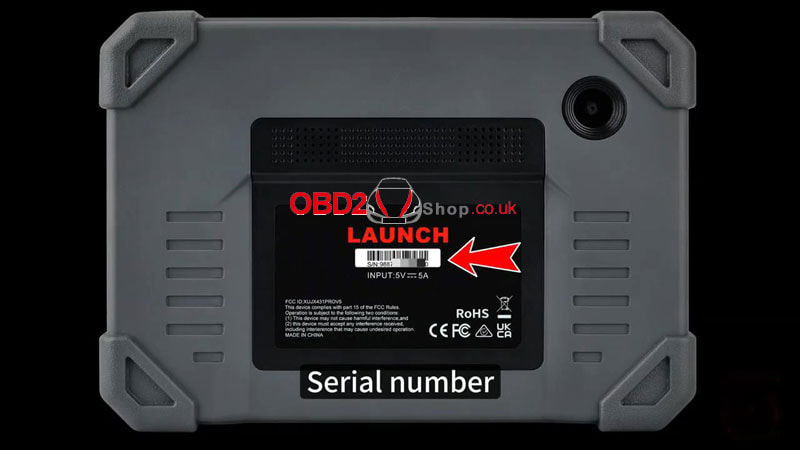  Log in account >> Software Update >> Update all  |
