|
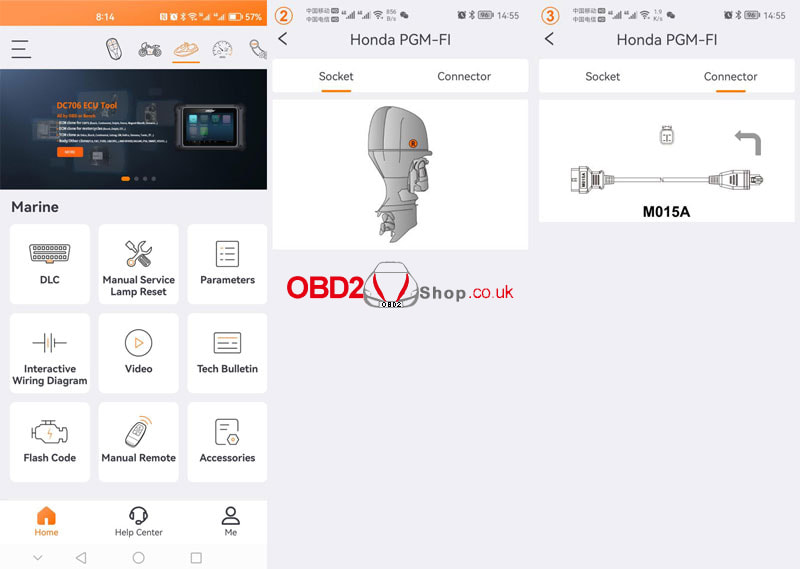
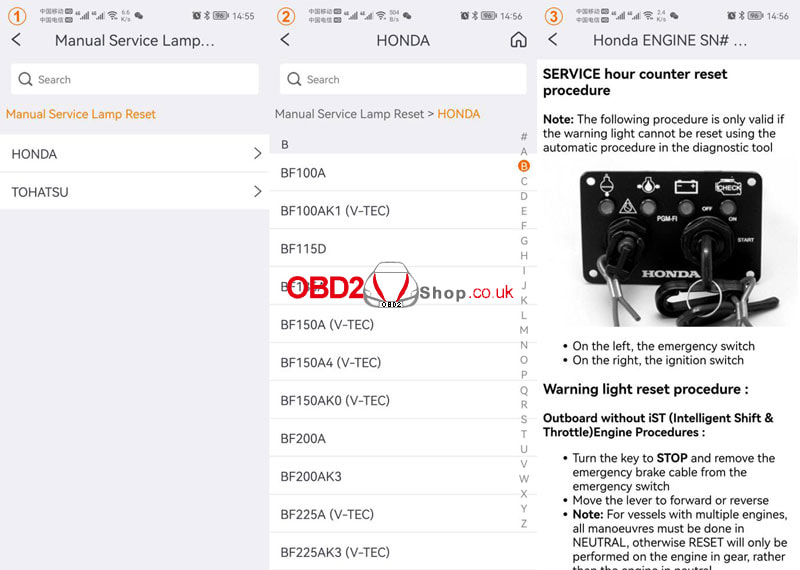
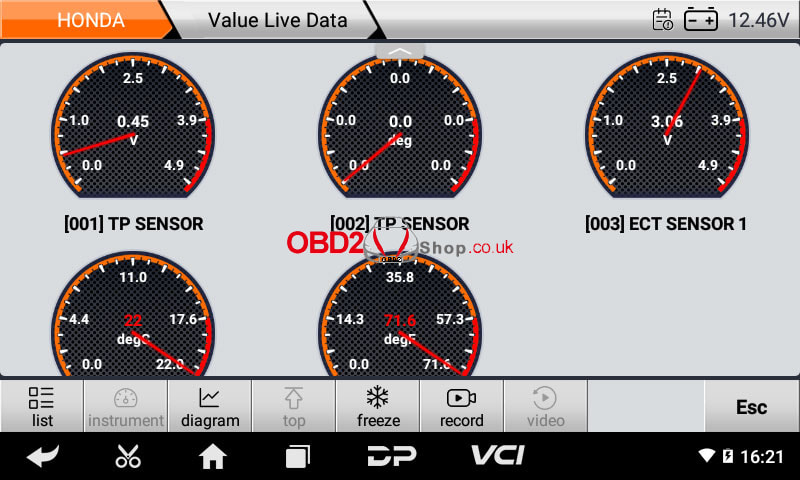
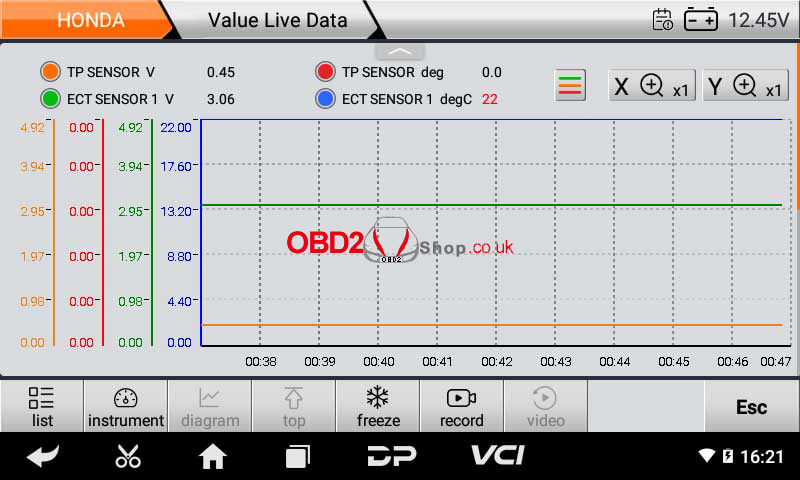
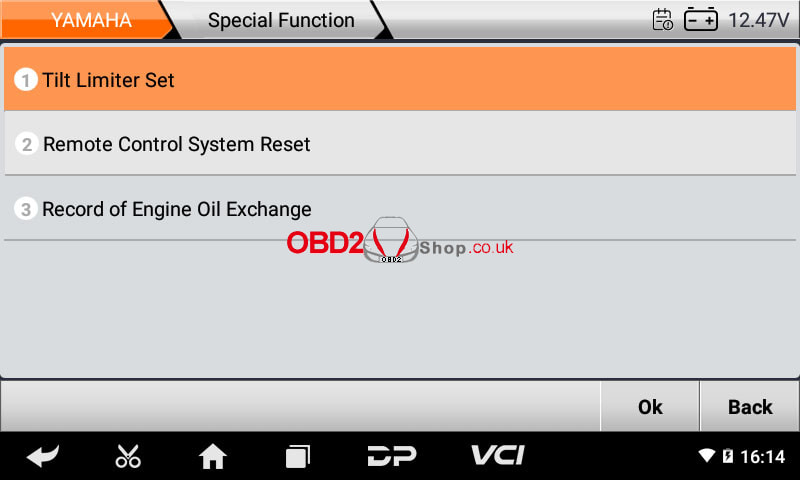
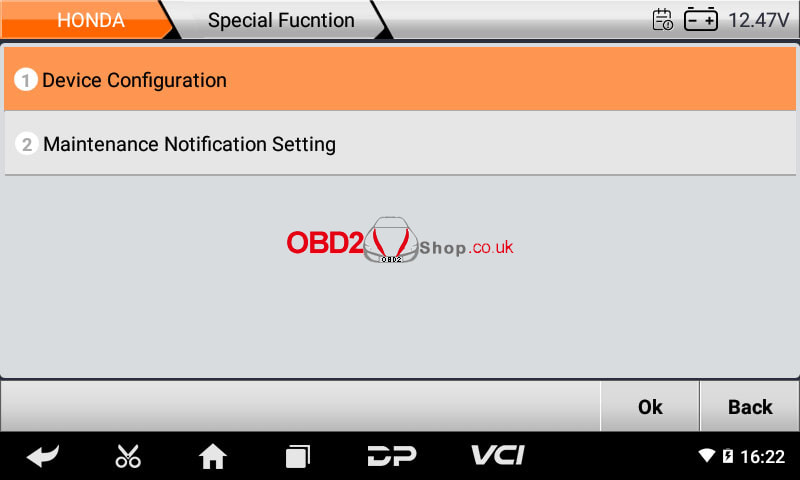
OBDSTAR iScan series has developed iScan HONDA, iScan KAWASAKI, iScan SUZUKI, and iScan Yamaha marine DIY diagnostic tools. It enables users to check DLC, manual service lamp reset, parameters, interactive wiring diagram, tech bulletin, flash code, etc. Advanced Features
  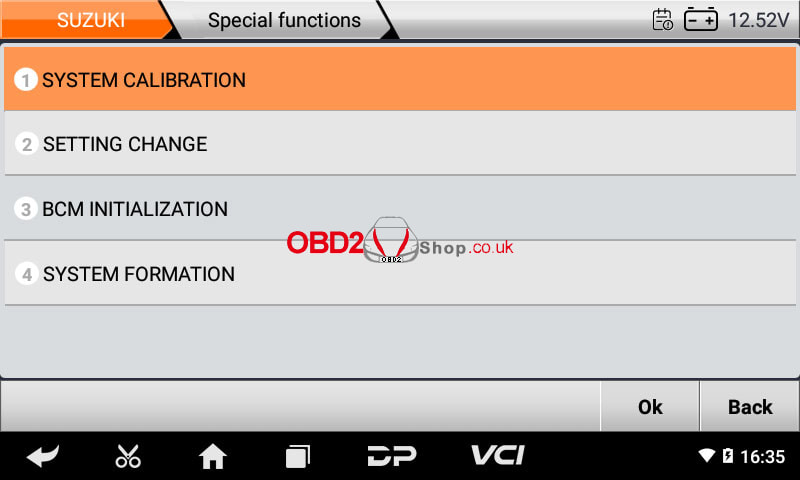 OBDSTAR ISCAN 4 Models 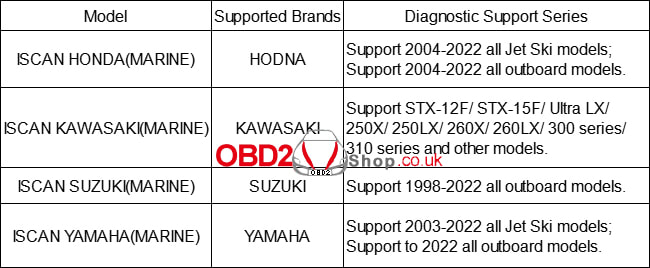
0 Comments
The self-test function of Xtool D9 Pro can determine whether the device is in good condition before diagnosing. This article will guide you step by step on how to do the self-test for the Xtool D9 Pro device. Step 1. Select "Setting" on the device diagnostic system interface. 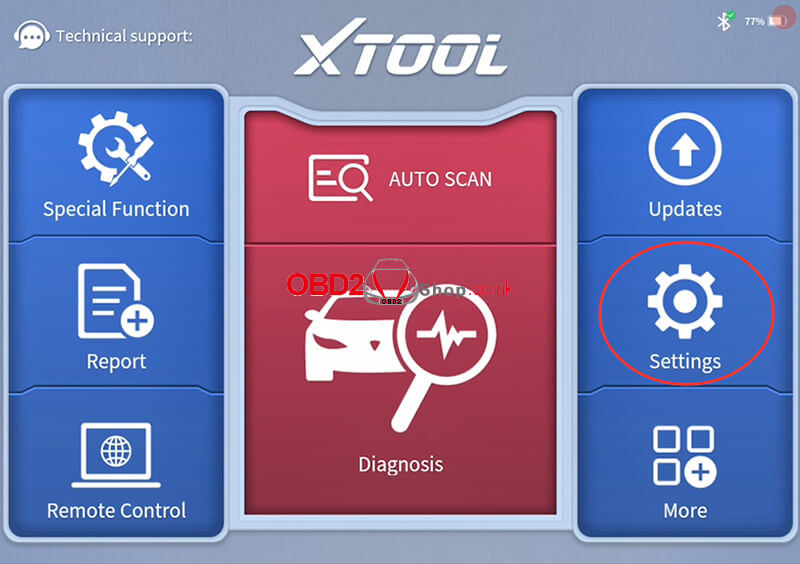 Step 2. Select "Self-test", and follow the instructions to connect the VCI box and D9 PRO tablet: ① Connect the VCI box to an external 12V power supply (Do not connect to the vehicle's DLC port, otherwise it may cause serious damage or failure of the car). ② Detect the circuitry to check the working status of each module or pathway of the VCI box. 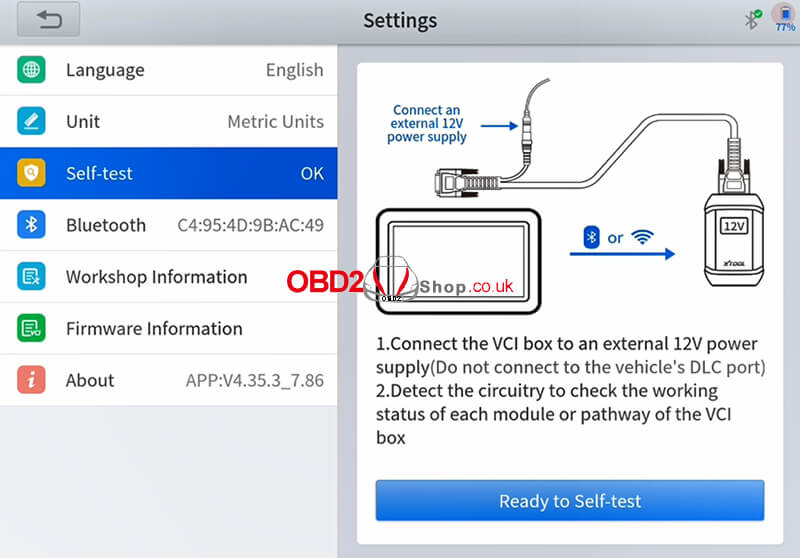 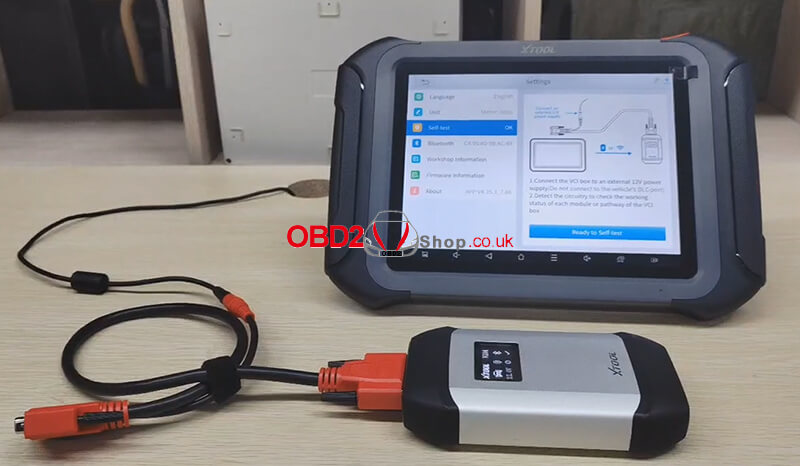 Step 3. When everything is ready, click "Ready to self-test". 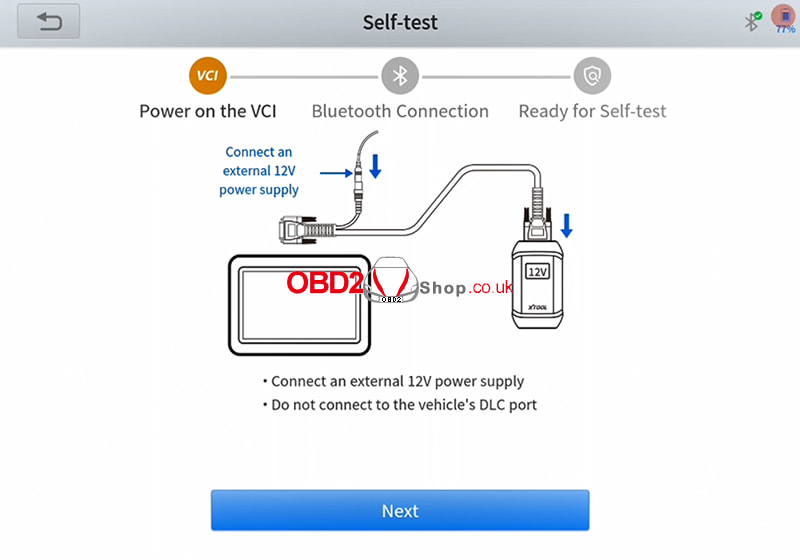 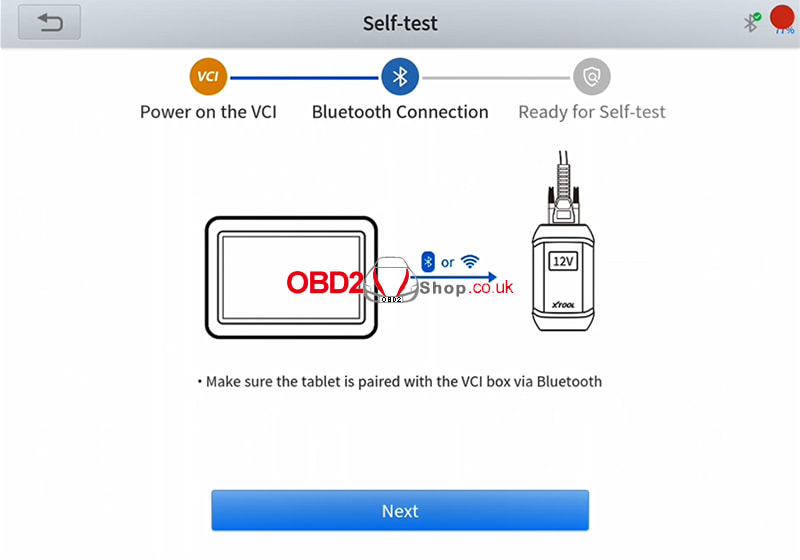 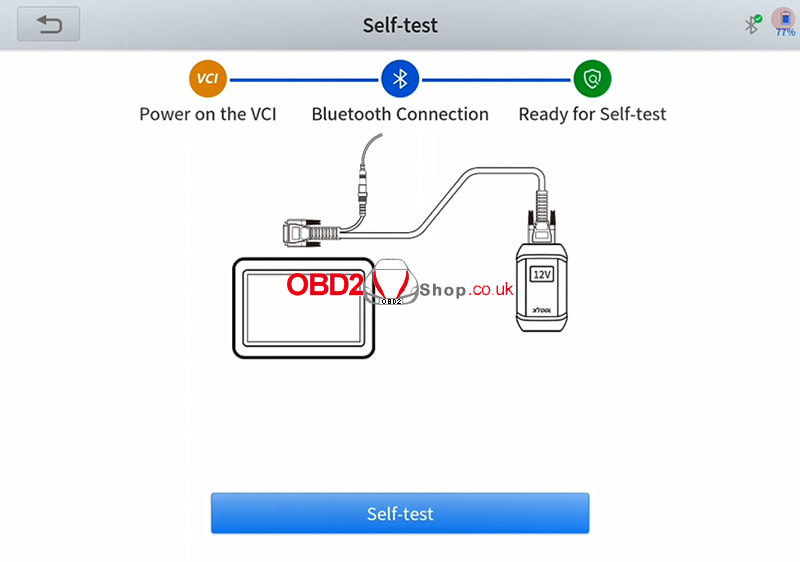 Step 4. The self-test procedure checks the communication status of each line and displays it in the list as shown below. 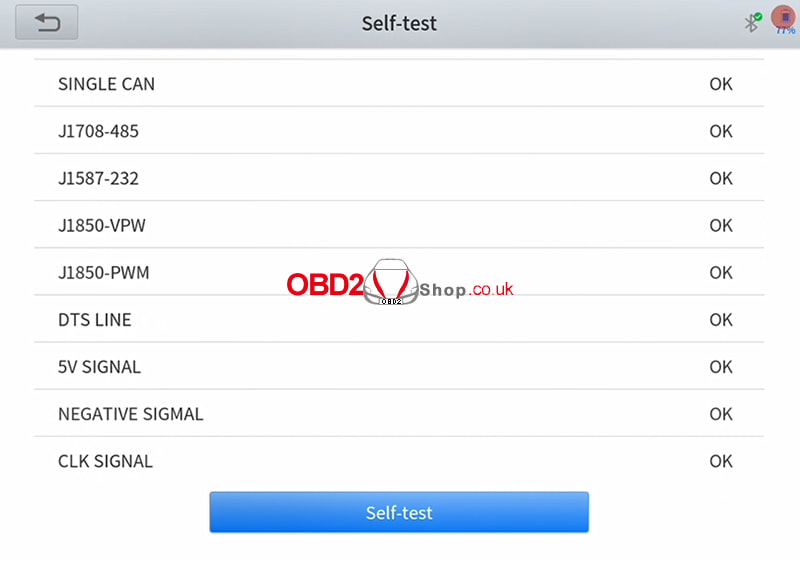  Note: If the communication status of a certain line is NG, it may affect the models based on those lines. If the self-test fails, please do not diagnose the car with the faulty line.
Technical support: www.obd2shop.co.uk OBDSTAR upgraded Toyota odometer recalibration to V30.31 in Feb. Added Toyota Camry 2018 XV70 VDO R7F701406. It can be available on OBDSTAR X300 DP PLUS & ODO Master. Noted to keep your software updated for the latest features. 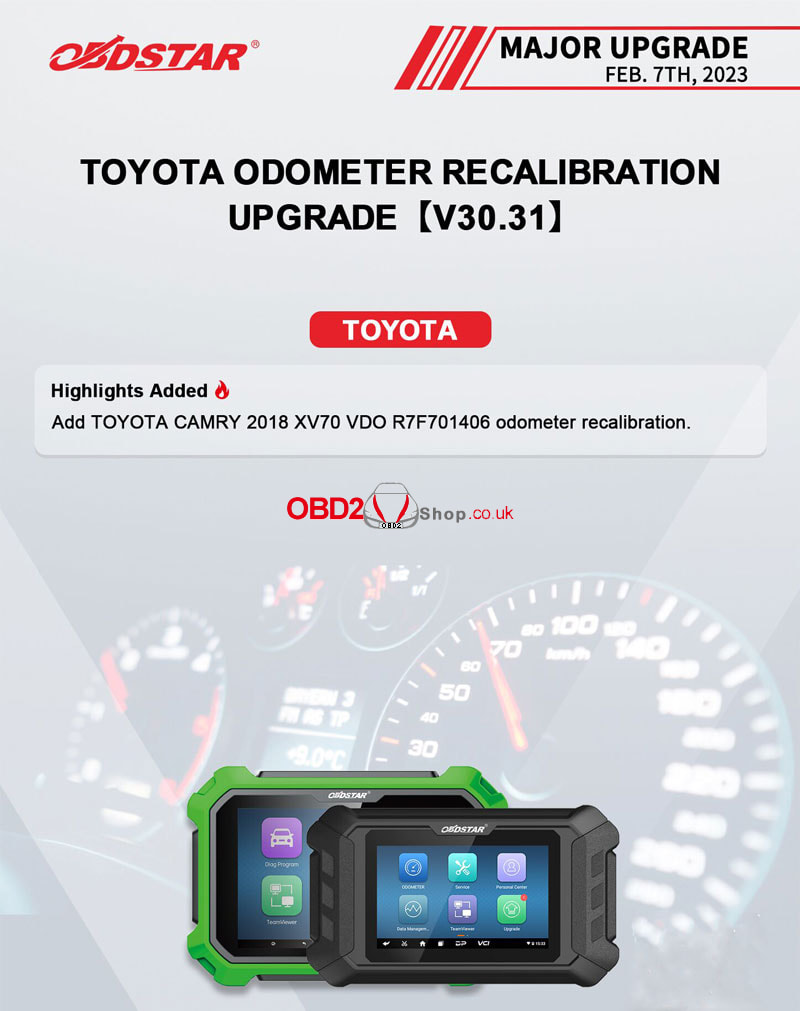 Toyota ODO Adjustment Support Car List 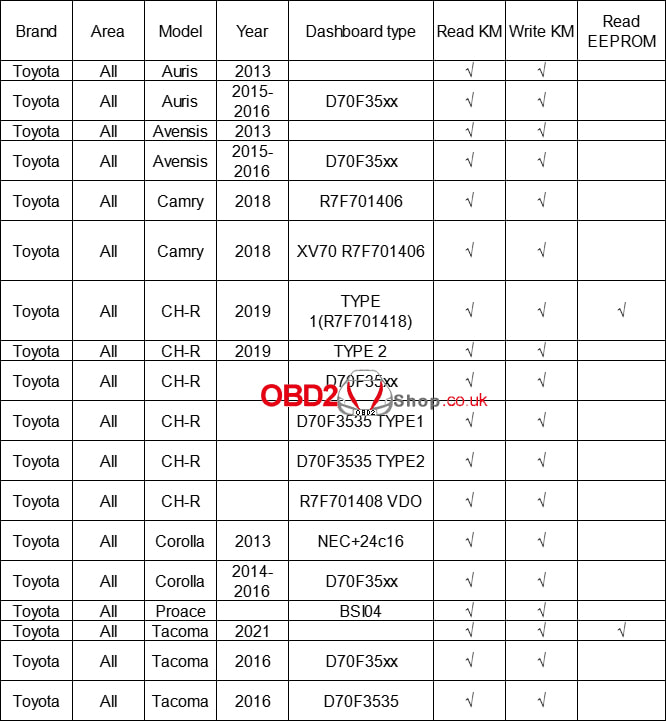
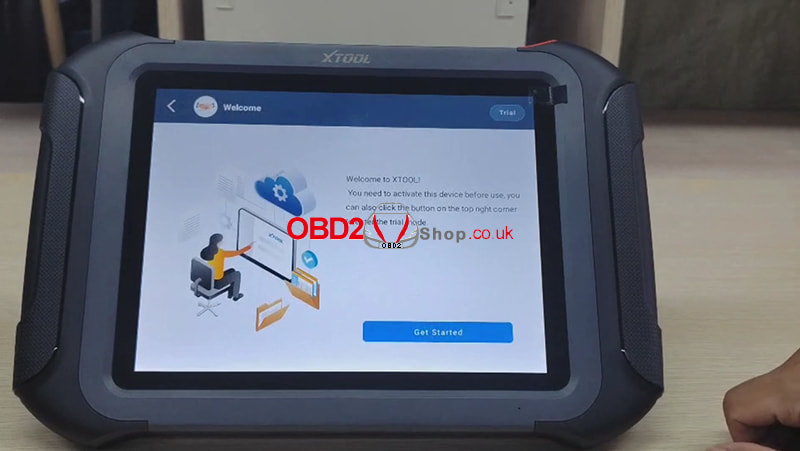
When you receive your XTOOL D9 PRO, you need to activate it before use and this article will guide you on how to activate your device.
Press and hold the power button to turn on the system and the system will automatically enter the wizard process and prompt you to select the language for the operating system. 

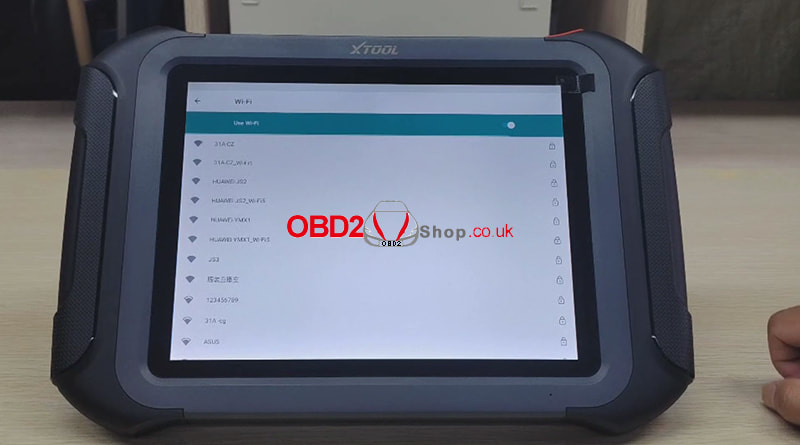
After setting the system language, click Next to enter the Wi-Fi connection page, then select a network to connect.
Return to the next page after a successful Wi-Fi connection, and click Get Started” to continue.
Please input your email address as requested.
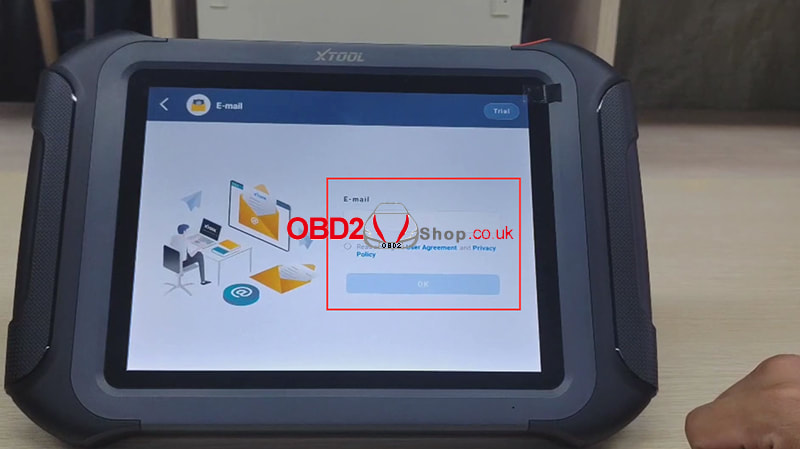
Activation is successful!

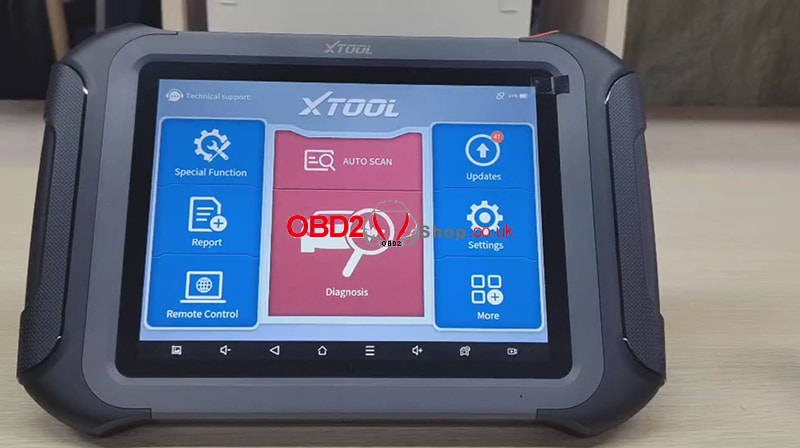
Then click "OK" to enter the diagnostic system and start using the device.
Video guides:
This post will guide you on how to use Yanhua Mini ACDP and ACDP Module 11 to do BMW F chassis 8HP EGS ISN refresh.
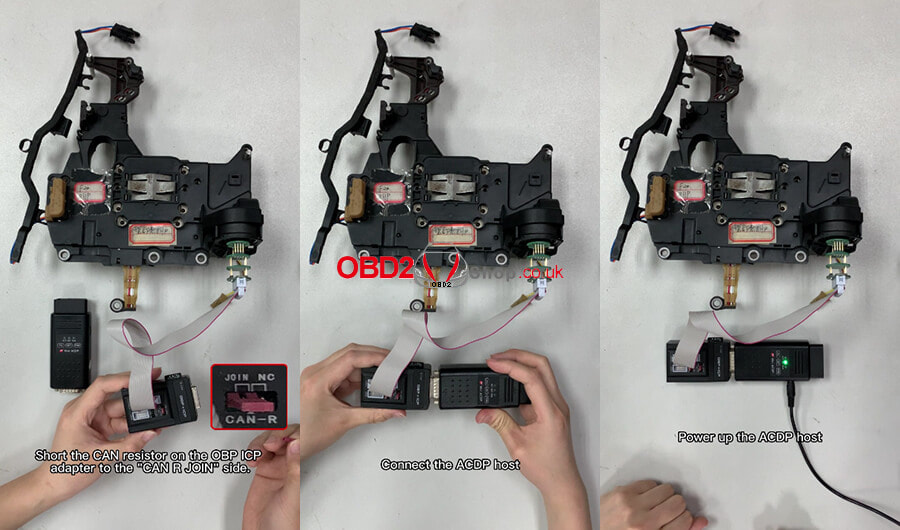
Check all the accessories we need ACDP host OBP ICP adapter 8HP interface board 20 PIN cable Installing the 8HP interface board Connect the OBP ICP adapter Short the CAN resistor on the OBP ICP adapter to the "CAN R JOIN" side. Connect the ACDP host Power up the ACDP host 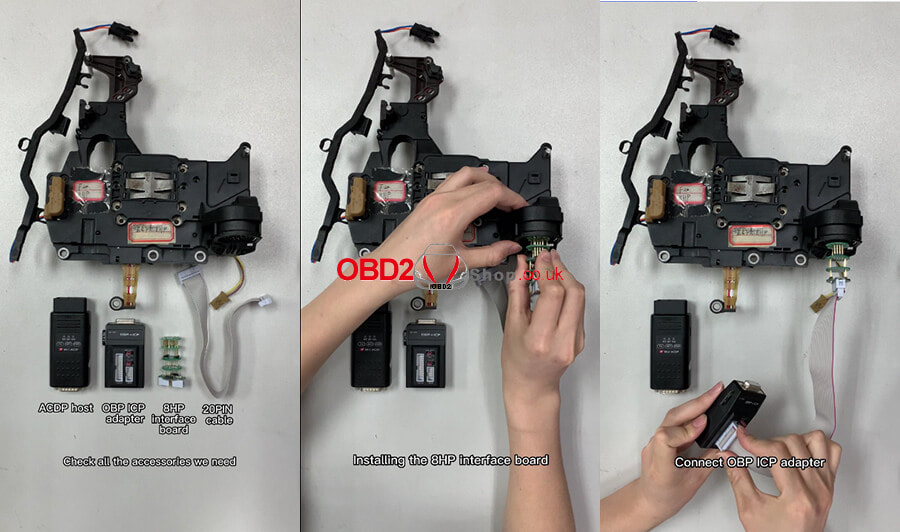
Open ACDP software
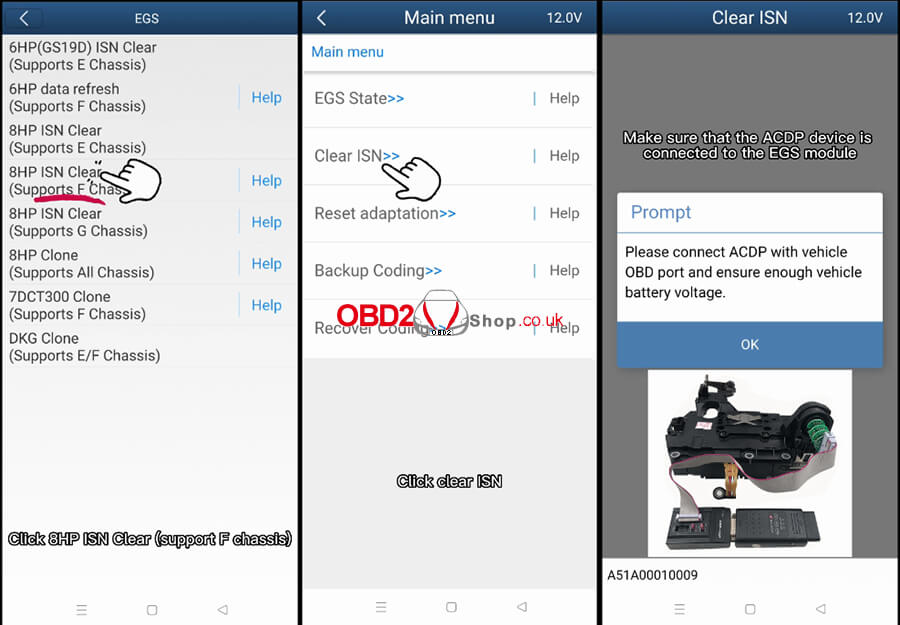
Please confirm the ACDP host is properly connected Click "BMW">>"EGS">>"8HP ISN Clear (support F chassis")>>"Clear ISN" Make sure that the ACDP device is connected to the EGS module 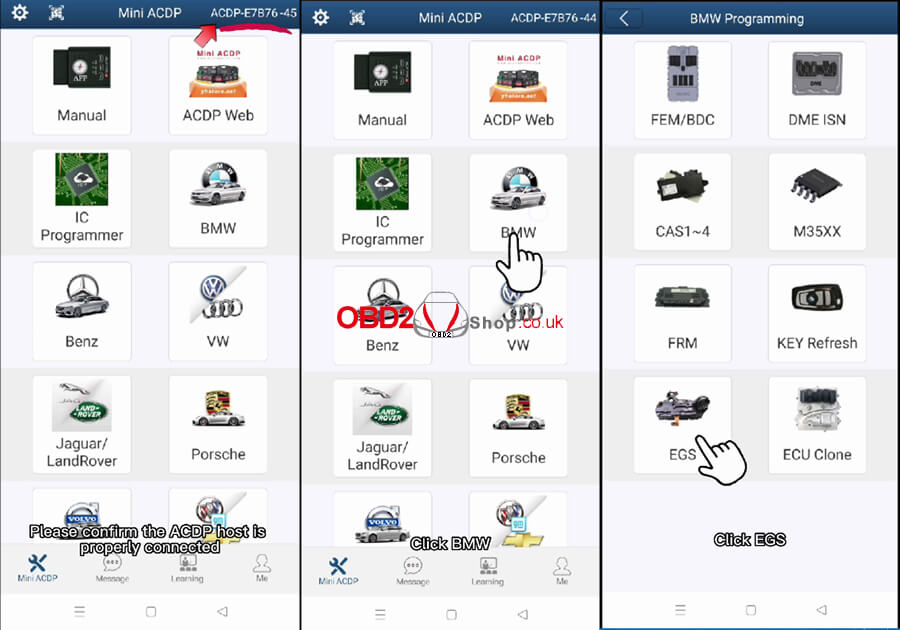
Confirm that the EGS supports clearing ISN and ISN is not cleared.
Click"Continue" Start programming the EGS module soon... EGS module is being programmed 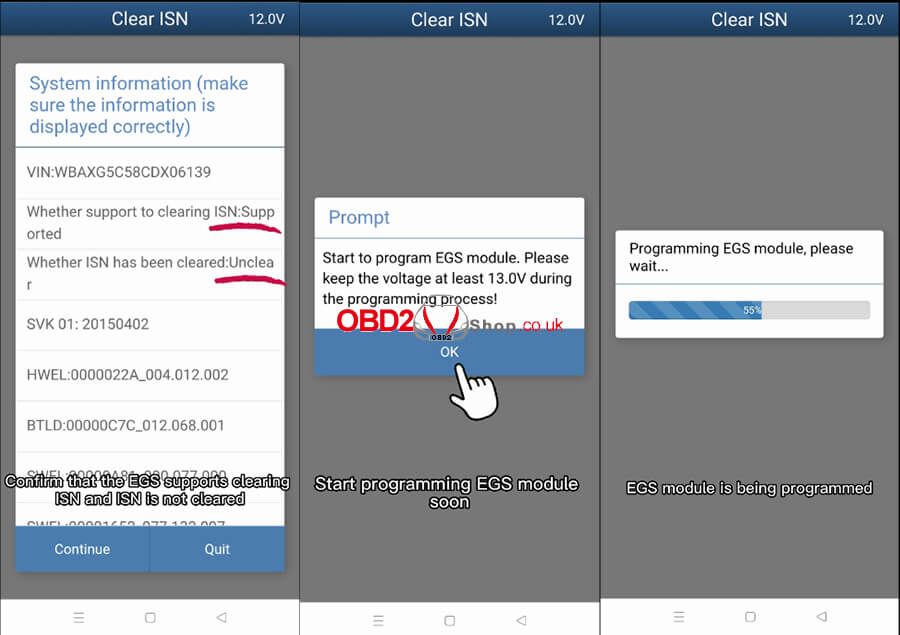
ISN data is being cleared...
ISN data cleared successfully Then we click EGS status Make sure that the ACDP device is connected to the EGS module Confirm that the EGS ISN has been cleared. 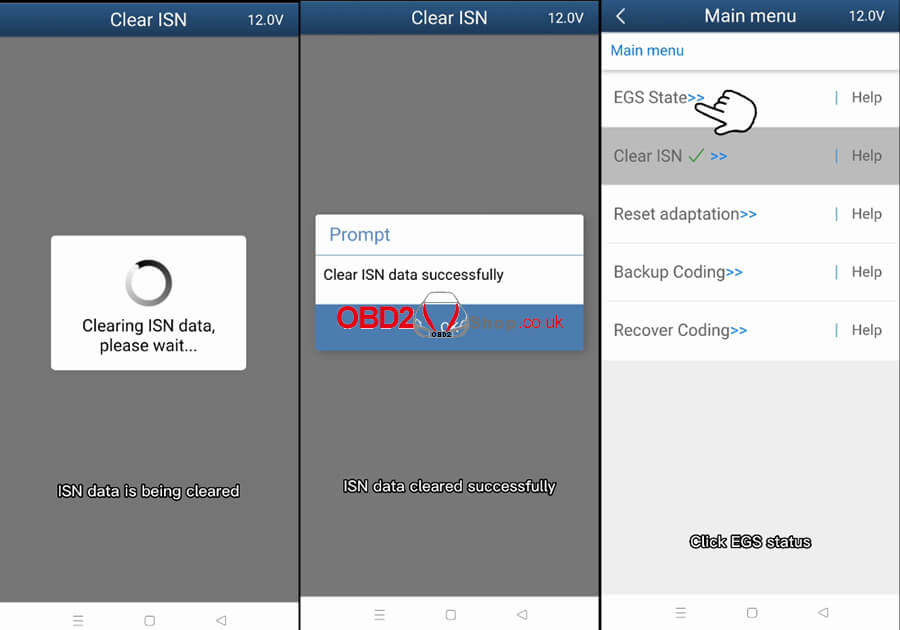

Done!
For more details on the operation, please refer to the following video: Read this article, to learn how to renew a second-hand Mercedes Benz Bosch ME2.8 engine control module. We'll do a quick demonstration with the CGDI MB Tool in 3 steps. What's required? CGDI MB Tool Mercedes ME2.8 ECU 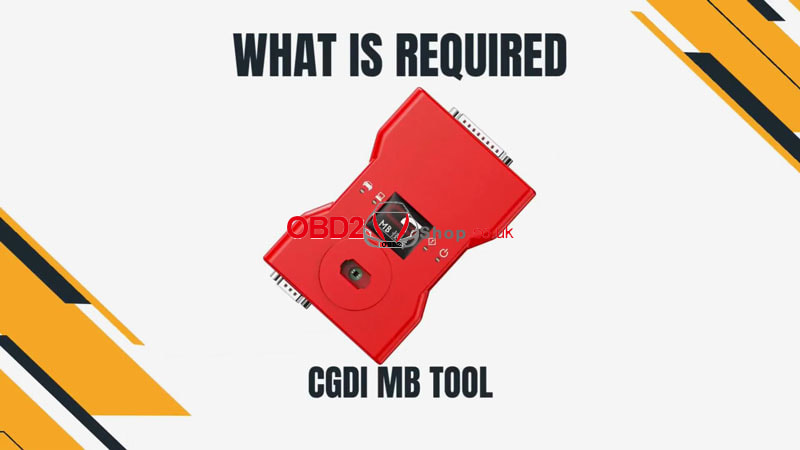  After a successful connection, open CGDI MB software: Auto computer >> Read Read data success!  Step2. Get Erase Password Click the "Get" button to erase the password, then wait for the calculation... Erase password calculated successfully! 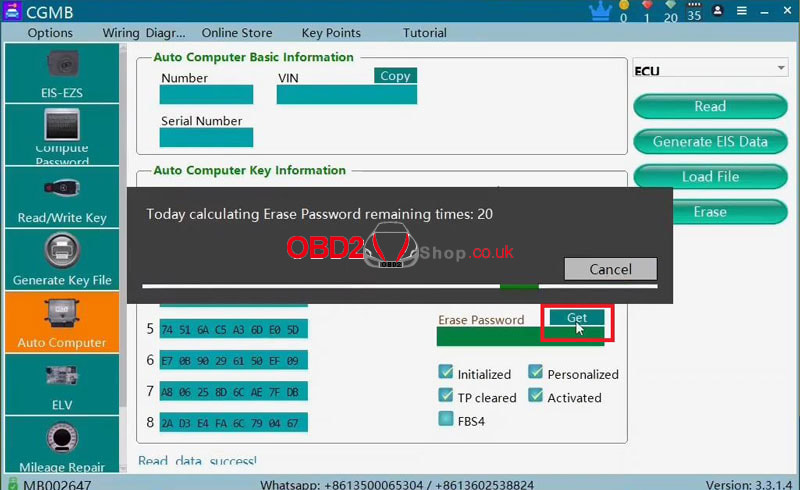  Step3. Renew ME2.8 Click the "Erase" button to start renewing ECU. Erased successfully! Go back to read the ECU info again, as we can see, all key info was cleared. Done.  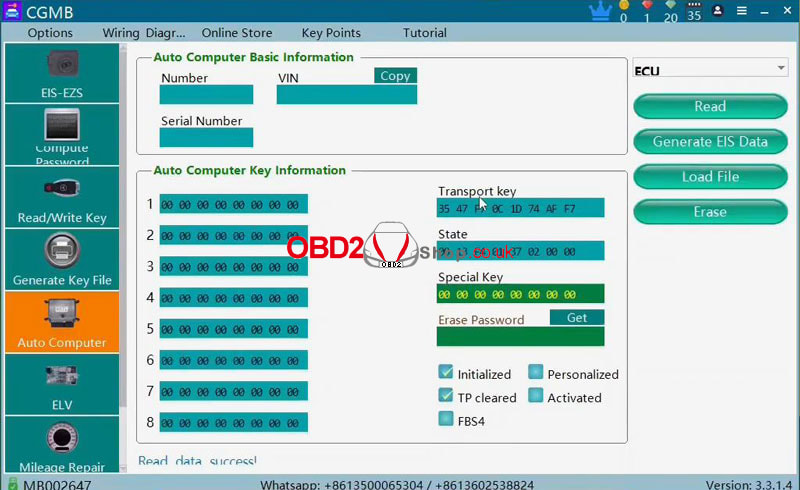
Here we provide Godiag GD101 J2534 firmware free download, installation & upgrade guide step by step. Godiag GD101 is a device to work between diagnostic software and vehicle, compatible with J2534 Passthru and ELM327.
Free download Godiag J2534 Driver V2.1 Operating system: Win 8/10/11, 32/64bit (Better Not Install on Win7!)
How to install Godiag J2534 driver?
Run Godiag J2534 driver >> Select language >> Select destination location >> Select components >> Select start menu folder >> Select additional tasks >> Install 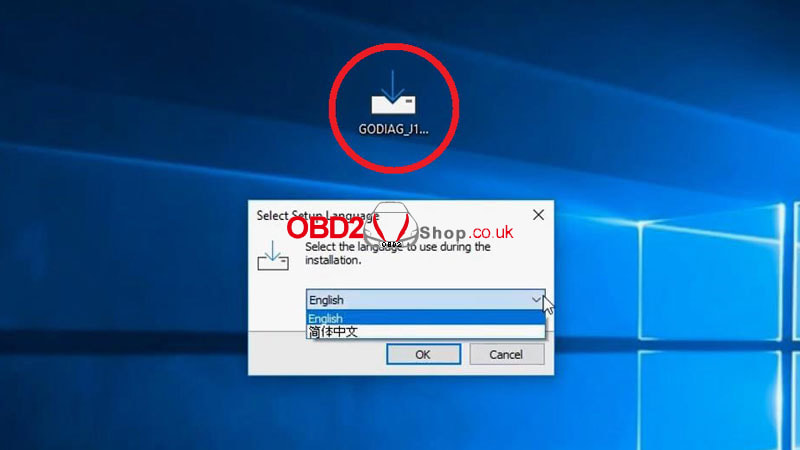
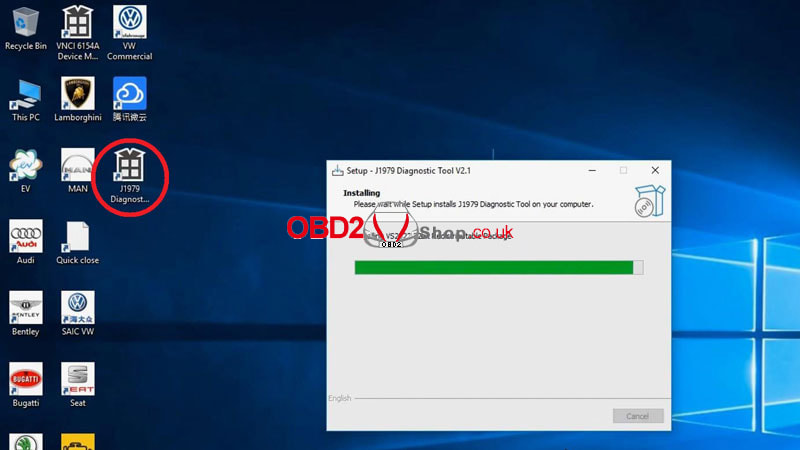
Noted to check if Godiag J1979 driver is installed successfully.
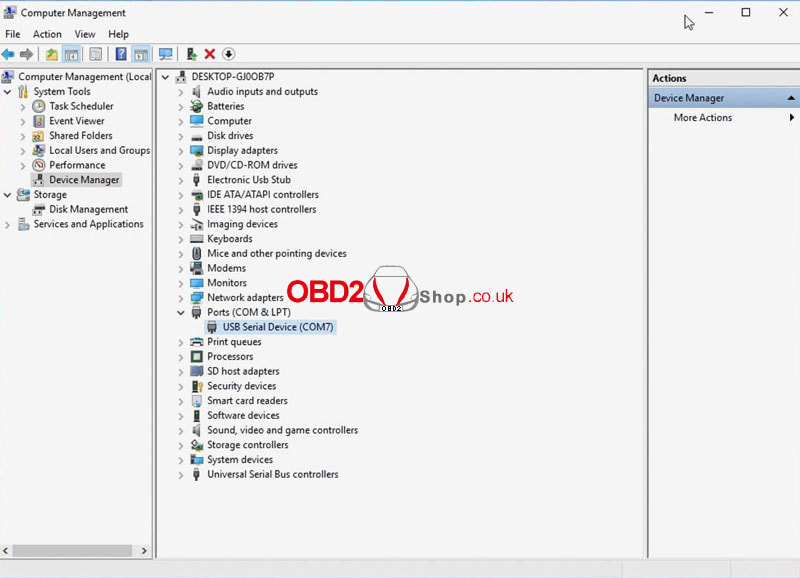
Connect Godiag J2534 & ECU to computer. Computer management >> System tools >> Device manager >> Ports (COM & LPT) >> USB Serial Device(COM7) 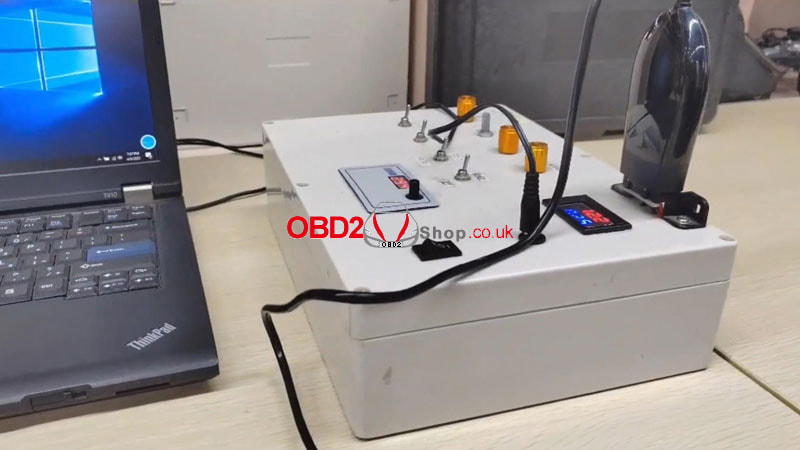
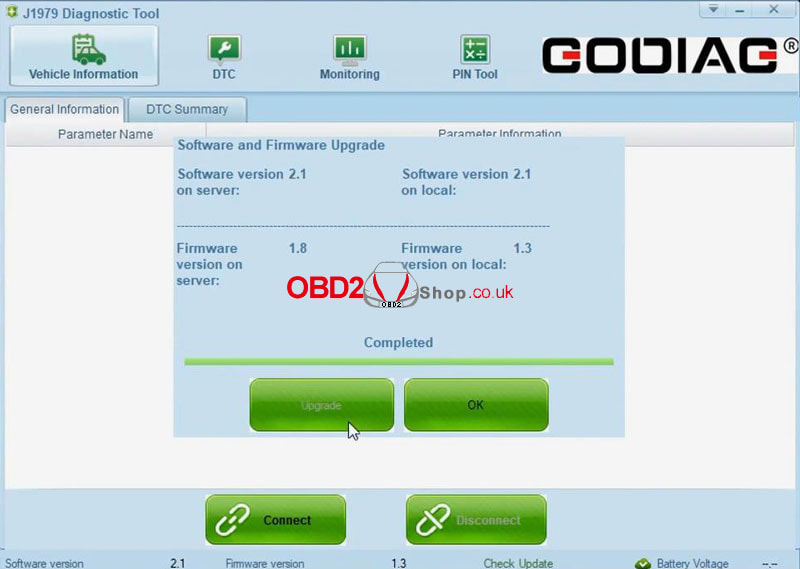
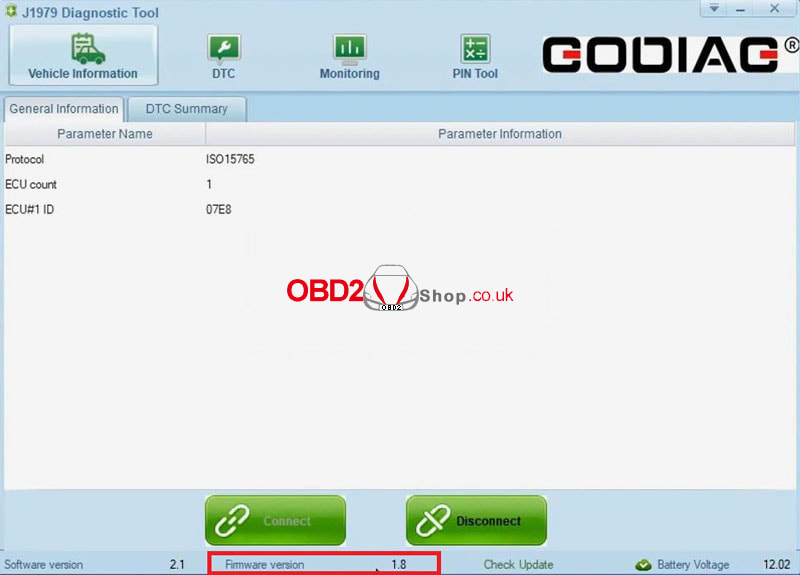
How to update Godiag GD101 J2534 firmware?
Start Godiag J2534 software >> Connect >> Check update Must disconnect with device before upgrade! Disconnect >> Check update >> Update Completed. Now you can connect the device again for start. 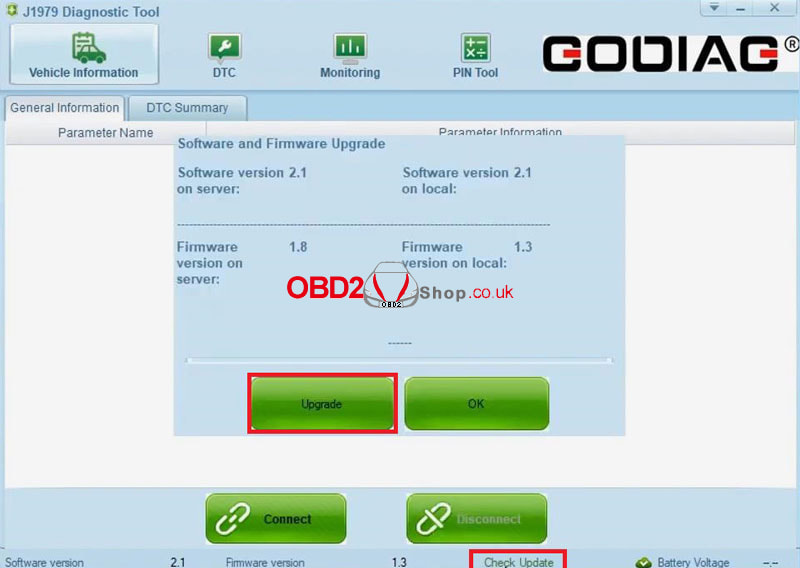
When using Autel IM508/IM608, you may encounter the problem shown in the figure below. At this point, you need to update the VCI firmware version. This post will guide you on how to do it. 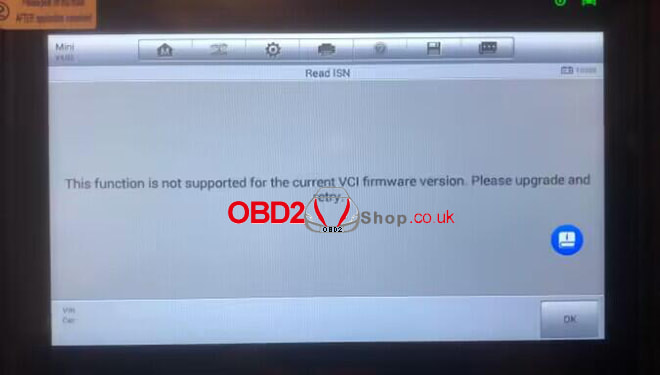 IM508 built-in VCI Firmware Upgrade Connect the tablet and the vehicle with the supplied main cable, and ensure the tablet is connected to the Internet. The built-in VCI module will be automatically upgraded if a firmware update is available. IM608 VCI Firmware Update Click VCI Manager at the bottom of the tablet interface, this application pairs the tablet with the MaxiFlash, checks the communication status, and updates the VCI software. 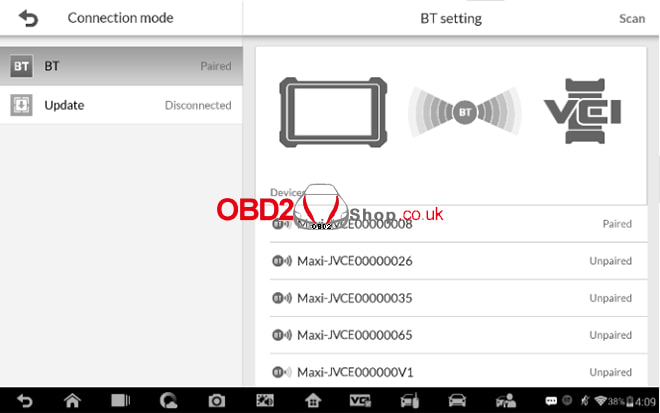 When connected to the Internet, this function checks for an available update. When there is a new software version available, tap the displayed Update button to update. Otherwise, the tablet will display "Your software is up to date". 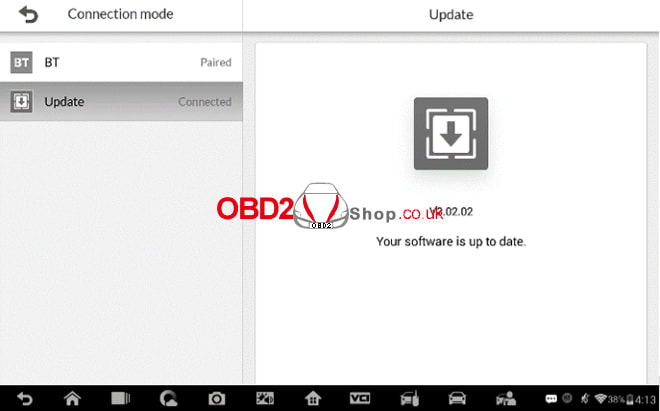 For more technical support, please follow: http://blog.obd2shop.co.uk/
How to renew a second-hand Mercedes Benz SIM4LE ECU? In this tutorial, we'll use the CGDI MB Key Programmer to do it, easily done in 3 steps. What's required? CGDI MB Tool SIM4LE engine control module 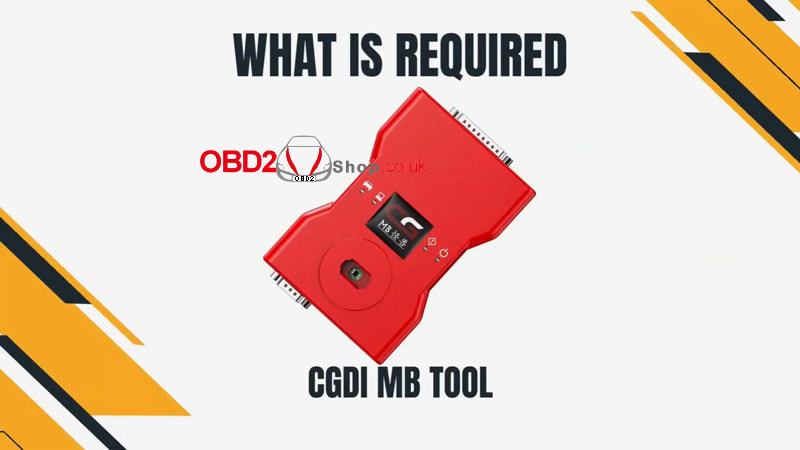 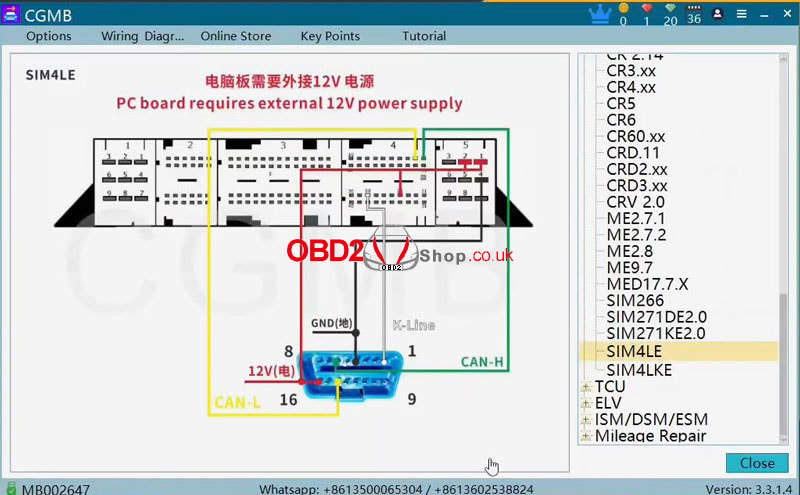 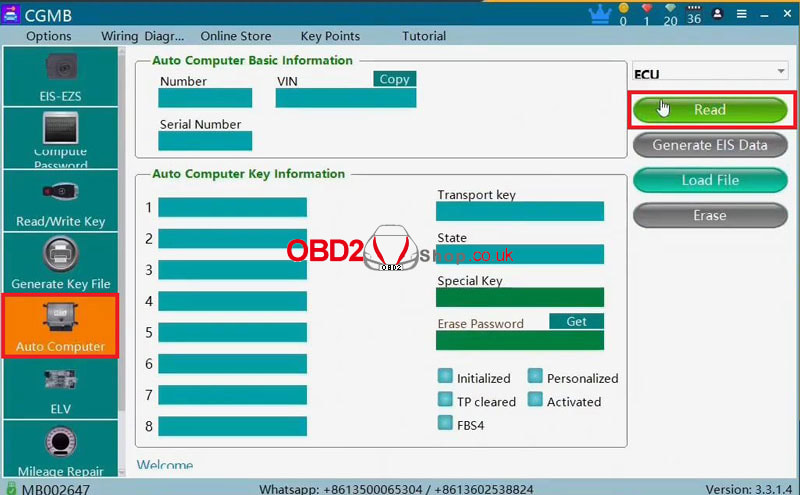 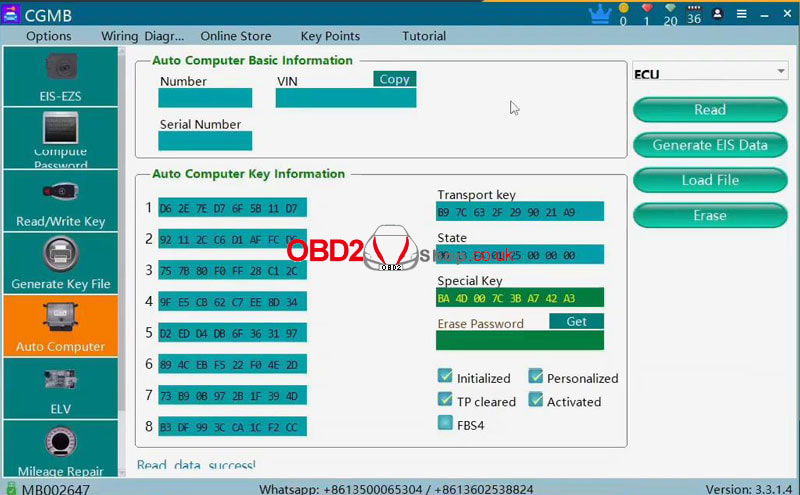 Step2. Get Erase Password After reading, click the green "Get" button beside Erase Password. Just wait for a while... Erase password calculated successfully! 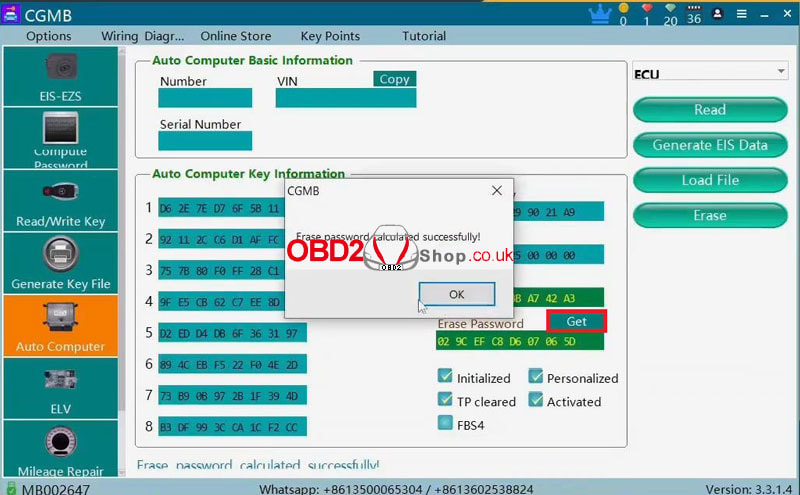 Step3. Renew SIM4LE Click the "Erase" button on the right side. Erased successfully! Mercedes's SIM4LE module has been renewed. 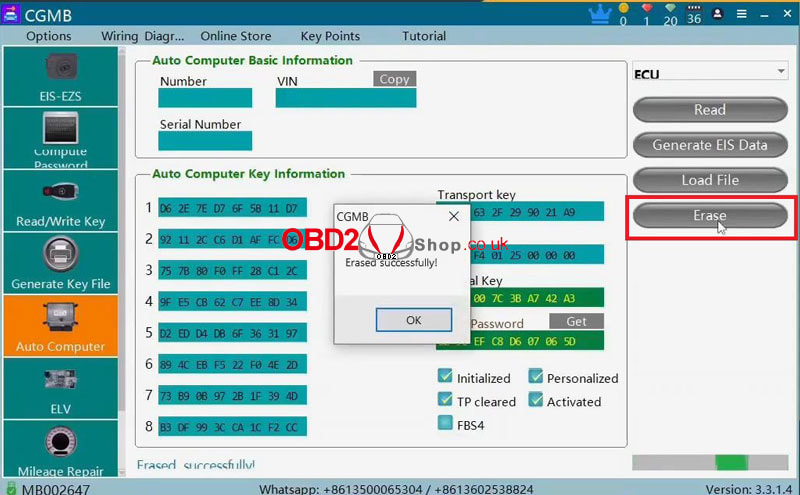 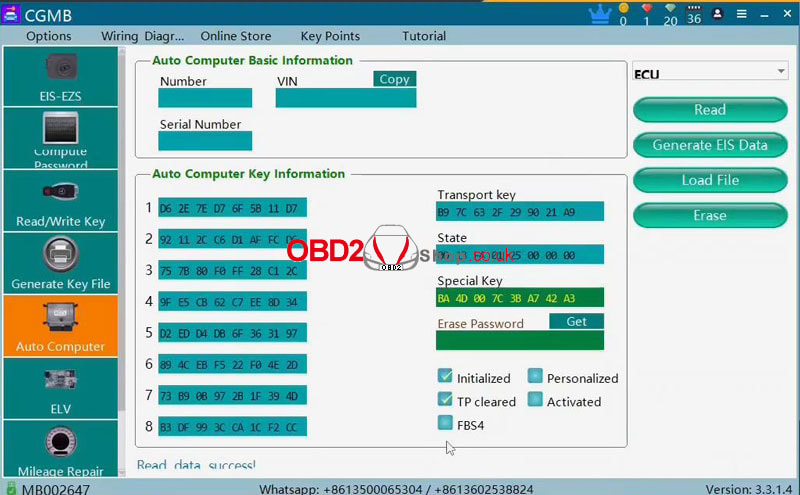
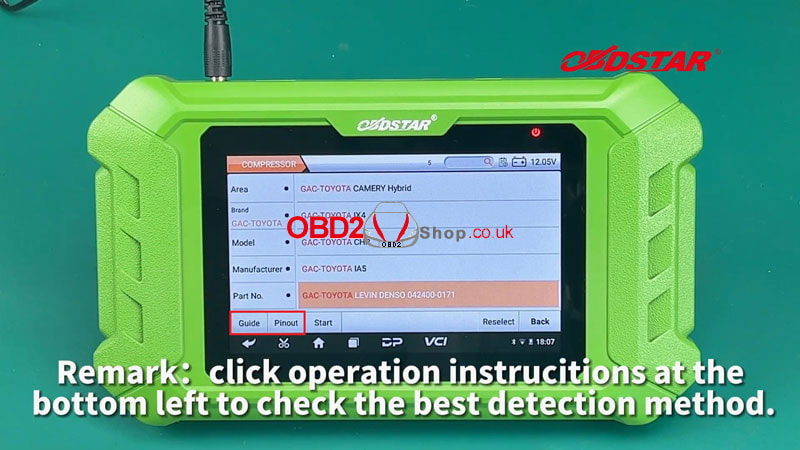
OBDSTAR MT502 is a new automotive compress test platform by Bench that can send a CANBUS signal to test and verify compressors. This is testing the Toyota compressor as an example.
Read also: OBDSTAR MT502 Test Tesla Model Y Compressor by Bench Accessories MT502 Test Platform P004 adapter Main cable P004 ECU clone jumper High voltage jumper High voltage DC power Toyota compressor test Please make sure the OBDSTAR Test Platform is in charge and communication during the whole process. 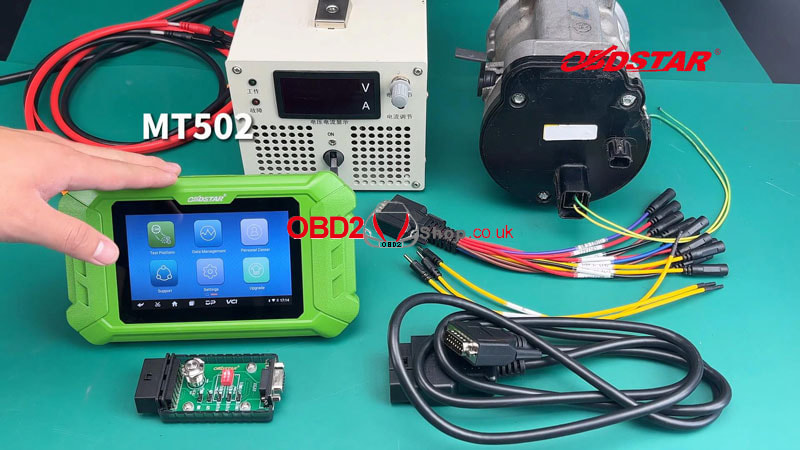
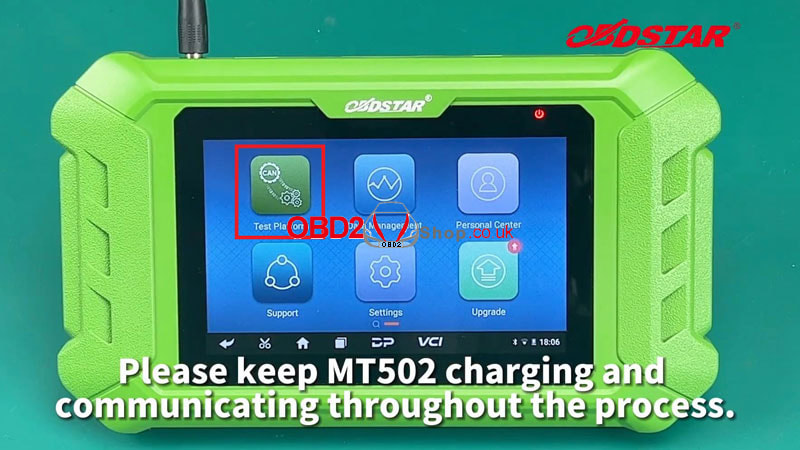
Procedure
Check the operation video:
Test platform >> Agree >> Compressor >> Compressor V30.28 >> Brand >> GAC-TOYOTA >> GAC-TOYOTA LEVIN DENSO 042400 0171
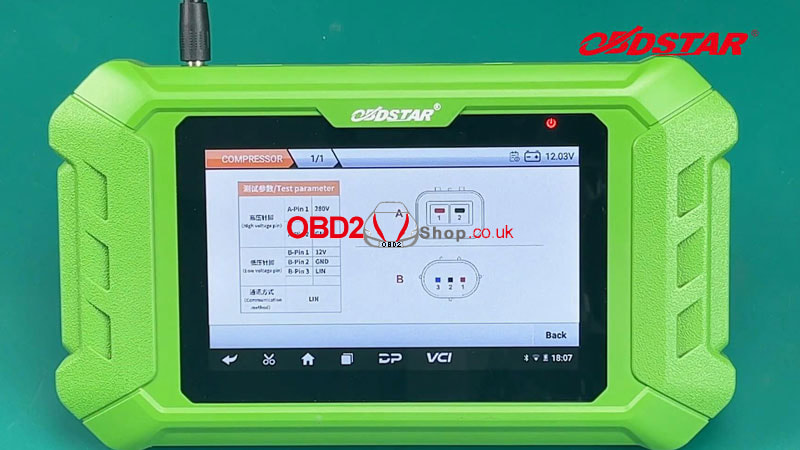
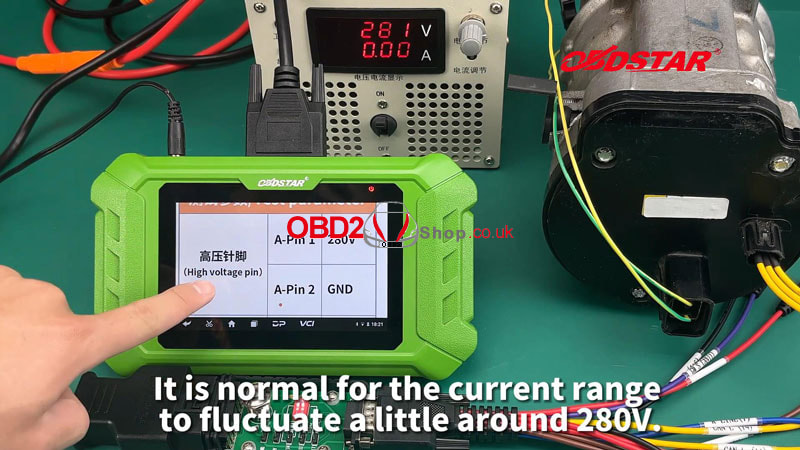
Click "Guide" & "Pinout" to check operation instructions. Connect according to the wiring diagram. It's normal for the current range to fluctuate a little around 280V. 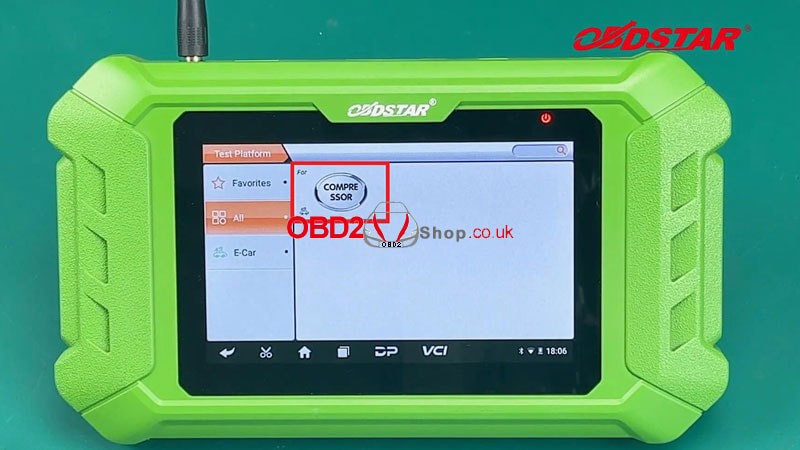
Turn on ignition switch on P004 adapter.
Click twice "Start". The test command has been sent. (Some compressors start with a delay of more than 10s) Click "Stop", the test command has stopped sending. Toyota Compressor driver test operation is completed. 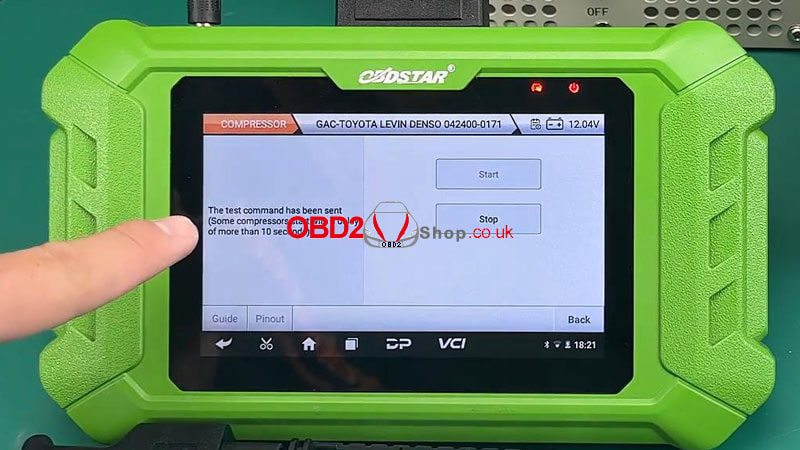
|
