|
What's different between XTOOL A30M & D7 Diagnostic Tool? Today I'm gonna do a detailed but quick comparison review of these 2 devices side by side. Hope this can help you to make an informed decision. The first obvious difference is that the XTOOL D7 is a standalone tablet-style tool while the A30M needs you to pair it by Bluetooth on a phone. 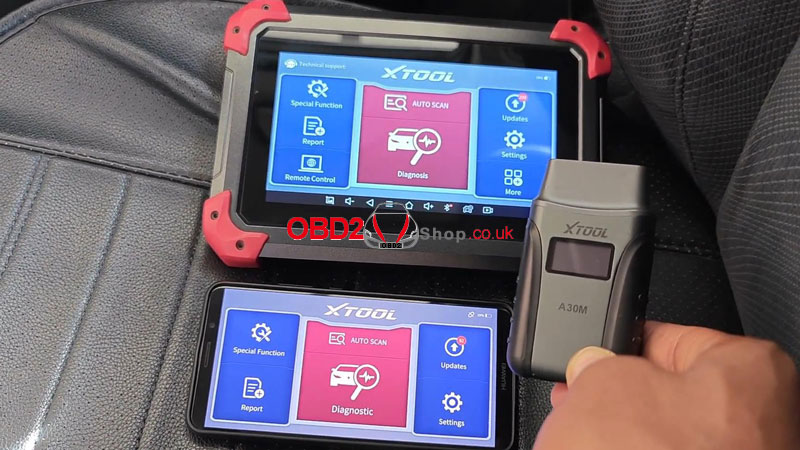 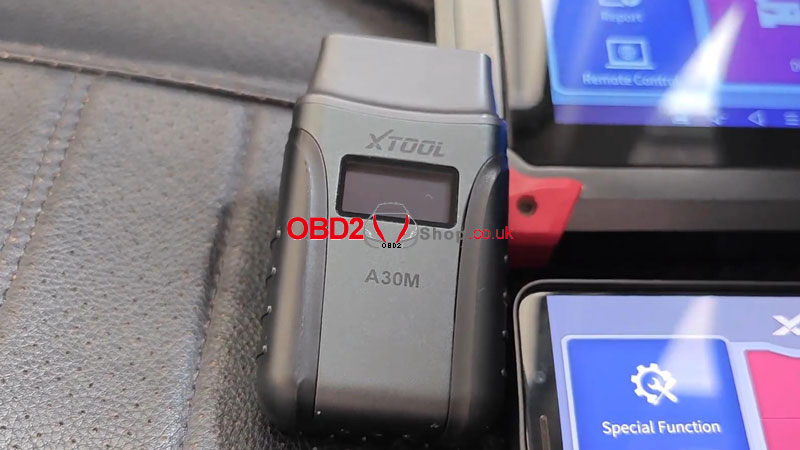 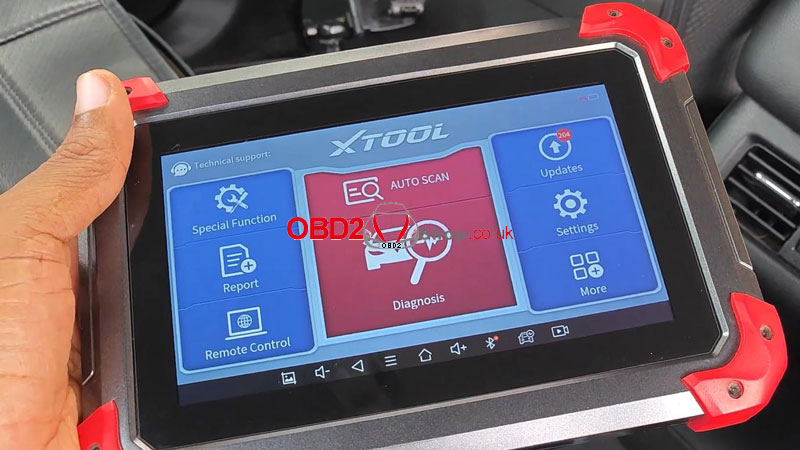 Despite this difference, these 2 scanners have a lot in common. They're both all system diagnostic scanners, meaning that you have access to every single ECU that's installed in the car. They're also fully bi-directional tools and the A30M has kept up with every single bi-directional or actuation test that I've been able to do with the D7 on my 2017 Honda Accord. So I haven't been able to put a knife between these two when it comes to directional tests in terms of OBD2 protocols. I haven't really seen any difference between the two as well. 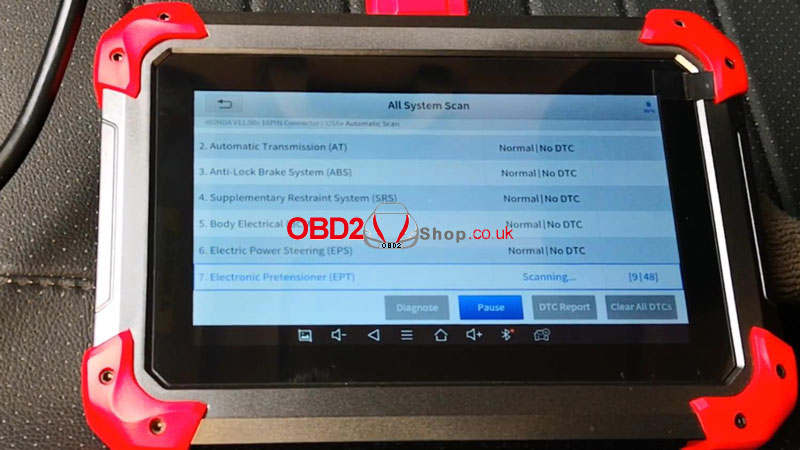 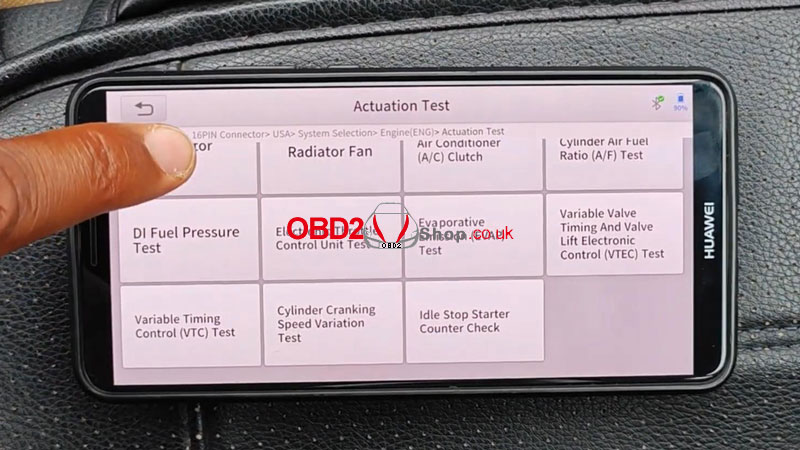 By the way, if you're wondering what the difference is between the 3 versions of XTOOL D7, D7S, and D7W. The D7S simply boosts improved hardware and supports the diagnosis over Internet protocol when compared to the traditional D7. The D7W does everything that the D7S does but in addition, it makes a wireless connection to the car via Wi-Fi. So if diagnosis over Internet protocol is a must for you, then you should be looking at either the D7S or the D7W. 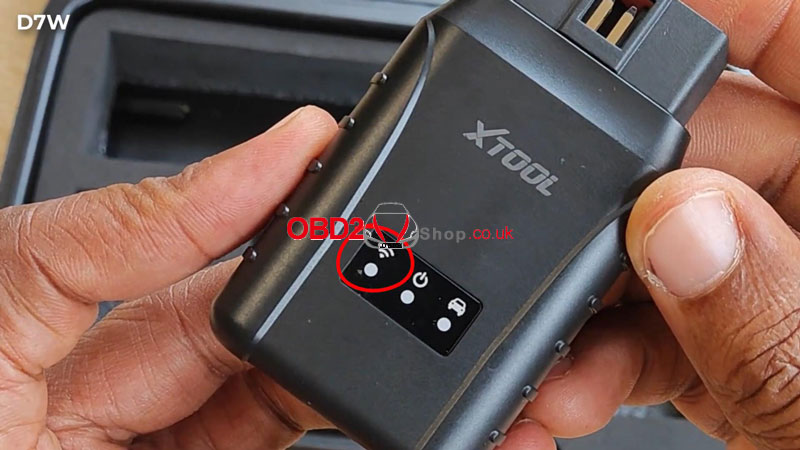 These tools really begin to differ when it comes to special functions. The A30M supports 21 kinds while the D7 supports 36 kinds for my Accord. For example, the A30M doesn't support key programming. So if key programming is an absolute requirement for you, the D7 should be more suitable. 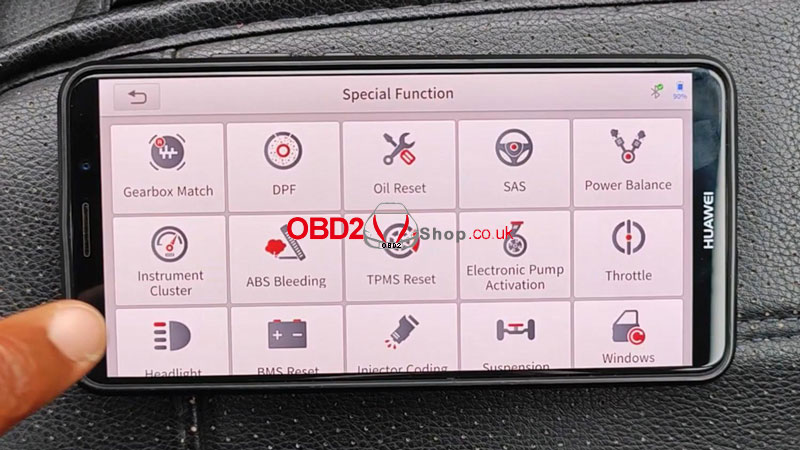 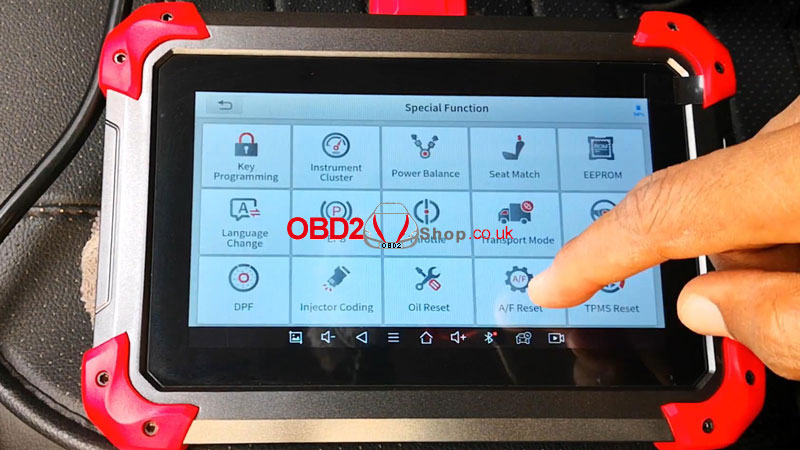 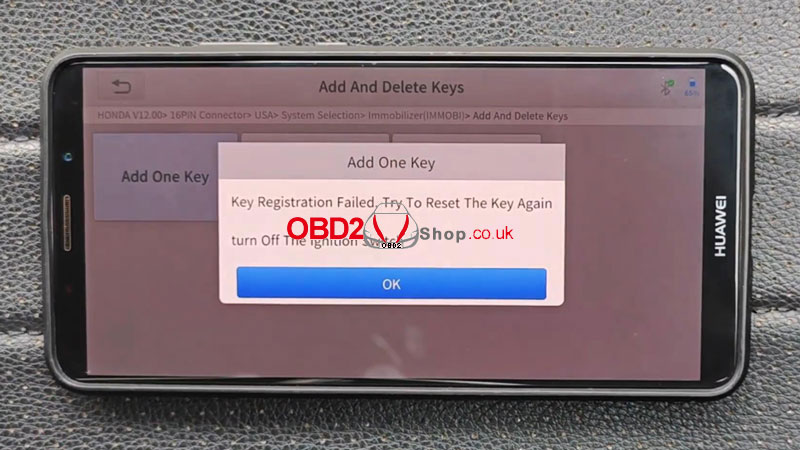 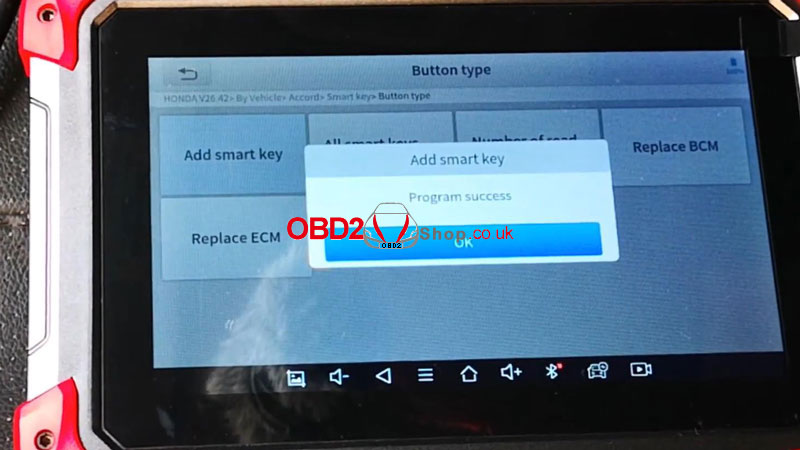 Another major difference between these tools is that the D7 supports ECU coding while the A30M doesn't. So if you're looking to customize those hidden functions or settings in your car, for example turning off those annoying beeps or doing other coding stuff again, the D7 will be the obvious choice here. 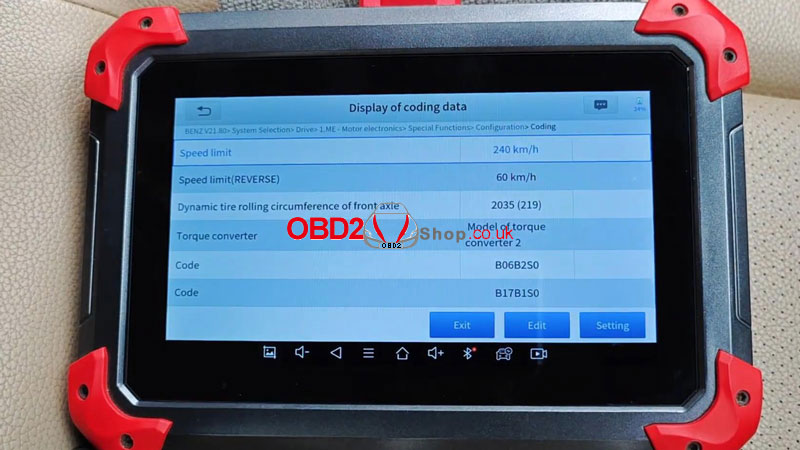 However, just to state that not all cars support ECU coding, you can't just simply buy a D7 or any other scanners that support ECU coding and say you want to code any cars. This is by no means exhaustive. But generally, Mercedes, VW, Audi, and Lexus are examples of cars that support ECU coding. For me, the real break difference between these scanners is with support for vehicle updates and the cost. The 30M comes with lifetime free updates and I've been amazed at how frequently these updates get pushed to it. Despite being a lifetime free update tool, you'll also get it usually retailing for £138 on our web. For the D7, it comes with 3 years of free updates, and after that, it costs $99 per year. For a new license retail cost is typically around £294. 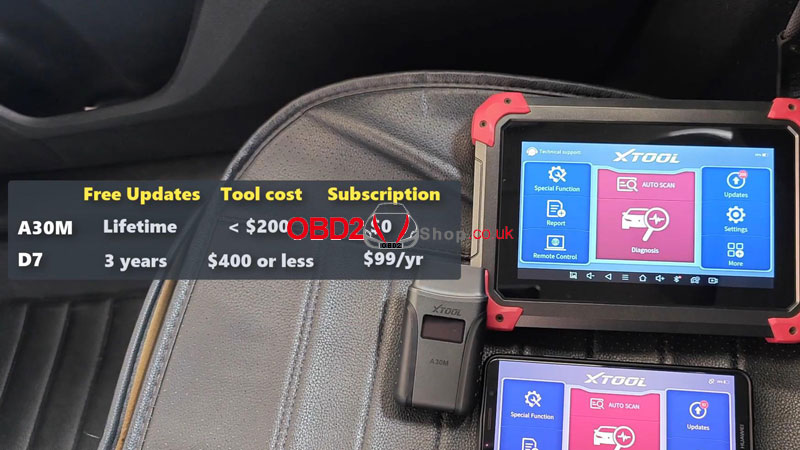 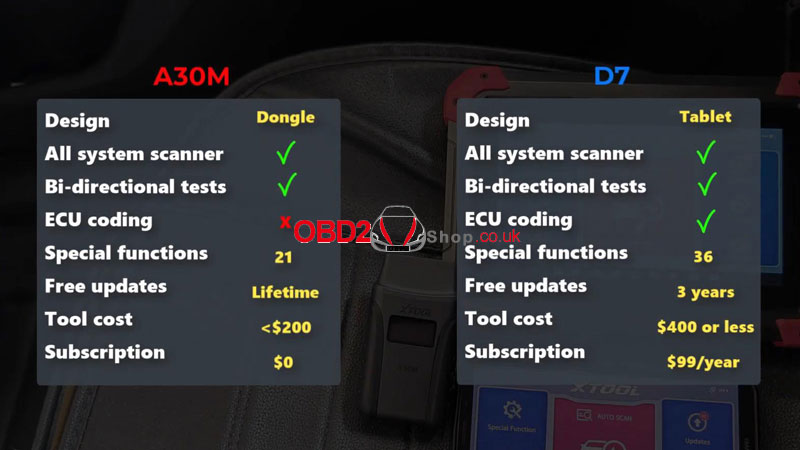
0 Comments
This post will guide you on how to register your Xtool D9S PRO auto diagnostic tool.
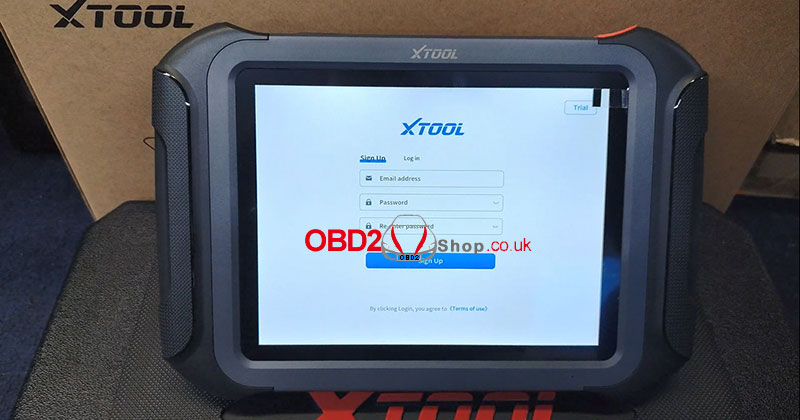
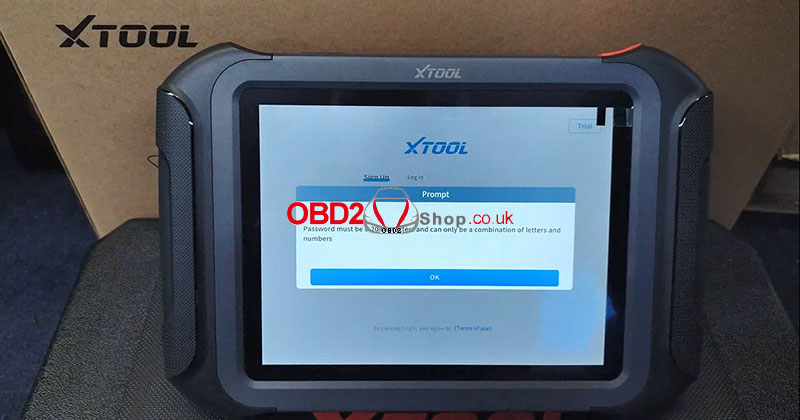
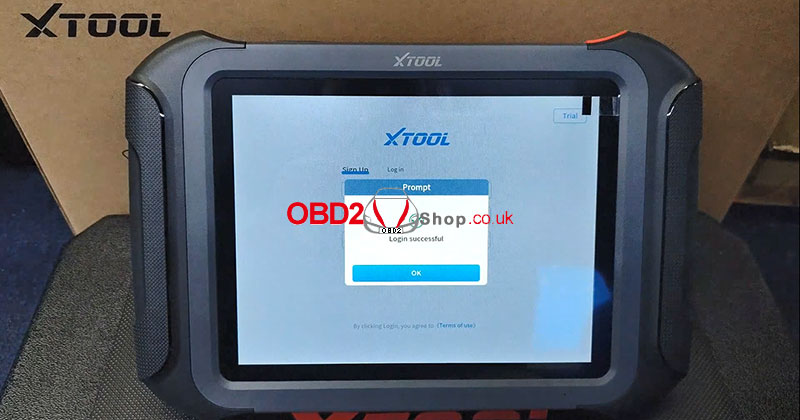
Here comes the procedure: After turning on Xtool D9S PRO, select your language and click "Next" to continue. Enter your registration email and password in the "Sign Up" interface, then click "Sign Up" to continue. Tip: Your password must be 8-20 characters long and can only be a combination of letters and numbers. Registration is successful! 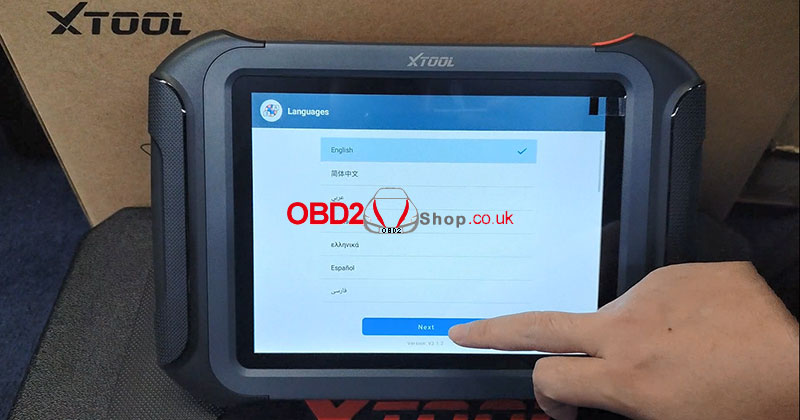
Video guide:
If your transmission is not shifting right, and you're experiencing things like delayed shifts, slipping or your car continues to rev, even when you're slowing down. These are symptoms of a failing shift solenoid, and a good next step is to do some testing. Today I'll be doing a bi-directional test on the shift solenoids for my 2017 Honda Accord using the XTOOL A30M. Now let's get this! 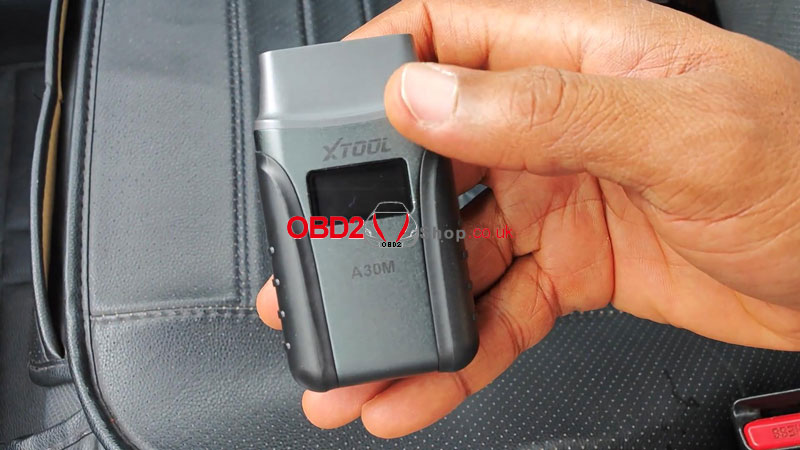 Why to Test If you're having any of the symptoms I mentioned earlier, this test could be to decide what the problem is, and your prayer should actually be that this test fails. At least, worst case scenario, that would mean that you have a bad shift solenoid, or a short in the circuit, and not a mechanical issue in the transmission. The A30M OBD2 Car Diagnostic Tool is not the only scanner that can do this. A lot of other bi-directional scan tools can do this test, just be sure to review the manufacturer's function coverage for whatever tool you decide on versus your car model it makes. Testing Shift Solenoids with XTOOL A30M Plug A30M into the OBD interface, and open the XTOOL app: Diagnosis >> Asia >> HONDA >> 16PIN Connector >> USA >> System selection >> Automatic Transmission(AT) >> Actuation Test >> Tests of Shift Solenoid 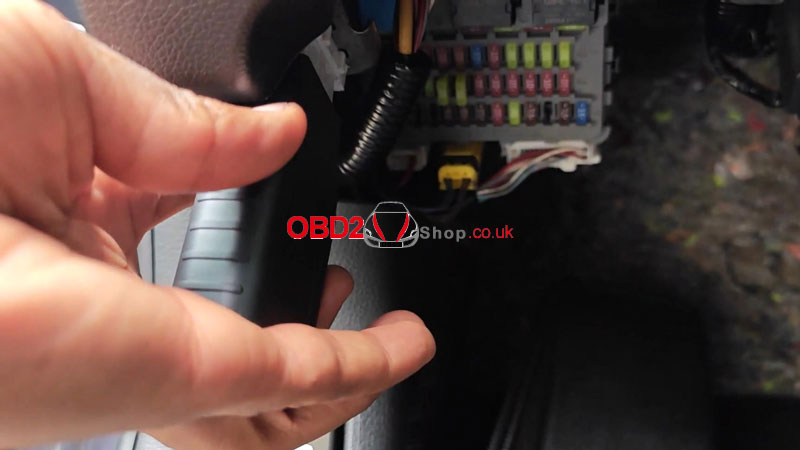 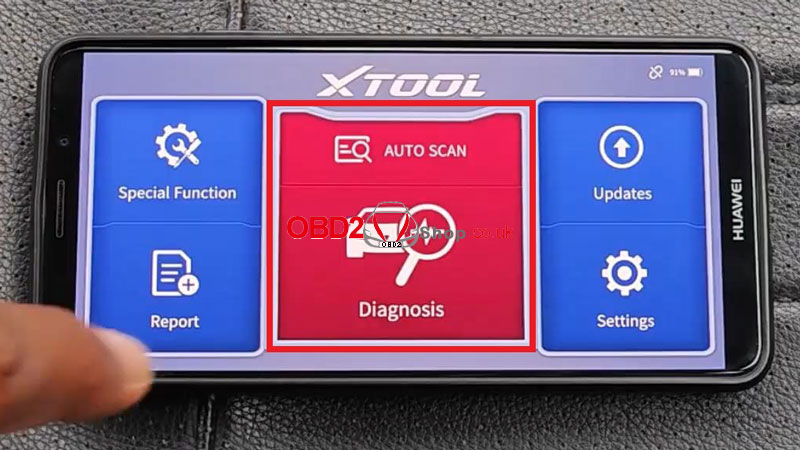 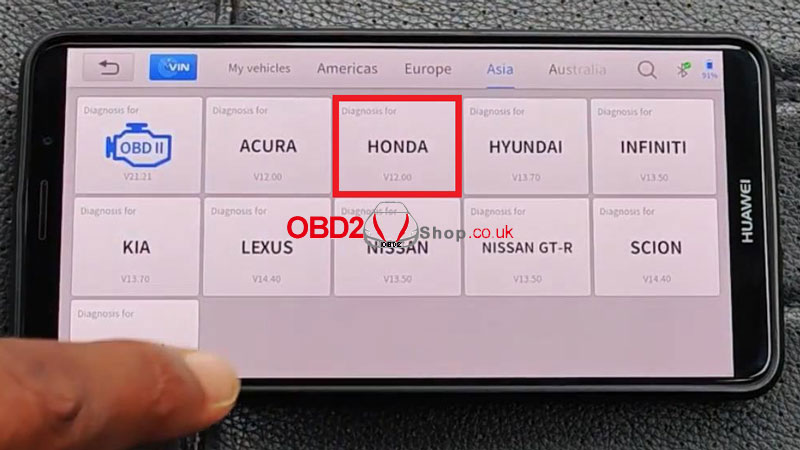  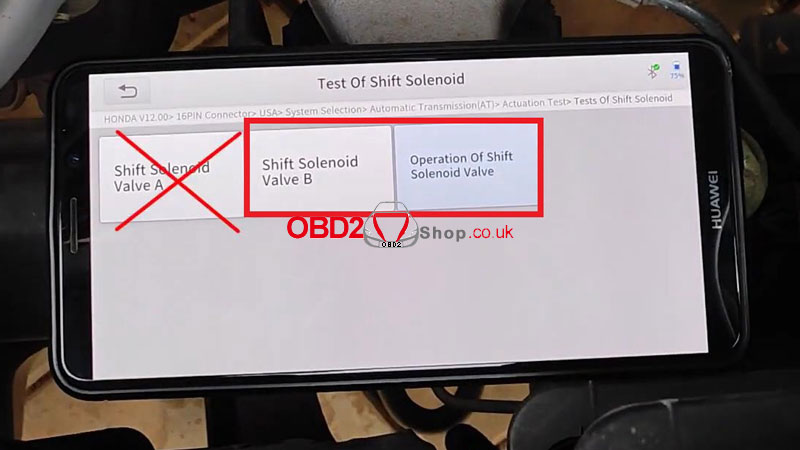 More sense to do this procedure from the engine bay. That way you have a better chance of hearing the engagement of the shift solenoids. This car doesn't have a "Shift Solenoid Valve A"; At least I didn't see one while reviewing live data from the transmission. I'll select "Shift Solenoid Valve B". It tells you to Drive the solenoid valves on and off for 3 seconds, which will check the presence of circuit malfunction. Press OK. Conditions of test: Shift to Park position. Have the engine stopped. Start the test by pressing OK. I've already done all of this. Press OK. The solenoid valve is driven on and off automatically... Status of solenoid valve: open Status of solenoid valve: close Normal solenoid valve. 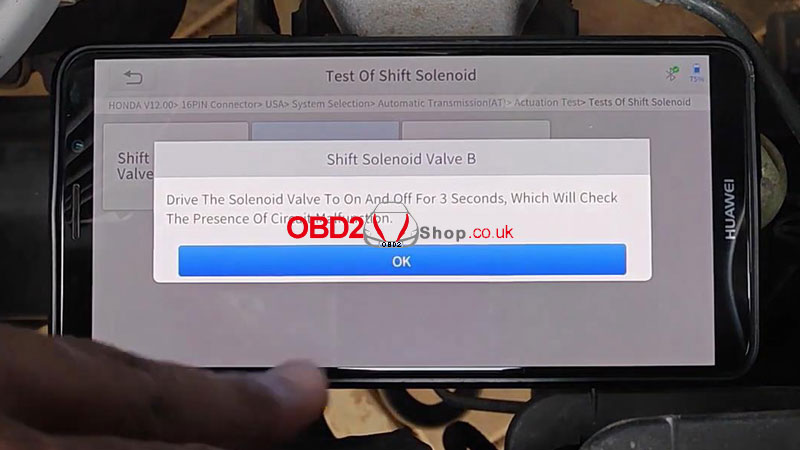 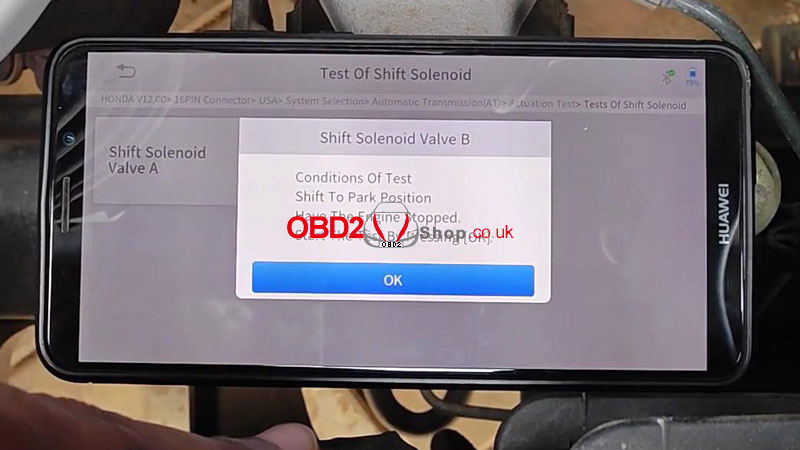 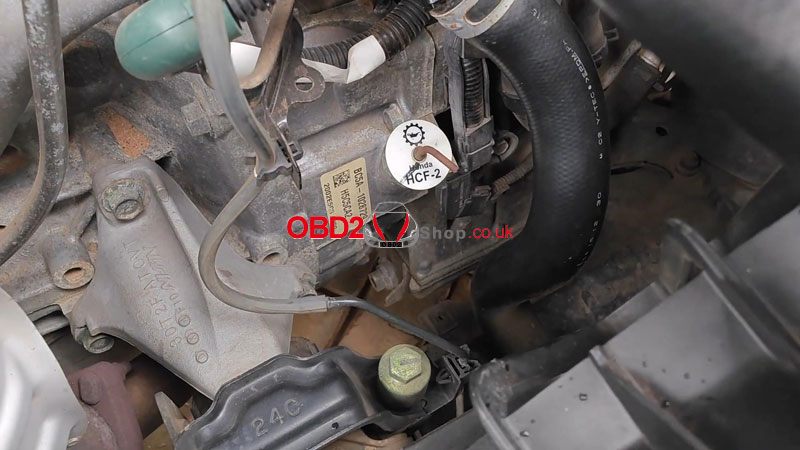 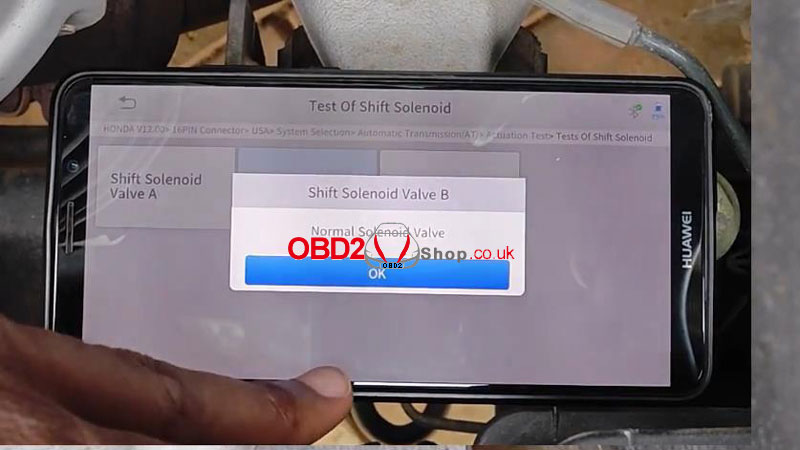 We're listening for a click. And there's the click. Continues the test. The shift solenoid is normal. I'll also do the test for "Operation Of Shift Solenoid Valve". Drive the solenoid valve on and off for 3s, which will check the presence of circuit malfunction. Press OK. Operation Of Shift Solenoid Valve Conditions of test: Shift to Park position. Have the engine stopped. Start the test by pressing OK. The solenoid valve is driven on and off automatically... Status of solenoid valve: open Status of solenoid valve: close Normal solenoid valve. That clicks as well, telling us the operation of the shift solenoid is normal. 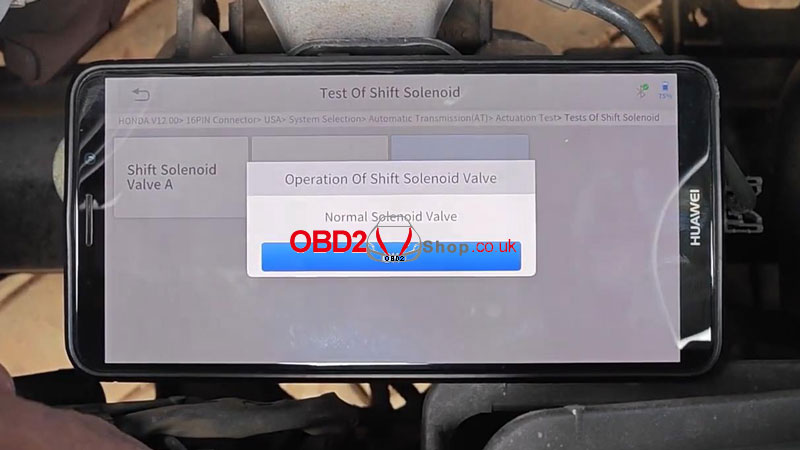 Conclusion
But assuming you get this normal result, despite experiencing shift solenoid issues, then it's more likely that you're dealing with an issue with the mechanical side of the transmission, and not an electrical issue. Hope this has been helpful. Peace! www.obd2shop.co.uk The throttle body is one of those parts that can give you a lot of driveability issues when it's dirty or if it's going bad. So I'm going to do an active test on the 2017 Honda Accord that you can use on the electronic throttle body with Xtool D7. I've previously done it with Autel MK808Z before. Connect D7 to car OBD. Diagnosis >> HONDA >> 16PIN Connector >> USA >> System Selection >> Engine(ENG) >> Actuation Test >> Electronic Throttle Control Unit Test >> Electronic Throttle Control Unit Test 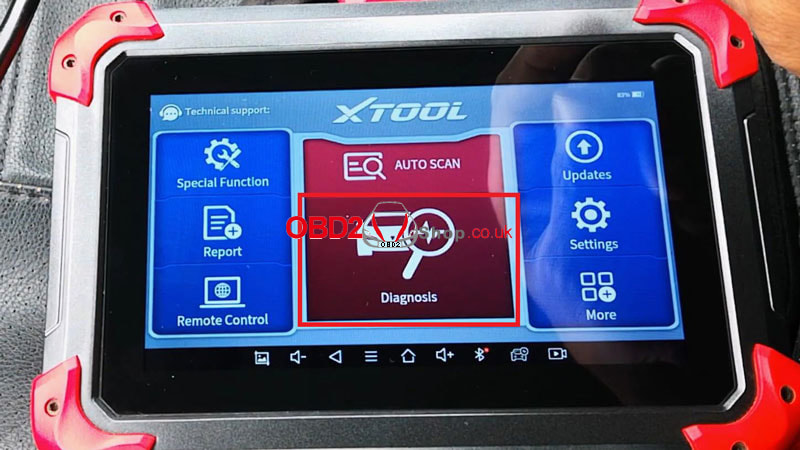 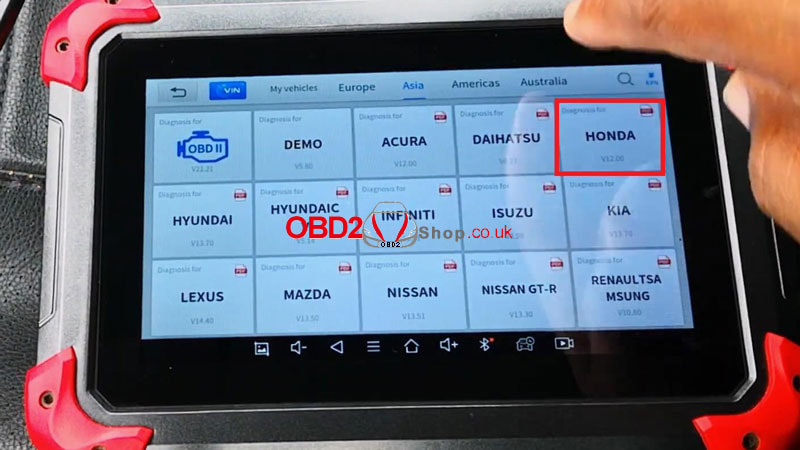  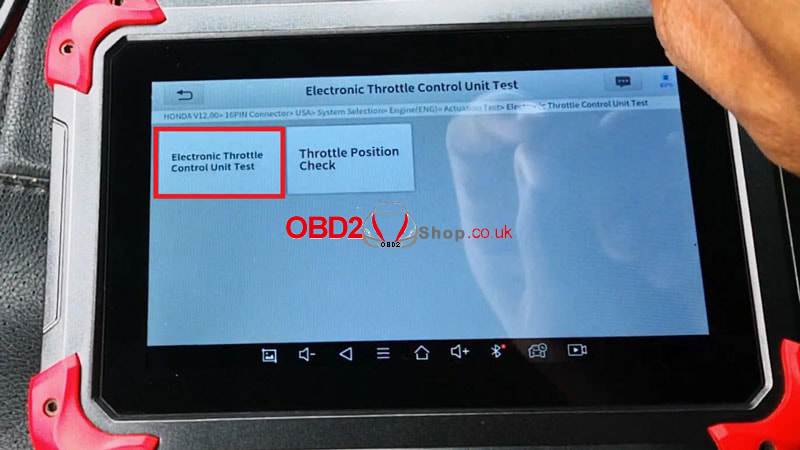 The throttle valve and relay are automatically activated. Click "Yes" to continue. Testing now... Throttle Actuator Control Relay Command State: normal -> off -> normal Command Status Of Relays: open -> close -> open Turn off the ignition switch. Turn on the ignition switch. The test is completed. Throttle Actuator Control Relay Normal system. The next test is the activation of the throttle valve. 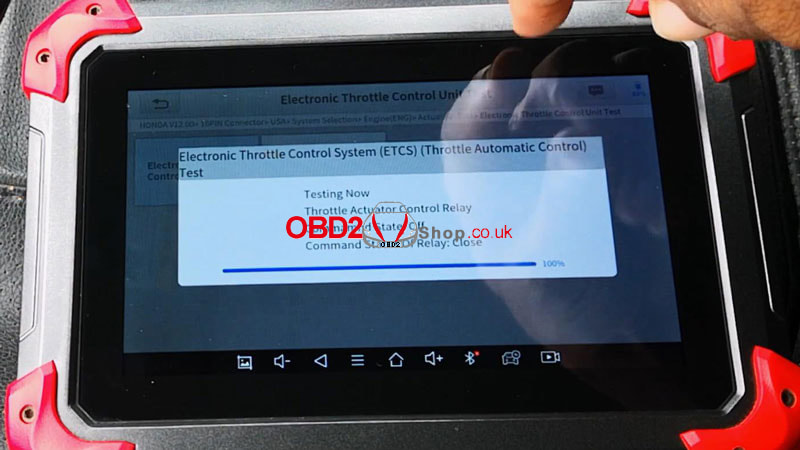 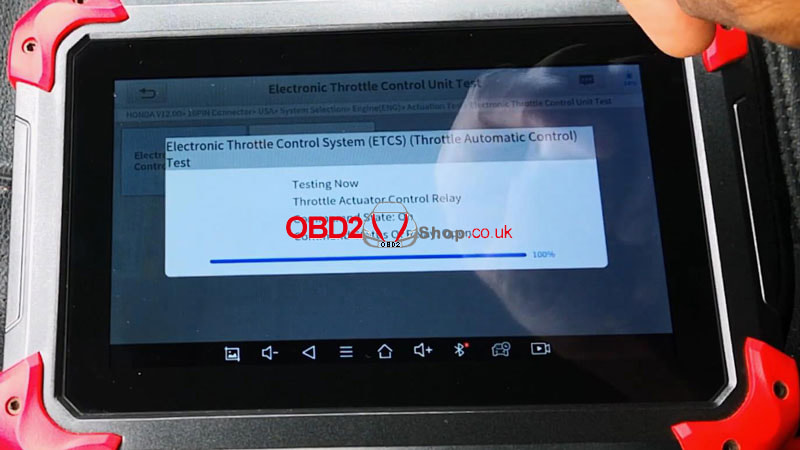 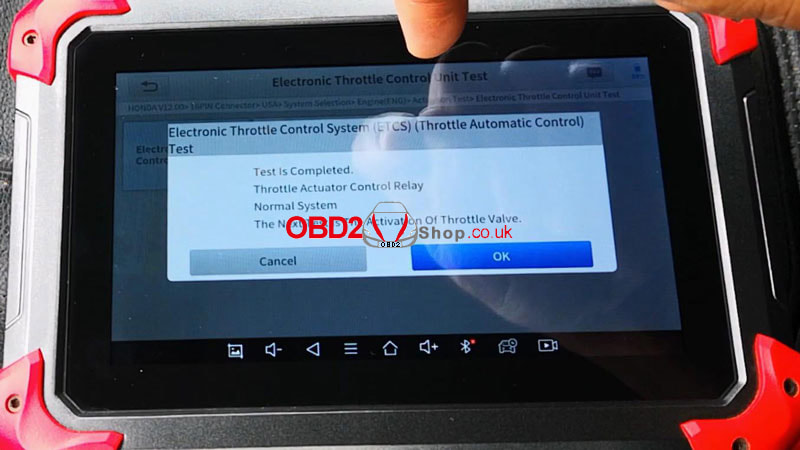 The next part is going to test the degree of correlation, between the opening angle commanded by the ECU and the actual response of the actuator in the throttle body. Click "OK" to start testing. The test is completed. Normal system. Compared to my Autel, it was way faster on the Xtool. Actually, D7 has upgraded to the new version Xtool D8/ D9 as well. The ECU commanded that the butterfly plate open by 2.5 degrees, and the actuator responded by opening by 2.4 degrees. In this other frame, 20 degrees was commanded, and the actual was spot on. If there were wide variations between the commanded and the actual, the test would fail. The first thing you want to do is to clean the throttle body. Maybe there's some carbon restricting the movement of the butterfly plate. If that fails, it might be the motor itself that is actually worn and would need to be replaced. 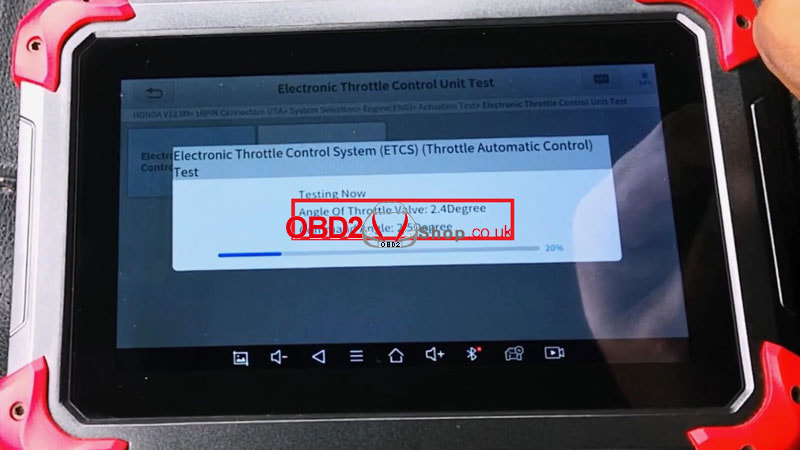  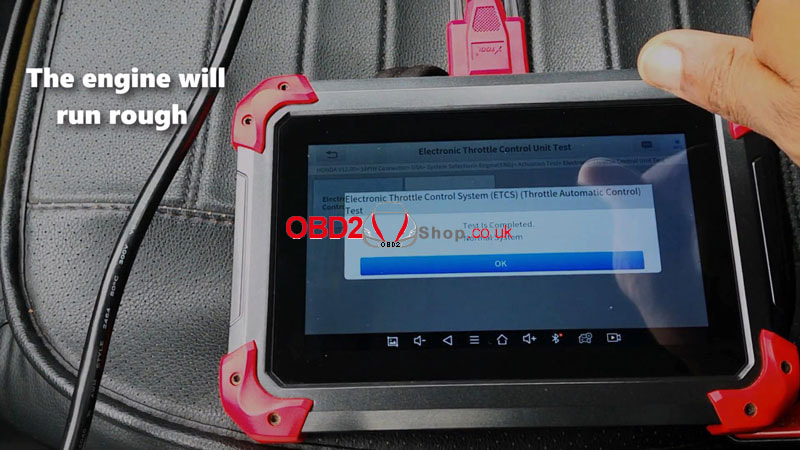  This article integrates several frequently asked questions and answers about Xtool D9 Pro Diagnostic Tool, hoping to help you.
Q1: Failed to generate a diagnostic report 1. Currently only the following diagnostic functions trigger a diagnostic report: read ECU information, read code and clear code, live data, and freeze frame. Other functions such as immobilization and maintenance services will not generate a diagnostic report. 2. After entering the Diagnostic menu, you need to perform one specific function before the system can generate a Diagnostic report. 3. After the Diagnostic test is completed, you need to go back to the previous menu step by step to generate the Diagnostic report successfully. If the APP is killed directly, the report cannot be triggered. 4. If the report still cannot be generated after troubleshooting according to the above prompts, please try to exit the APP, enter the system settings, and then choose to clear the APP cache, following the below path: Android System Setting >> Apps >> Diagnosis >> Clear Cache Q2: How to print a diagnostic report? The XTOOL D9 Pro is compatible with third-party print drivers. You can download the printer driver you need in the browser that comes with the tablet to install it, and then set your printer in the OS settings. After the configuration is completed, you can print Reports. Q3: Failed to extract files Since the D9 Pro tablet is equipped with an Android system, you have to confirm the system type of receiver. For Android: supports transferring files via Bluetooth, USB cable, etc.; For IOS: only supports transferring files through a wired connection (Bluetooth connection is not available). Q4: How to generate and upload diagnostic log files? The tablet will automatically generate and store diagnostic logs. When the device is connected to the Internet, it will automatically upload all the stored diagnostic logs to the backend system. Q5: How to switch languages? 1. Contact your dealer and leave a message about the language you need and the S/N of your D9 Pro. The technician will modify the language configuration for you in the backend system. 2. Settings->Language->Choose language 3. Back to Updates to update all the software again Q6: Failed to diagnose vehicle 1. Contact your dealer to confirm whether the vehicle model is supported by the scan tool. 2. Check whether the vehicle is properly connected (e.g. whether the ignition is ON, and the Diagnostic of some vehicles need to turn on the engine), If your tablet is equipped with a VCI (Vehicle Communication Interface) box, please check the status of the VCI box indicator. 3. Confirm whether you have entered the correct Diagnostic menu. 4. Confirm whether the AUTO-SCAN function can assist you to enter the correct Diagnostic menu. 5. Check whether the software is the latest version. If not, please update to the latest version and retest. Q7: Failed to active or register ⚫ For ‘Activation Failed’ This error is generally caused by network instability. Please switch to a more stable network and try to activate it again. For specific activation steps, refer to the article link below: http://blog.obd2shop.co.uk/how-to-activate-xtool-d9-pro-diagnostic-tool/ ⚫ For ‘Registration Failed’ Generally, this error is caused by a connection timeout. Please check whether you have blocked the outgoing network traffic to non-US regions like China. We recommend that you unblock and try to register again. Technical support: www.obd2shop.co.uk Xtool D9 Pro can be used to reset the engine oil life system, which calculates the optimum oil life change interval based on the vehicle’s driving conditions and climate. The oil life reminder must be reset each time the oil is changed so that the system can calculate when the next oil change is required. This function can be performed in the following cases: ⚫ If the service lamp is on, you must provide service for the car. After service, you need to reset the driving mileage or driving time so that the service lamp turns off and the system enables the new service cycle. ⚫ After changing engine oil or electric appliances that monitor oil life, you need to reset the service lamp. The operation guidelines of the D9 Pro Oil Reset function are shown below: 1. Enter the Oil Reset menu and choose relevant models according to the vehicle being tested. 2. Follow the instructions displayed that are specific to the vehicle and press OK after completing the instructions shown 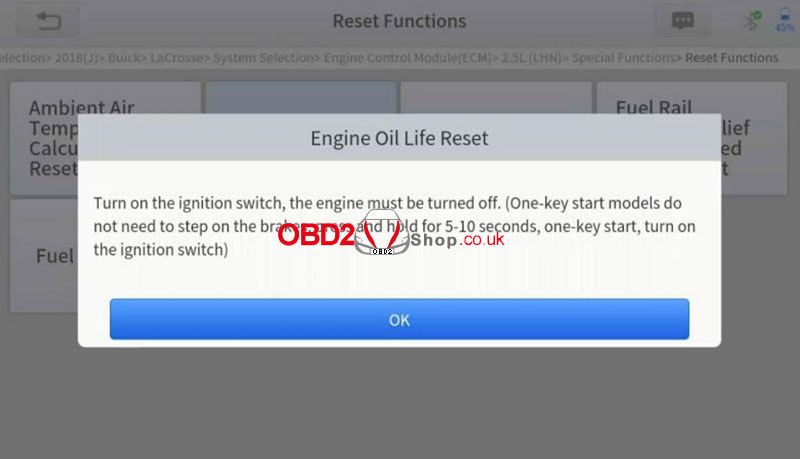 3. Enter the Maintenance mileage reset menu. 4. Click INPUT and enter a reasonable value of remaining oil life and press OK  5. Confirm the [New Value] you just entered, and then click OK at the bottom right to complete the procedure. 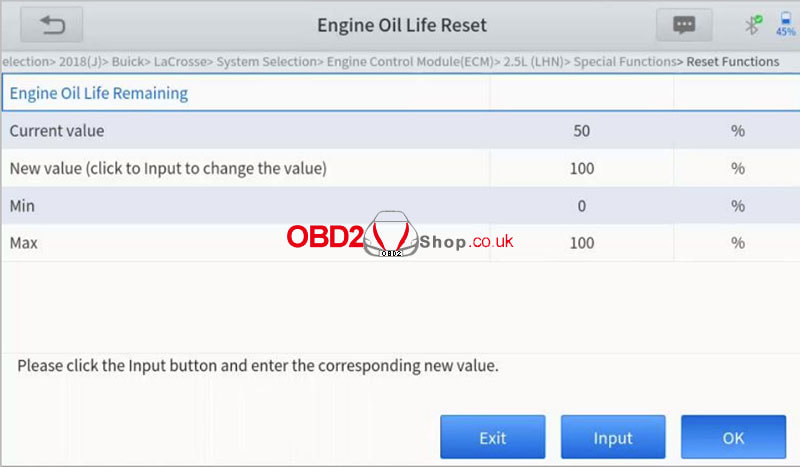 6. Message ‘Write successfully’ displays when the Oil Reset function has been successfully performed. 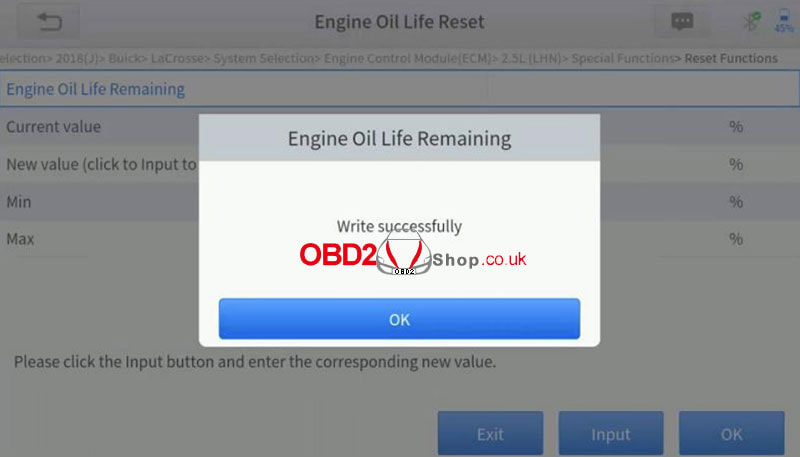 Technical support:
www.obd2shop.co.uk The self-test function of Xtool D9 Pro can determine whether the device is in good condition before diagnosing. This article will guide you step by step on how to do the self-test for the Xtool D9 Pro device. Step 1. Select "Setting" on the device diagnostic system interface. 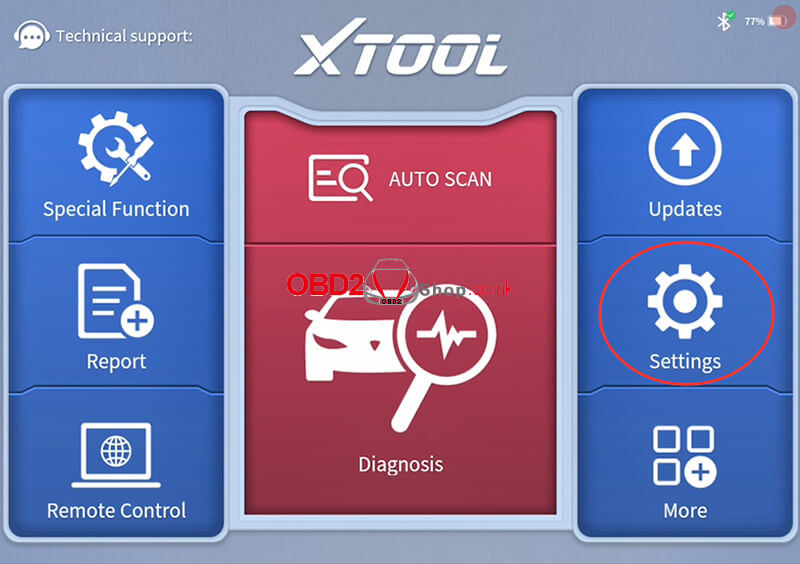 Step 2. Select "Self-test", and follow the instructions to connect the VCI box and D9 PRO tablet: ① Connect the VCI box to an external 12V power supply (Do not connect to the vehicle's DLC port, otherwise it may cause serious damage or failure of the car). ② Detect the circuitry to check the working status of each module or pathway of the VCI box. 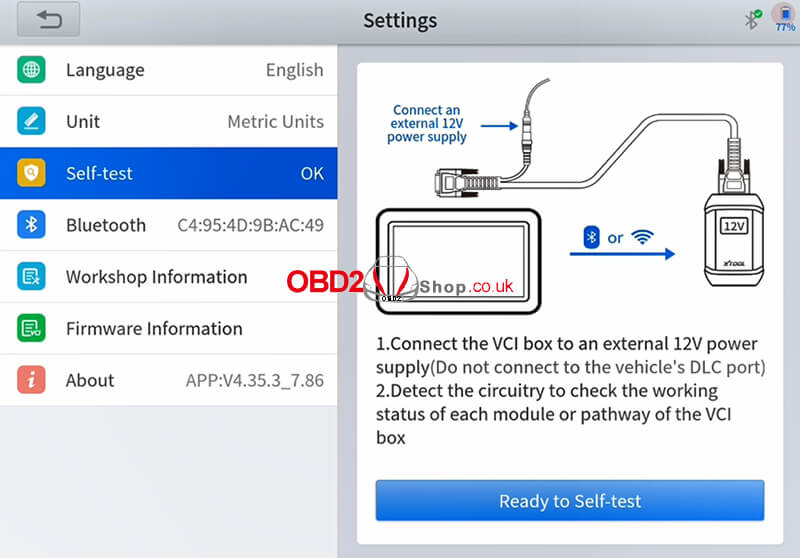 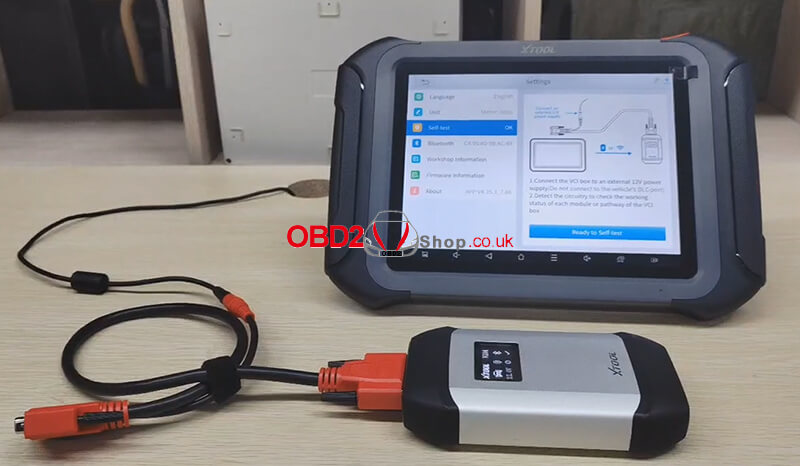 Step 3. When everything is ready, click "Ready to self-test". 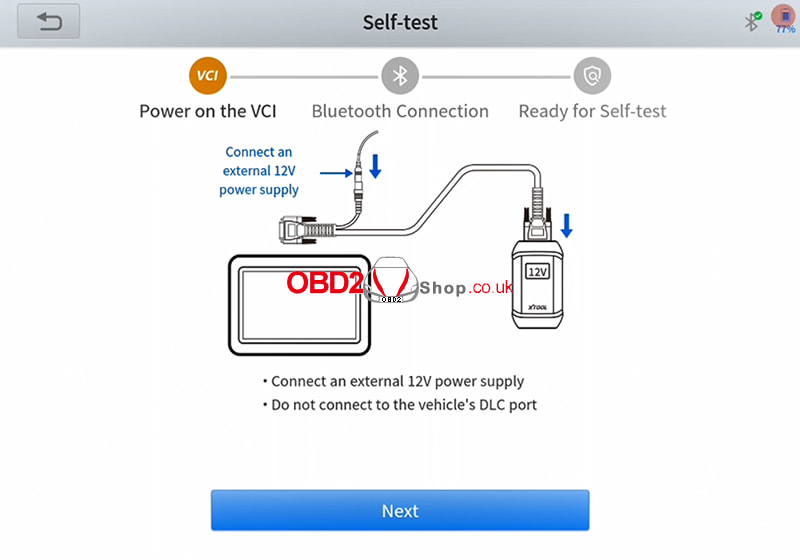 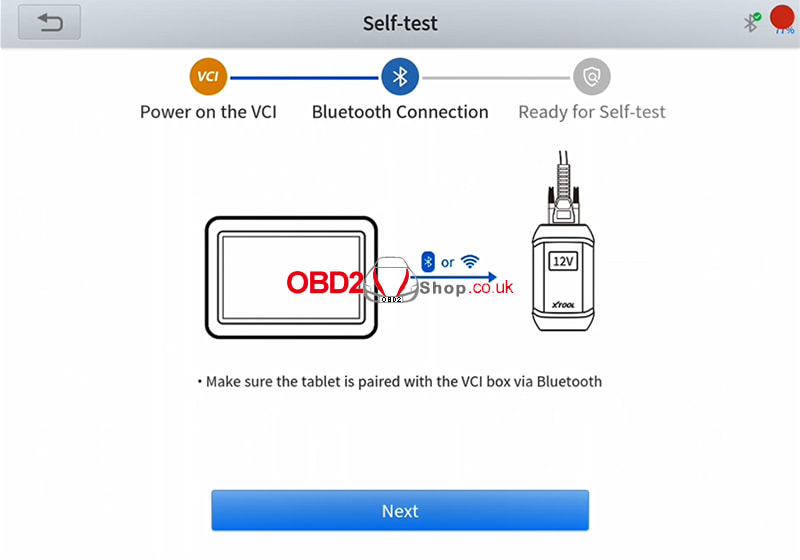 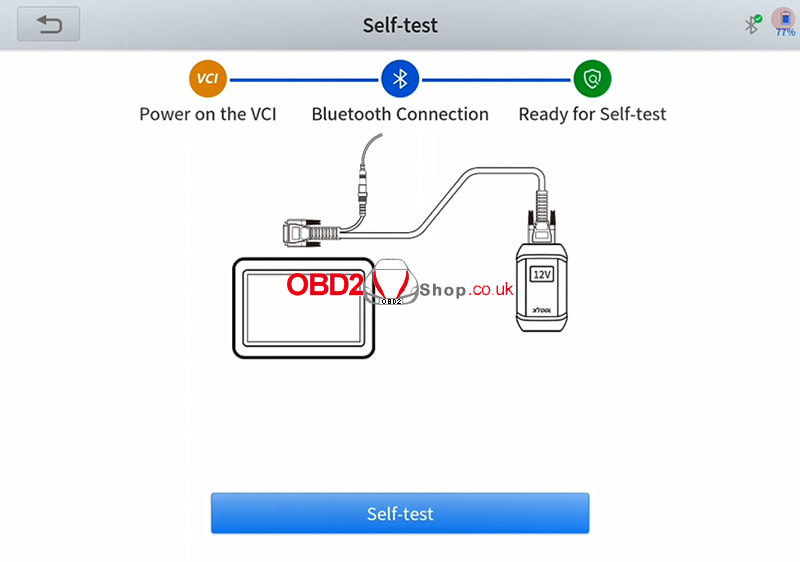 Step 4. The self-test procedure checks the communication status of each line and displays it in the list as shown below. 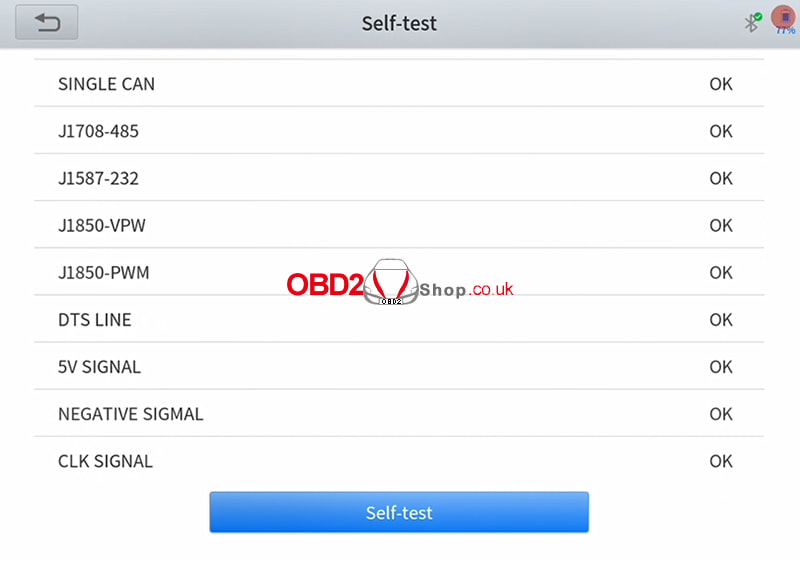  Note: If the communication status of a certain line is NG, it may affect the models based on those lines. If the self-test fails, please do not diagnose the car with the faulty line.
Technical support: www.obd2shop.co.uk
When you receive your XTOOL D9 PRO, you need to activate it before use and this article will guide you on how to activate your device.
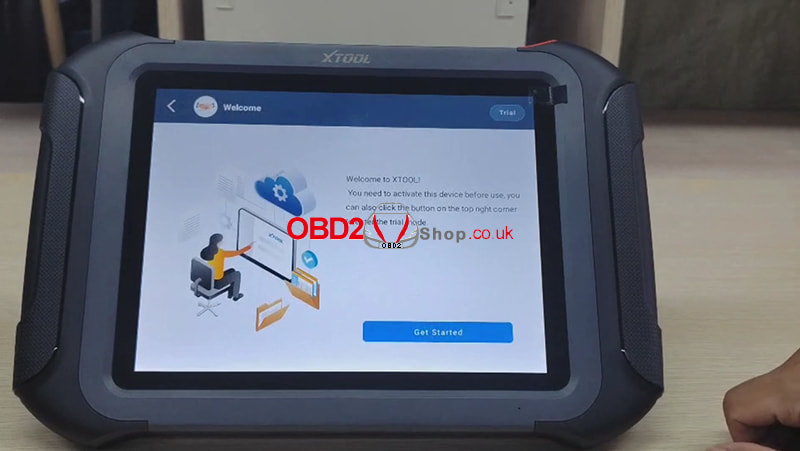
Press and hold the power button to turn on the system and the system will automatically enter the wizard process and prompt you to select the language for the operating system. 

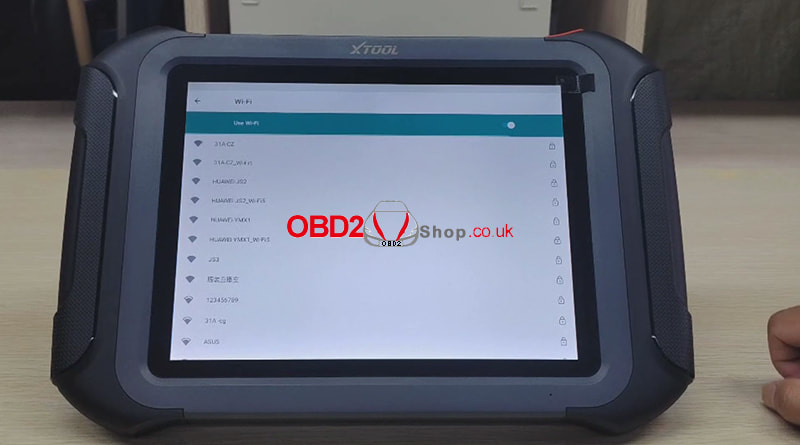
After setting the system language, click Next to enter the Wi-Fi connection page, then select a network to connect.
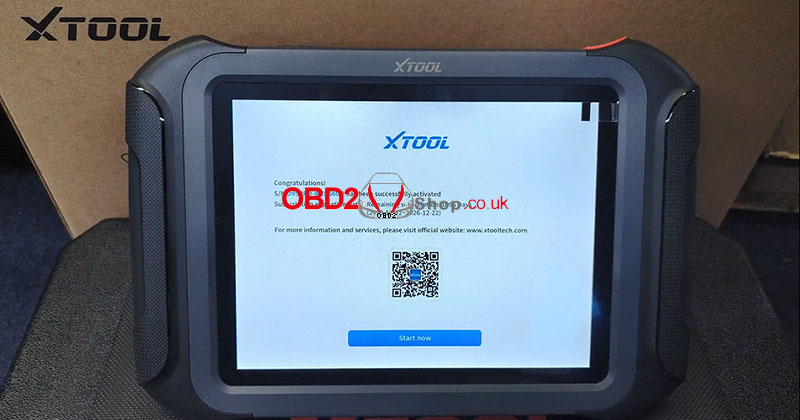
Return to the next page after a successful Wi-Fi connection, and click Get Started” to continue.
Please input your email address as requested.
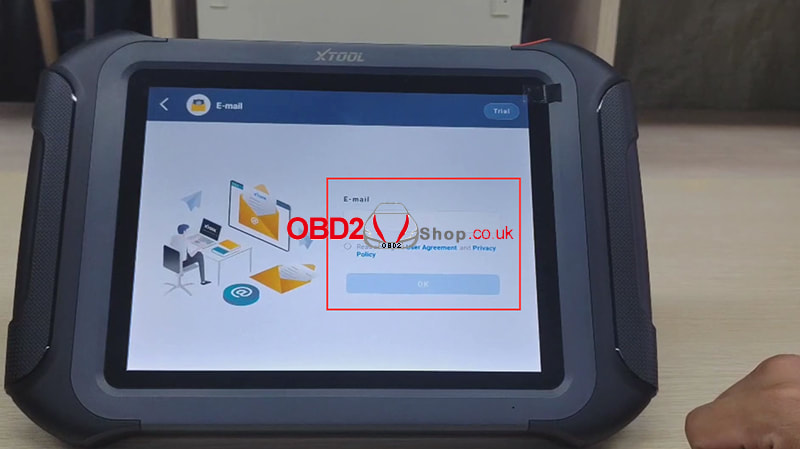
Activation is successful!

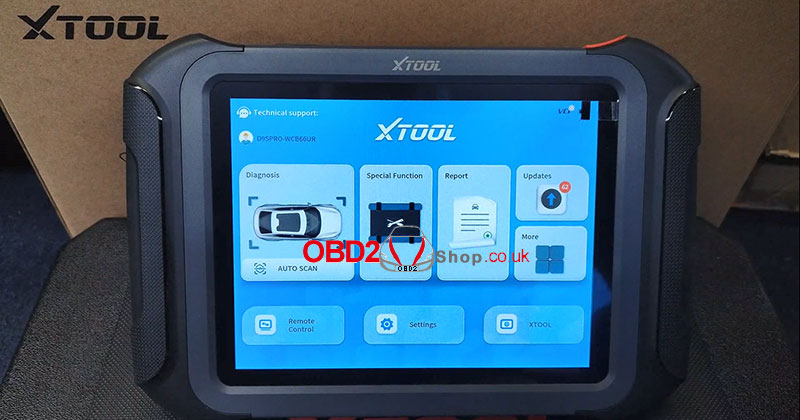
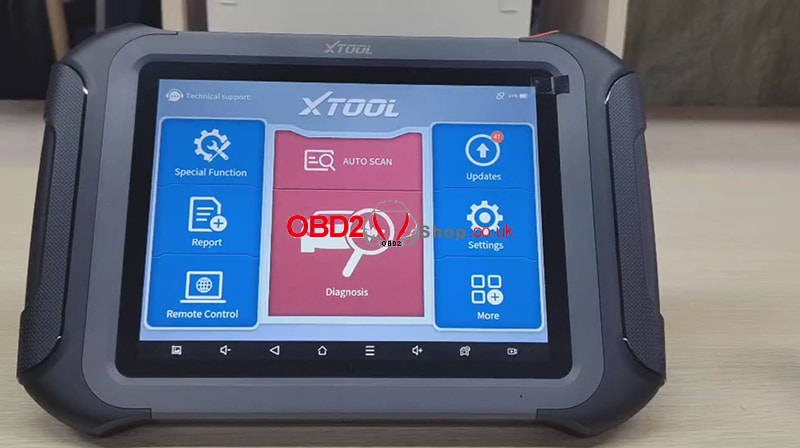
Then click "OK" to enter the diagnostic system and start using the device.
Video guides:
This post will show you how to use Xtool X100 Pad Plus key programmer to add keys/all keys lost on Honda Accord 2020. Part 1. Check the Number of Keys Click "Immobilization - Honda - By Vehicle - Accord - Smart Key - Button Type" to enter the system, then you will see this menu. 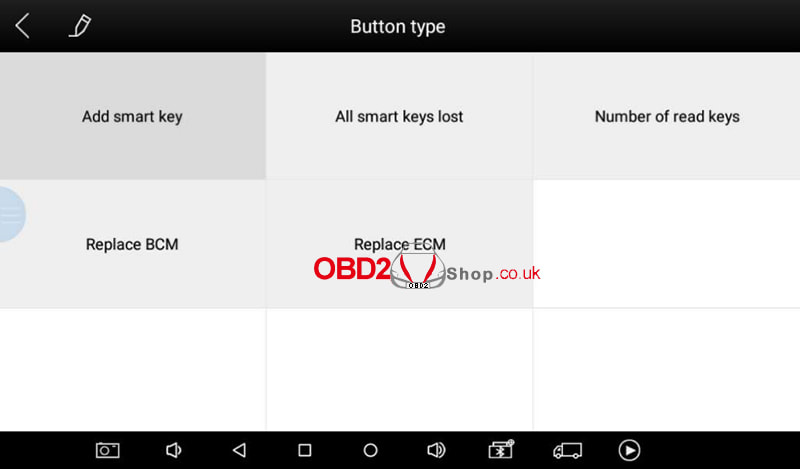 Click on "Number of read keys" and the number of keys registered to the vehicle will be displayed. 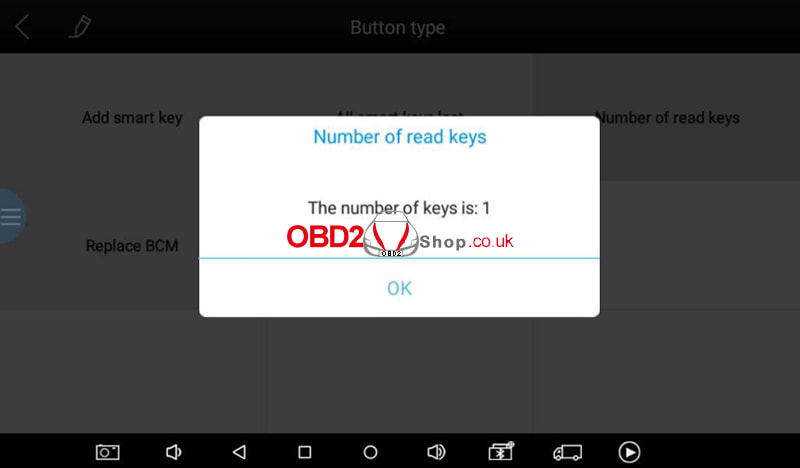 Part 2. Add Keys Click the “Add smart key” menu, then check the notice from the screen.  Because this vehicle is paired with smart keys, we need to take all the keys out of the vehicle before programming, then put the original key inside the car. 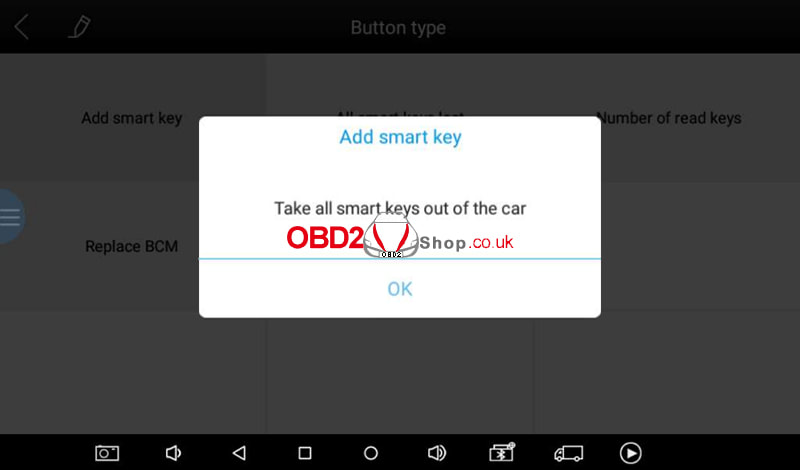 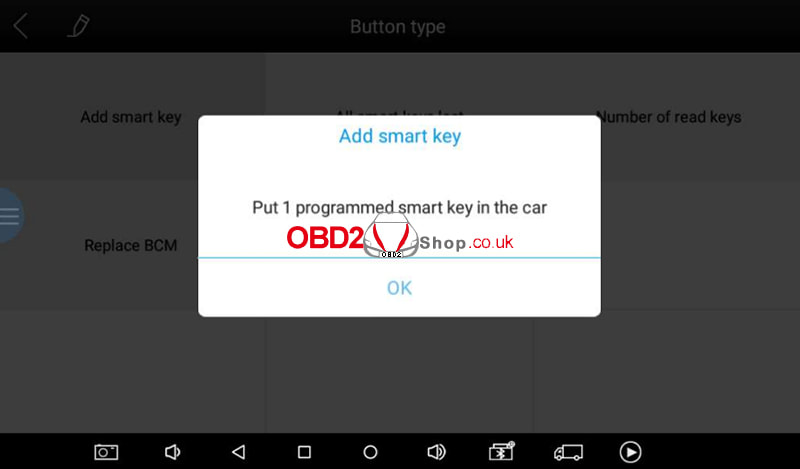 Now the system will configure the data and after it’s done, take the smart key out from the car first. 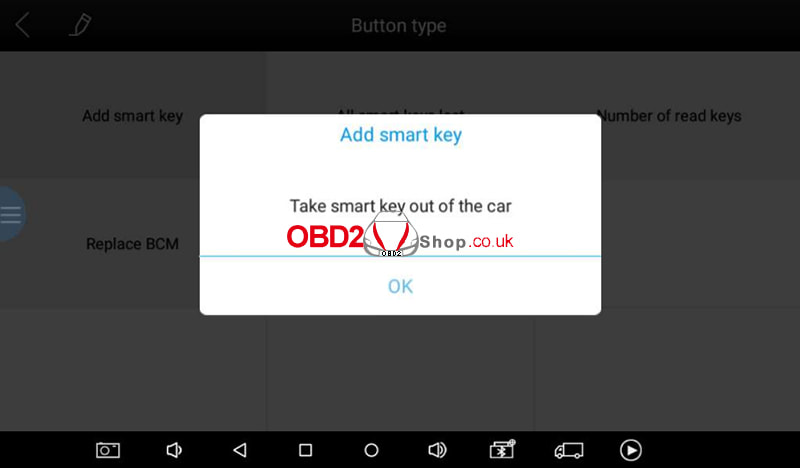 Then take a new key and put it into the car. 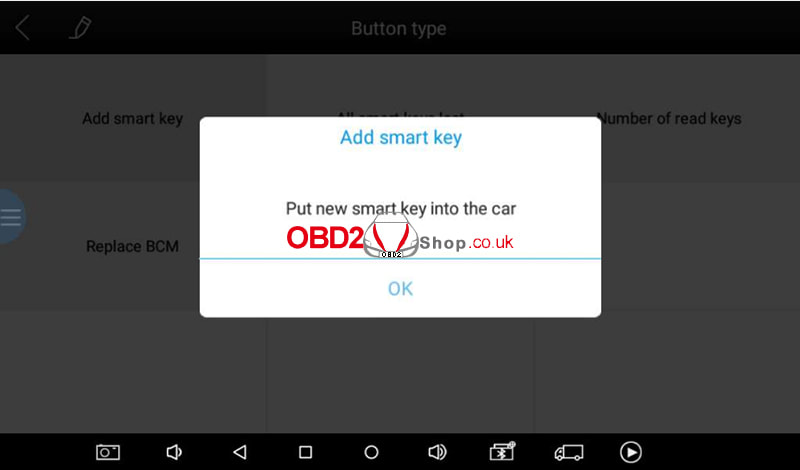 Then it will start processing. You need to follow the instructions and turn the ignition on and off for several times when processing. Then the system will pop up a notice, telling you to check if the security light on the dashboard goes off. 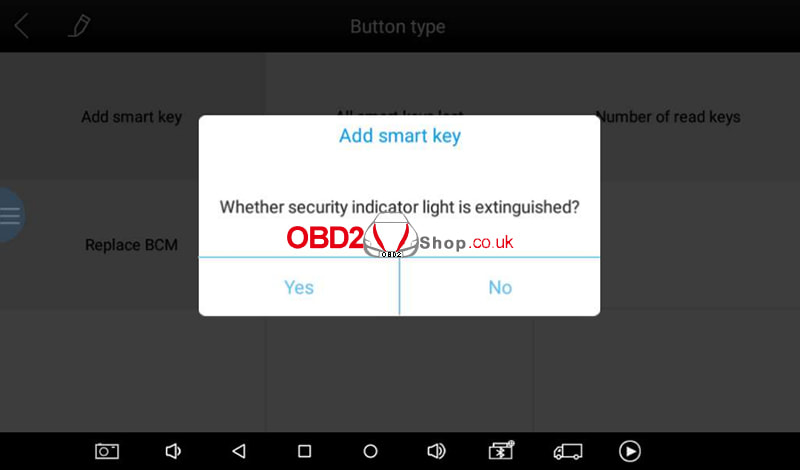 If it really goes off, press “Yes”, wait for a while, and the process will be done.  Part 3. All Key Lost Click the “All smart keys lost” menu and this notice will show up. Follow the instructions and take all the keys out of the car, then click “OK” to continue.  Put one of the new keys inside the car. 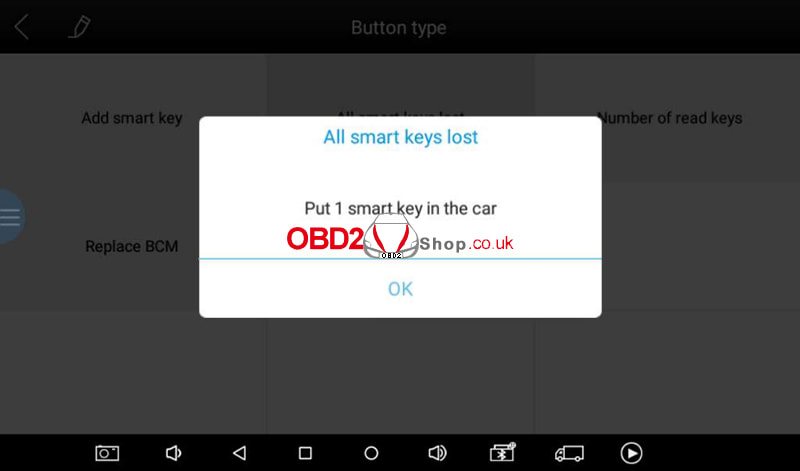 Then press and hold the start button, and press “OK” to continue. 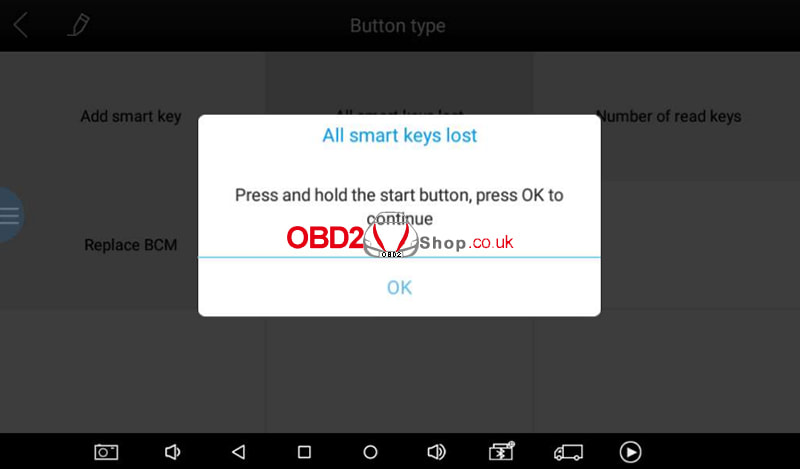 After that, please check the ignition status. Because this is an all-key-lost situation and normally the ignition will not turn on, we click “No” here. 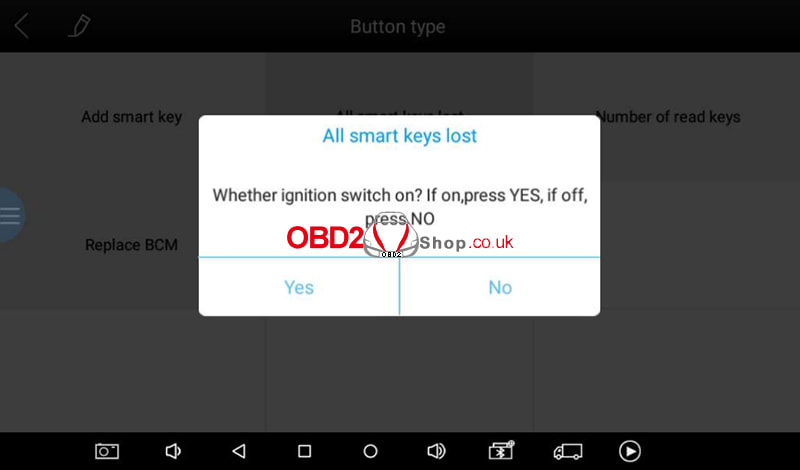 Then it will check the model. Because this is a 2020 model, we select “Yes” here. 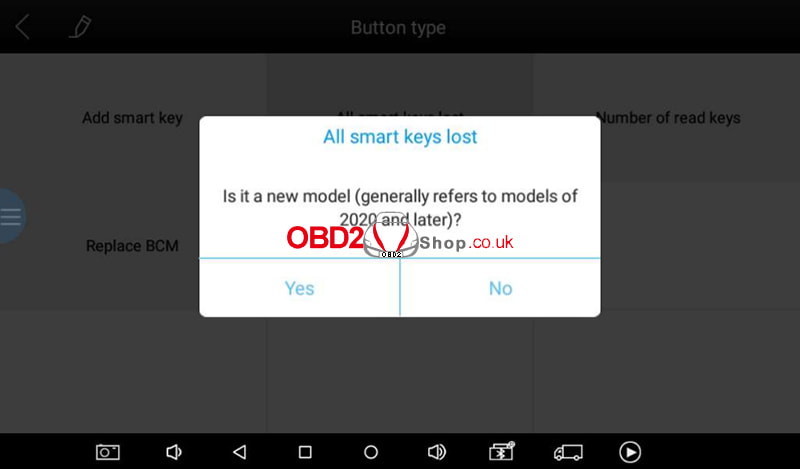 Now input the number of keys you’re going to program; we choose 1 here. 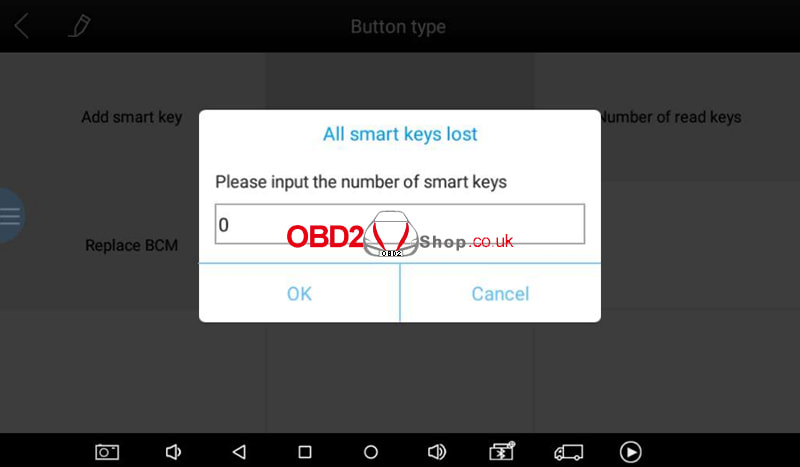 Like the “add key” process, it needs you to turn the ignition on and off for several times. After that, check the security light on the dashboard. 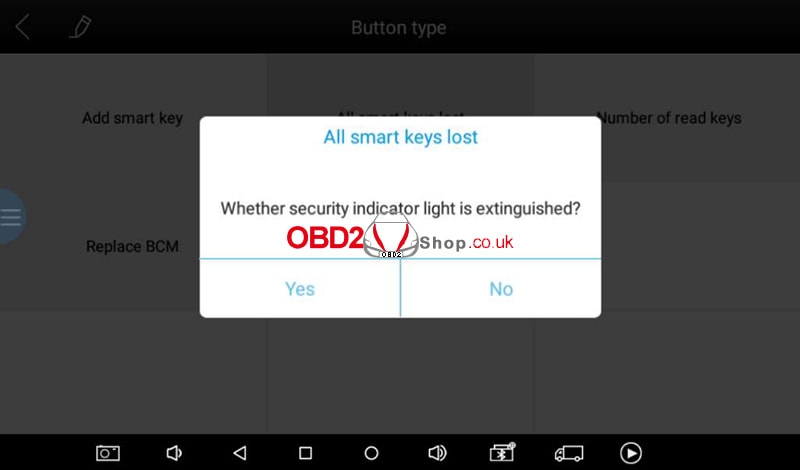 Then the instructions will tell you to turn the ignition on and off again. It will show “Program Success” when it’s done. 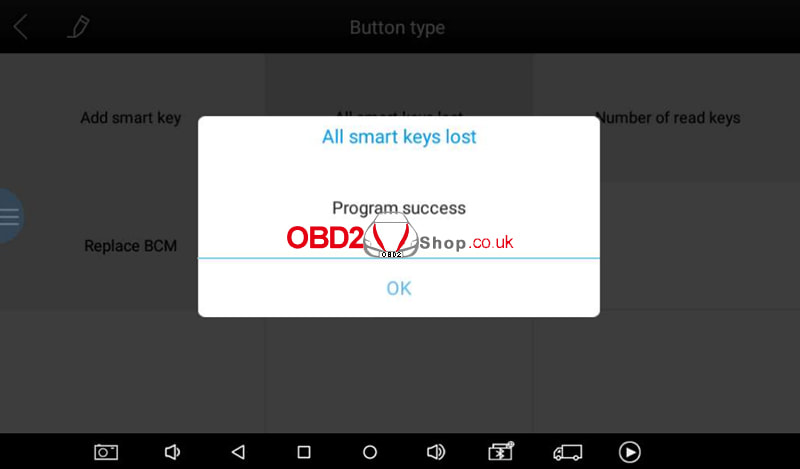 Tip: We suggest checking all the keys every time after you programmed the key.
www.obd2shop.co.uk This post is about how to use Xtool X100 PAD Plus to read pin code/pin code calculation for Nissan. Click "Diagnosis" >> "Services" >> "Immobilization" >> "Nissan" >> "Pin Calculator", to enter the system, then you will see this menu below. 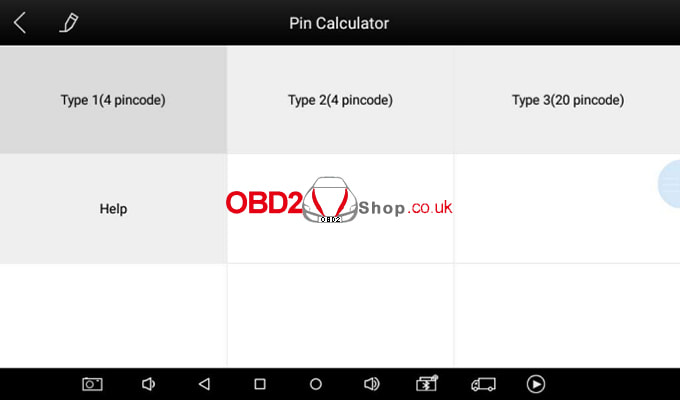 Please choose your vehicle type. If you have any questions, please click "Help" for more details. 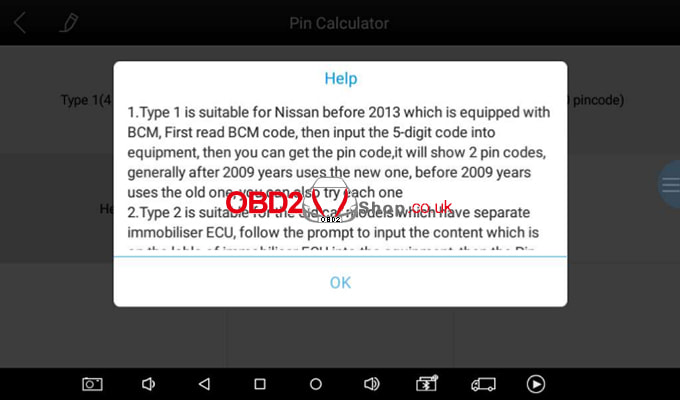 Here we choose “Type 1”, then enter the 5-digit BCM code. The BCM for Nissan vehicles is located under the steering wheel, behind the glove box, behind the passenger/driver's door sill plate, and the dashboard, depending on the vehicle model. 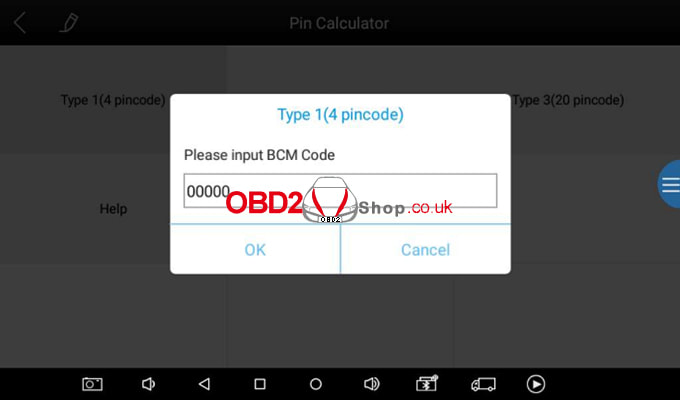 After entering the code, the results will be displayed. 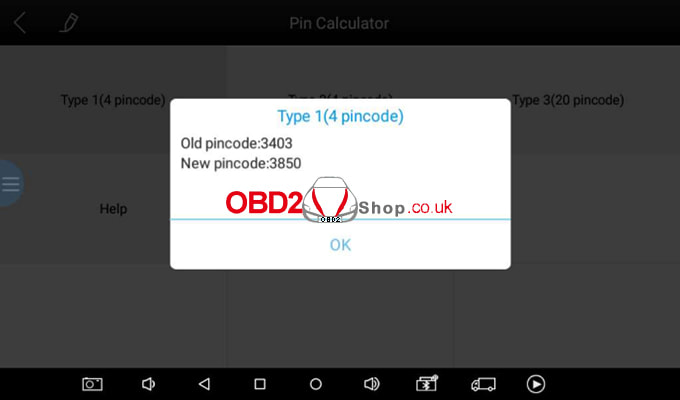 Tip: If you have trouble working on Nissans, change the language to English, check for updates, and see if there is a "NISSAN PIN DATA". Usually, downloading it will fix the problem.
Xtool X100 Pad Plus Tech Support: https://www.obd2shop.co.uk/wholesale/xtool-x100-pad-plus-key-programmer.html |
